

Gather the cheesy truffled grit cakes ingredients
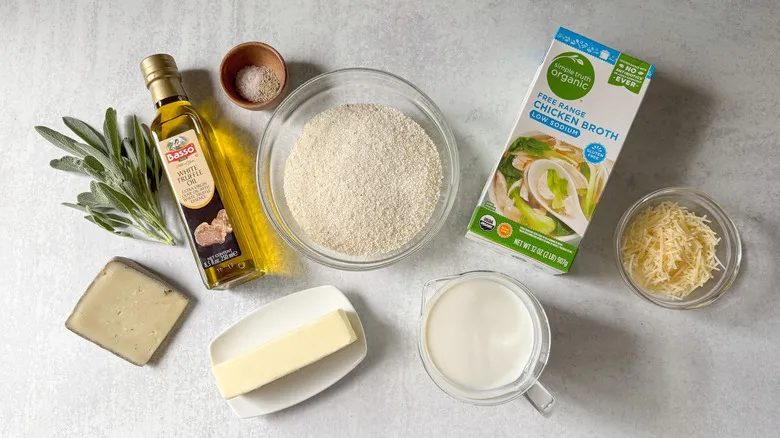
This recipe calls for white quick-cooking grits to make the cakes. These grits have a finer texture and grind compared to stone-ground varieties, allowing for faster cooking. They are prepared in low-sodium chicken broth, seasoned with salt and pepper, and enriched with whole milk for added creaminess. Once the grits have thickened, you'll incorporate unsalted butter, grated Parmesan, and Italian truffle cheese. This cheese has a medium-soft consistency and a flavor profile akin to a mild Gouda, enhanced by flecks of black truffle. It not only helps bind the grit mixture but also imparts a luxurious truffle flavor.
Chopped sage provides a fresh herbal contrast and elevates the earthy taste of the cooked grits. You'll brush a baking pan with white truffle oil (black truffle oil can be used as an alternative) and also apply the oil to the grit cakes after cutting them. This ensures that both sides of the cakes are infused with the aromatic truffle essence. To finish, fry whole sage leaves in the remaining butter until crispy for a crunchy and flavorful garnish.
Step 1: Bring the milk and broth to a boil

In a large pot, heat the milk and broth over medium-high heat until they reach a gentle boil.
Step 2: Whisk in the grits, salt, and pepper
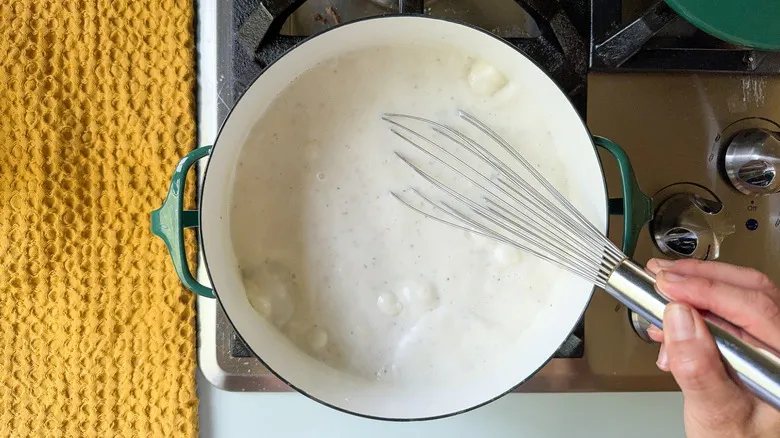
Gradually incorporate the grits, salt, and pepper, whisking until the mixture is smooth.
Step 3: Cover and simmer
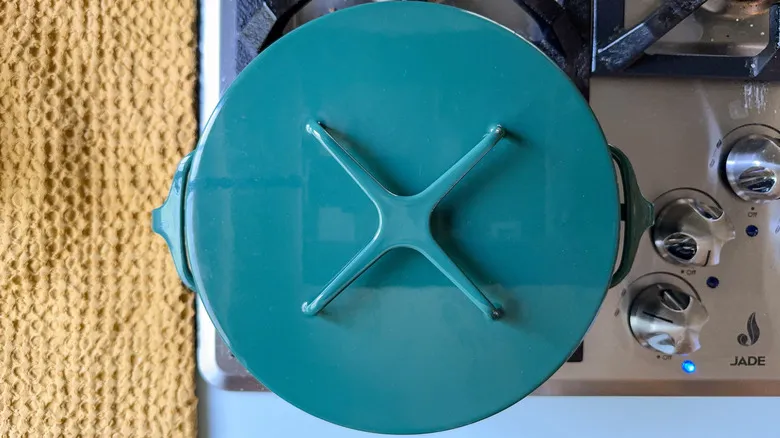
Return the grits to a gentle simmer, lower the heat, and cover the pot.
Step 4: Cook the grits
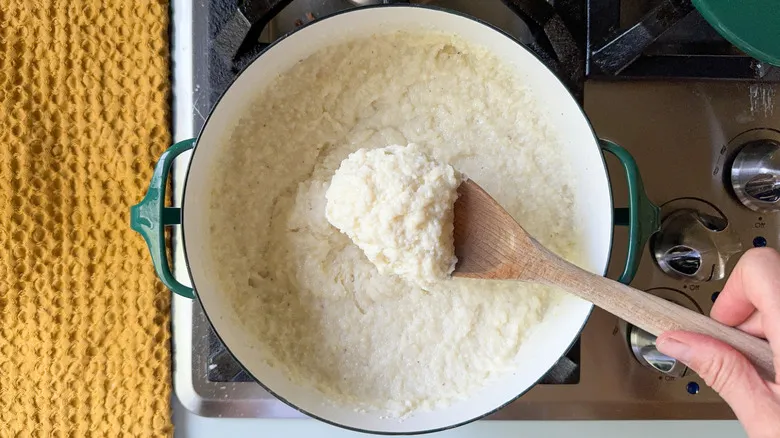
Cook for 5 minutes, stirring from time to time. The grits should become quite thick.
Step 5: Stir in the butter, cheese, and chopped sage
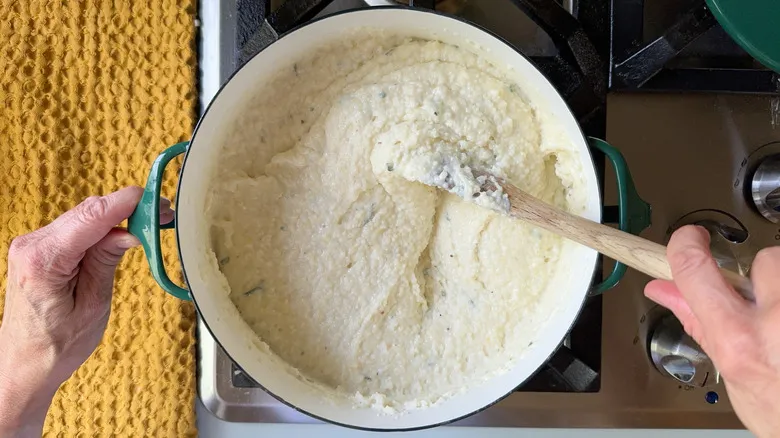
Remove the heat and incorporate 6 tablespoons of butter, both types of cheese, and the chopped sage, mixing until the mixture is smooth.
Step 6: Coat a pan with truffle oil
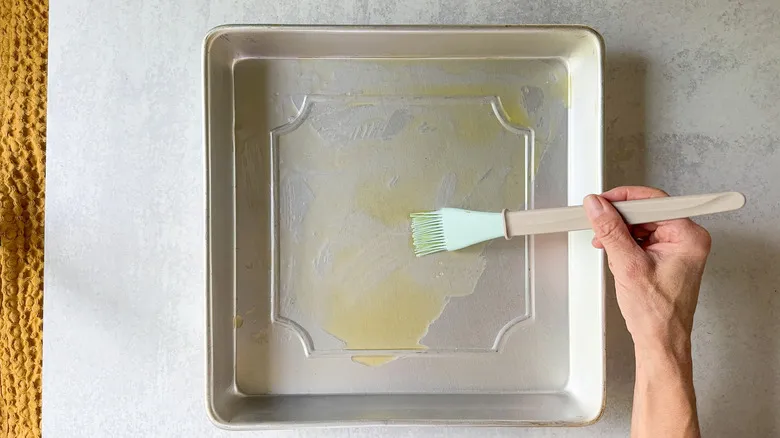
Utilize a pastry brush to apply 2 tablespoons of truffle oil to the interior of a 12x12-inch baking pan.
Step 7: Pour the grits into the pan
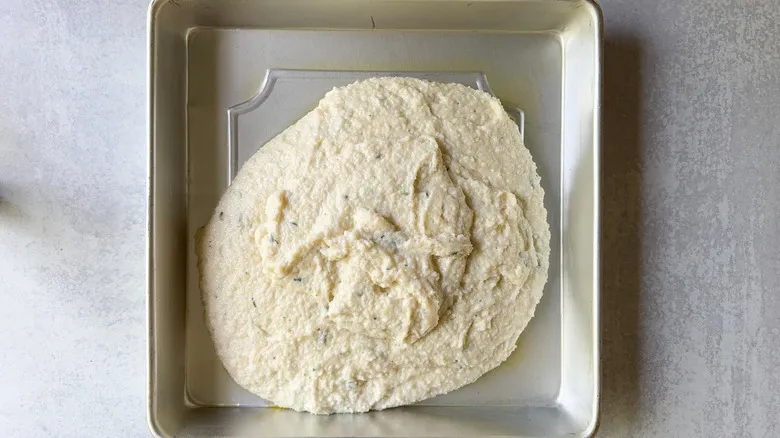
Add the grits to the pan.
Step 8: Spread the grits out
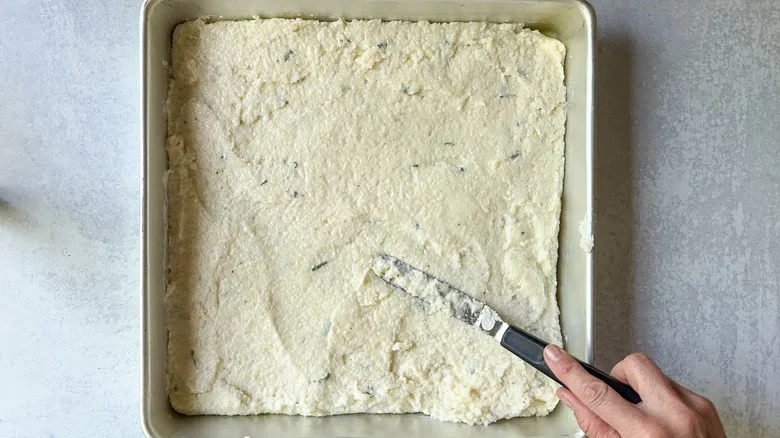
Utilize an offset spatula to evenly distribute the grits in the pan.
Step 9: Chill the grits
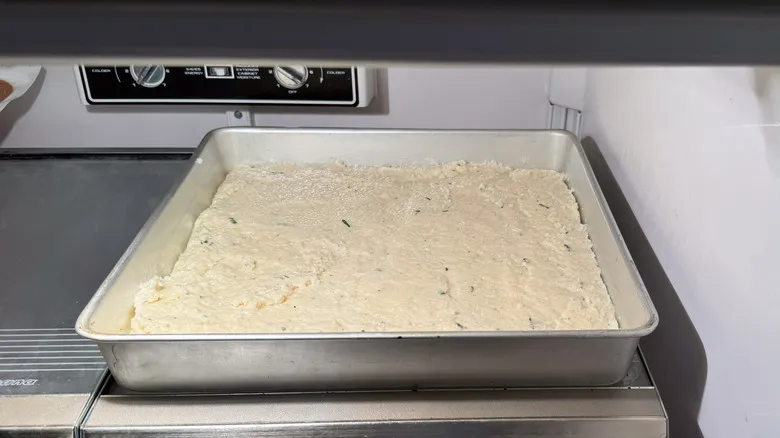
Allow to cool slightly, then transfer the pan to the refrigerator for a minimum of 2 hours to set (cover the pan with plastic wrap if refrigerating for an extended period).
Step 10: Preheat the oven
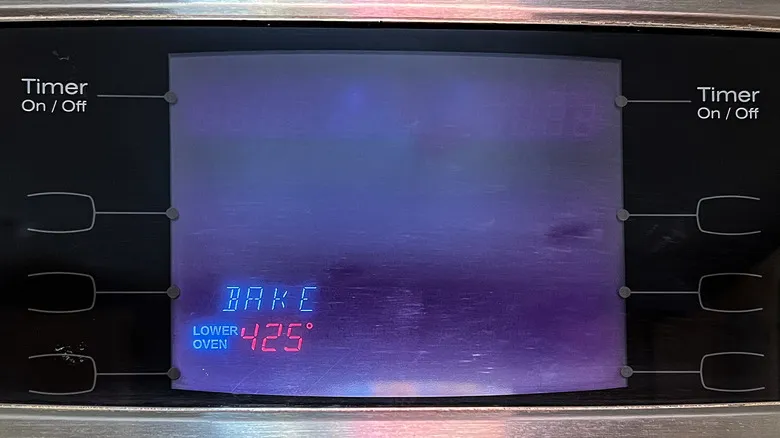
Set the oven temperature to 425°F.
Step 11: Prepare a sheet pan
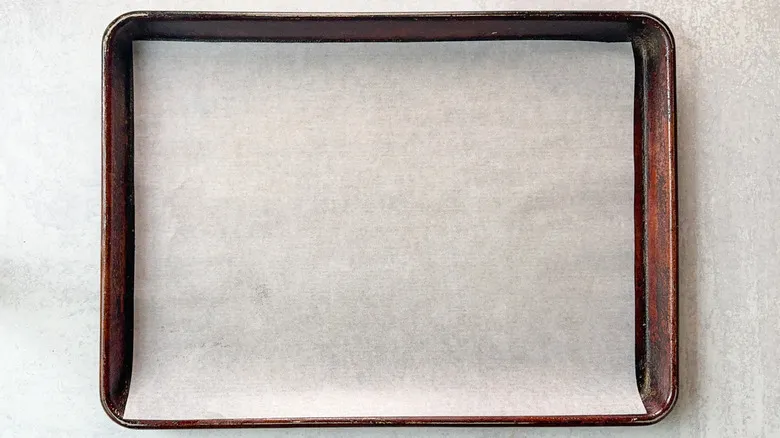
Line a baking sheet with a sheet of parchment paper.
Step 12: Cut the grits into rounds or squares
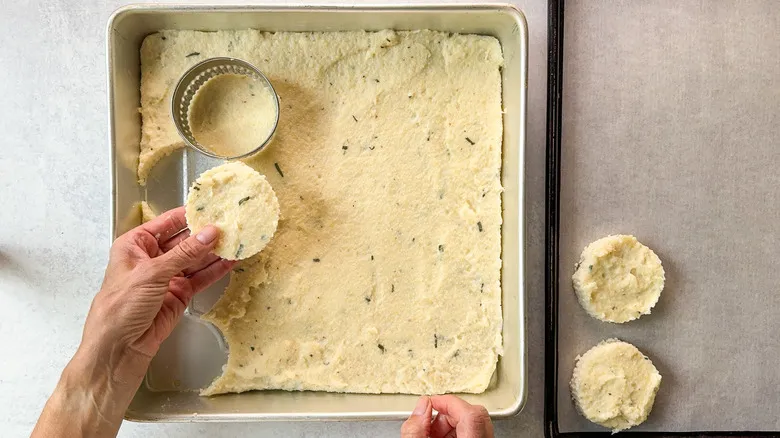
Utilize a 3-inch round cookie cutter to shape the grits into cakes. Move the cakes onto the sheet pan. Alternatively, you can cut the grits into 16 squares.
Step 13: Brush the grit cakes with truffle oil
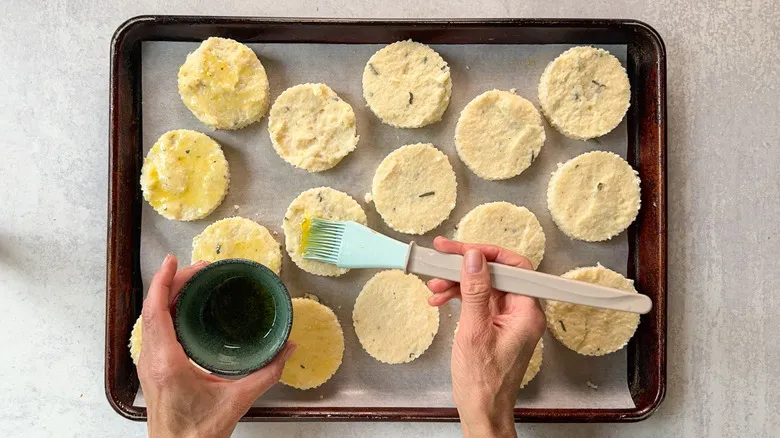
Applying cheesy truffle grit cakes to a sheet pan with truffle oil using a pastry brush.
Step 14: Bake the grit cakes
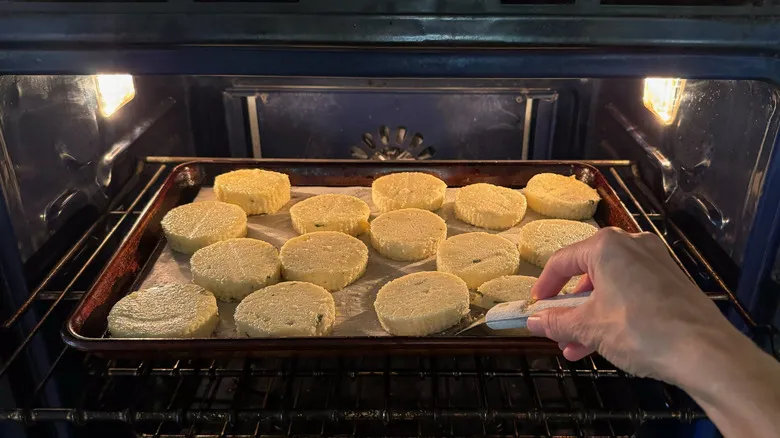
Turning cheesy truffled grit cakes on a sheet pan in the oven with a spatula.
Step 15: Heat the remaining butter in a skillet
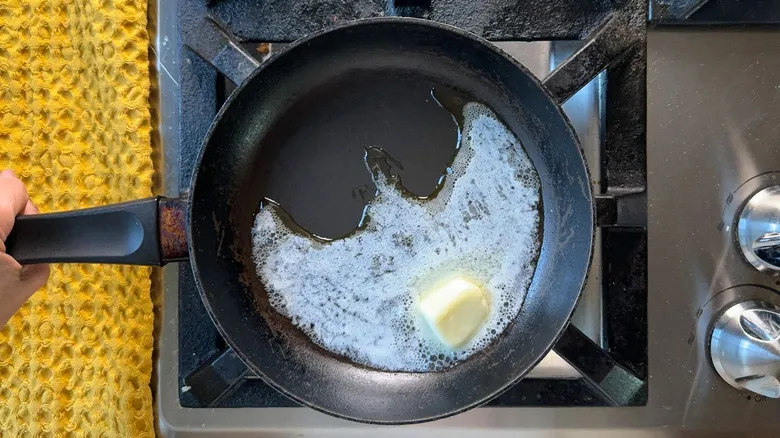
As the grit cakes bake, melt the remaining 2 tablespoons of butter in a small skillet over medium heat.
Step 16: Fry the whole sage leaves
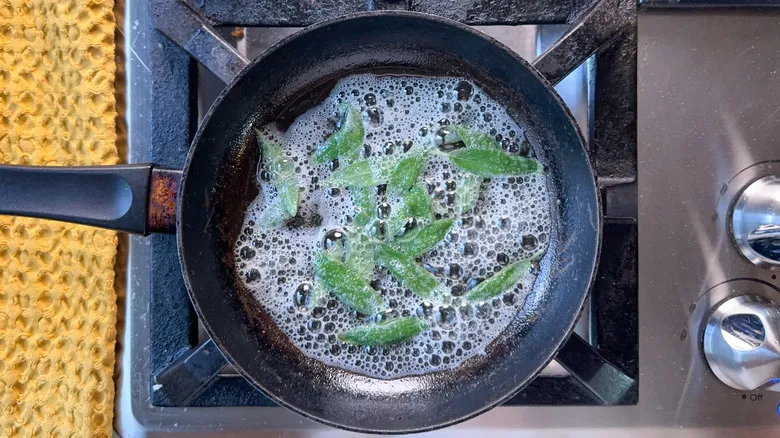
When the butter starts to foam, incorporate the whole sage leaves and sauté until they become crispy, which should take around 5 minutes.
Step 17: Drain the sage leaves
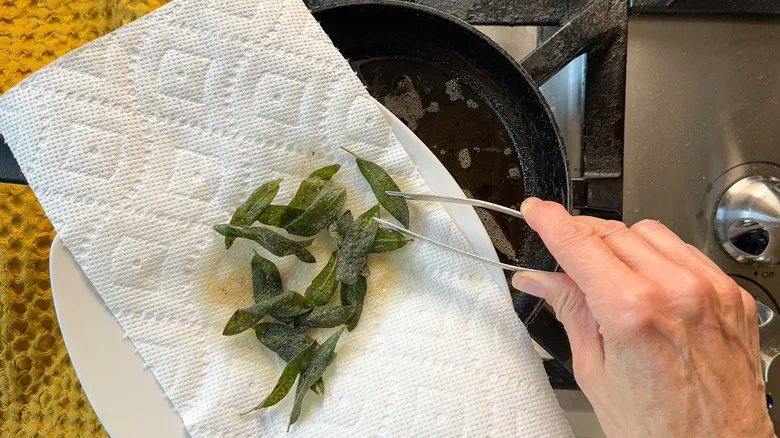
Move the sage leaves onto paper towels to absorb the extra fat.
Step 18: Serve the cheesy truffled grit cakes with the fried sage
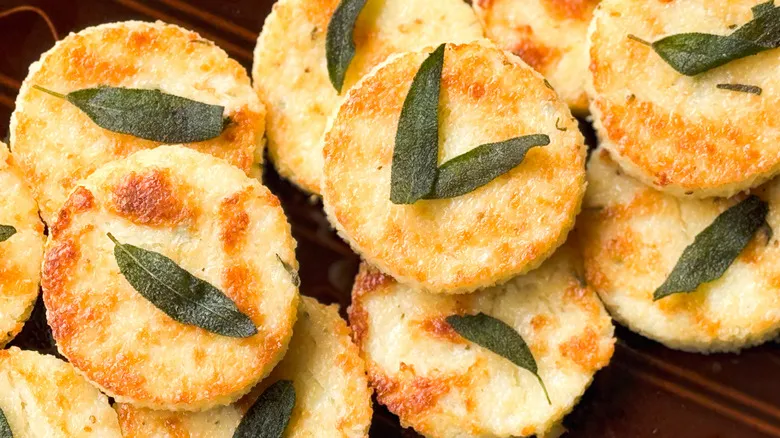
Take the grit cakes out of the oven and serve right away with the crispy fried sage leaves.
What is the difference between stone-ground and quick-cooking grits?

Long before Europeans settled in the Southeastern region that would later become the United States, grits were already a fundamental part of the diet for the Muskogee tribes. The Native Americans shared their knowledge with the settlers on how to grind and prepare dried corn into a smooth porridge. The plentiful and inexpensive nature of grits made them an essential food for both sustenance and pleasure. The traditional stone-ground grits available in grocery stores today closely resemble those made by the native tribes, featuring a coarser texture and requiring a longer cooking time.
For classic recipes, Kinnaird recommends stone-ground grits for their rich texture and creamy consistency when cooked slowly. In contrast, quick-cooking grits can be prepared in about half the time (five to ten minutes compared to twenty to thirty) due to their finer grind. Kinnaird favors quick grits for her cheesy truffled grit cakes, as their delicate texture creates a pleasing contrast between the soft interior and the crispy exterior.
What can you do with leftover grit scraps?

If you decide to cut the cooled grit mixture into rounds or various shapes using cookie cutters, you'll end up with a collection of grit "scraps." Instead of discarding these, Kinnaird suggests transforming them into crispy, cheesy croutons. Begin by cutting the grit scraps into cubes, then arrange them on a small baking sheet lined with parchment paper. Toast them in the oven or an air fryer at 425°F, stirring occasionally until they become extra crispy and golden. The outcome is the perfect crouton, boasting a cheesy truffle flavor, a crunchy exterior, and a tender interior.
These croutons are fantastic on salads, in tomato soup, or sprinkled over casseroles. They also make a delightful snack on their own! For an extra burst of flavor, toss them with garlic butter or chili powder.
Recommended

Banh Mi Spiral Cut Hot Dog Recipe
The Methodology For This Chicken Sandwich Ranking Is Flawed, But Hilarious
Lemon Curd And Peanut Butter Is An Unforgettable Sandwich Combo

Easy Classic Buffalo Wings Recipe
Next up