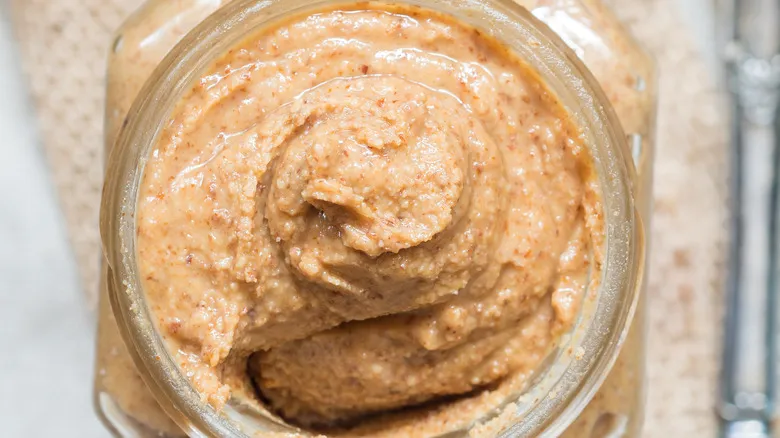
Choose your nut (or legume, or seed)

Typically, nut butters are not mixed, as using a single type allows the unique flavor of that variety to shine through. However, feel free to experiment! Regardless of your choice, it's advisable to purchase whole, raw nuts from the bulk section, as they are usually fresher and more cost-effective. Opting for pre-roasted, salted nuts can undermine your ability to control the flavor of your nut butter, but again, don’t hesitate to try whatever you like (honey-roasted peanuts can work too)! To create one jar of nut butter, you'll need between 2 and 4 cups of nuts. You can also incorporate sunflower and sesame seeds in a similar manner.
Prep them for processing, toasted vs. raw, and should you soak?
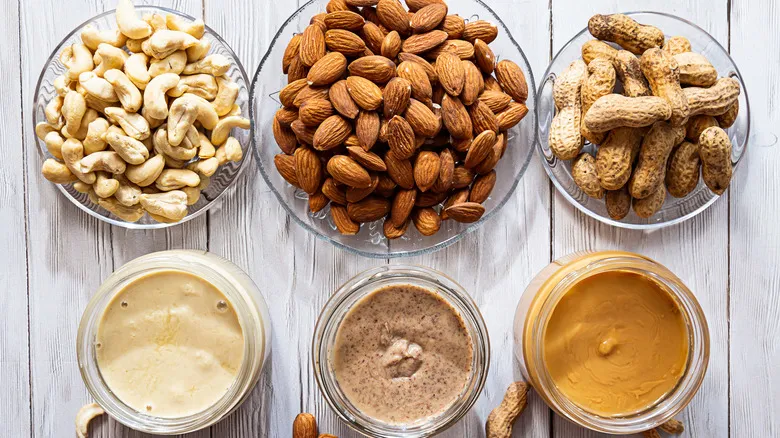
Many recipes suggest lightly toasting your nuts. To do this, preheat your oven to 350°F, spread the nuts in a single layer on a rimmed baking sheet, and roast them for 5 to 15 minutes. The exact time will vary based on your oven, the type of nuts, and your desired level of toasting. Check them every 5 minutes, giving the pan a shake or stirring with a spatula to ensure even toasting. Remove the nuts when they are golden brown and aromatic; your sense of smell is a great guide for knowing when they’re ready. If you catch a whiff of them before the timer goes off, check immediately, as they could be close to burning.
You can also opt for raw nut butter, which may offer some health benefits, though likely not enough to make a significant impact. The primary difference will be in flavor; toasted nut butter tends to have a richer, more complex taste.
Another alternative is to soak your nuts in water to eliminate naturally occurring compounds that might hinder nutrient absorption, which could also enhance their flavor. However, if you choose to soak them, you’ll need to dehydrate the nuts afterward, regardless of whether you toast them as a final step. Many people skip this process for convenience, but it’s worth considering.
Removing skins
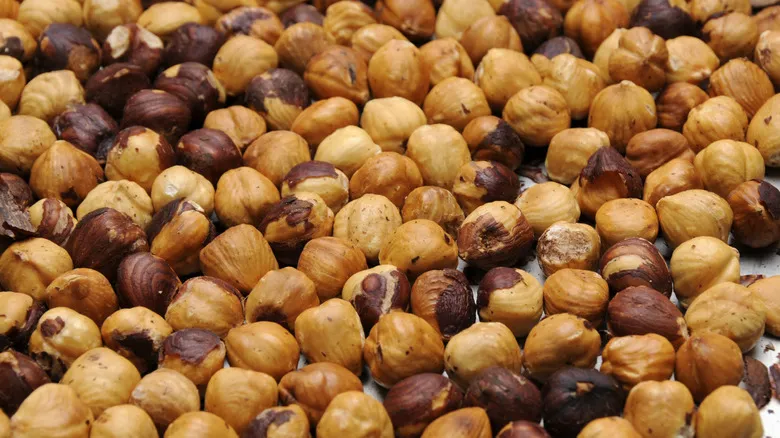
When toasting your nuts, there's no need to let them cool all the way down. In fact, since they tend to harden as they cool, using them while they're still slightly warm can make blending easier. Just wait until they're cool enough to handle, then peel off any skins, as they can add bitterness and affect the texture of the nut butter (though some people actually prefer to keep them on). It's fine if a few stubborn bits remain, but the more skins you can remove, the better. A handy trick is to place a handful of nuts in a cotton kitchen towel and rub them vigorously to help loosen the skins.
Pre-chopping
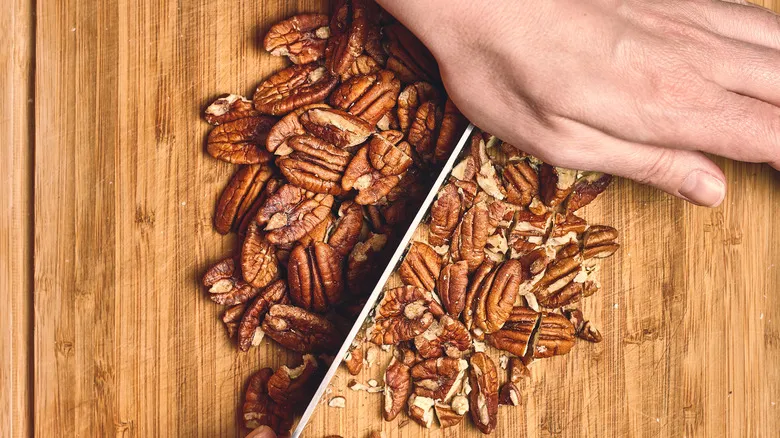
If your blender is a true powerhouse, there's no need to chop the nuts at this stage. However, if you have any doubts about your appliance's strength, roughly chopping the nuts with a knife—particularly for tougher varieties like almonds and hazelnuts—can ease the strain on the motor. Additionally, if you prefer a chunky nut butter, set aside a handful of toasted nuts, chop them to your liking, and mix them in at the end.
Blitz them up
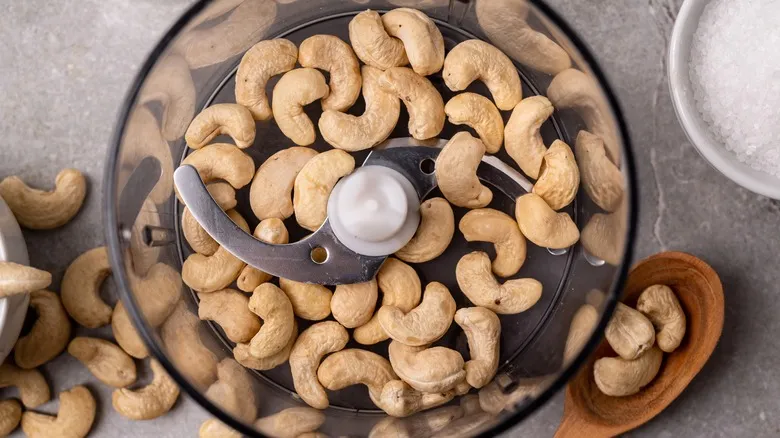
The blending stage of creating nut butter can be quite time-consuming, and it may seem like the ingredients will never come together, but they will eventually! A more powerful blender or food processor will speed up the process, though the type of nut also plays a role; for example, cashews are softer and oilier than almonds, so they break down more quickly. However, they may take a bit longer to fully emulsify because their oils tend to resist separation and dispersion. Regardless of the nut you choose, simply pour them into your food processor, secure the lid, set it to the highest power, and let the blades do their job. Remember to scrape down the sides of the container as needed, and allow the machine to rest for about 10 minutes if the motor shows signs of overheating. The nuts will transition from chopped to pulverized, then to a thick paste, and finally achieve a smooth, creamy nut butter consistency.
Adjust the texture
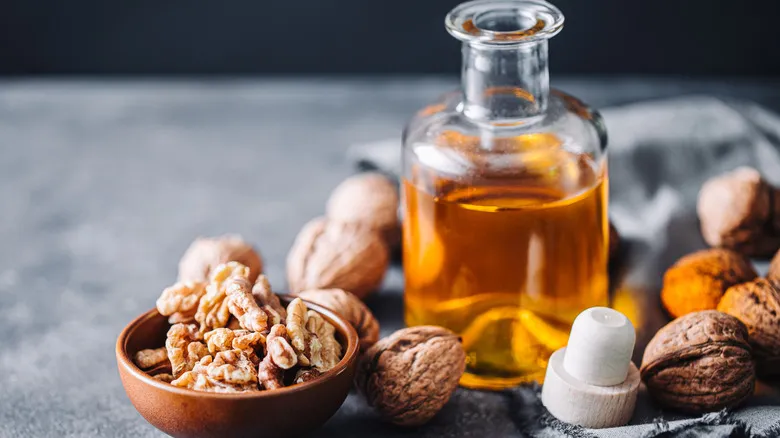
If you've been blending for about 15 to 20 minutes and the desired texture still hasn't formed, try adding a teaspoon of neutral oil (or nut oil) gradually to assist the process. Continue to add small amounts until you achieve the consistency you prefer. If you're aiming for a smoother, store-bought style peanut butter (like Jif), consider incorporating Crisco or another shortening, or even lard if you enjoy the peanut butter-bacon mix! Once the texture meets your liking, and if you set aside some chopped nuts for a chunkier version, now is the perfect moment to mix them in.
Season (or don't) to taste
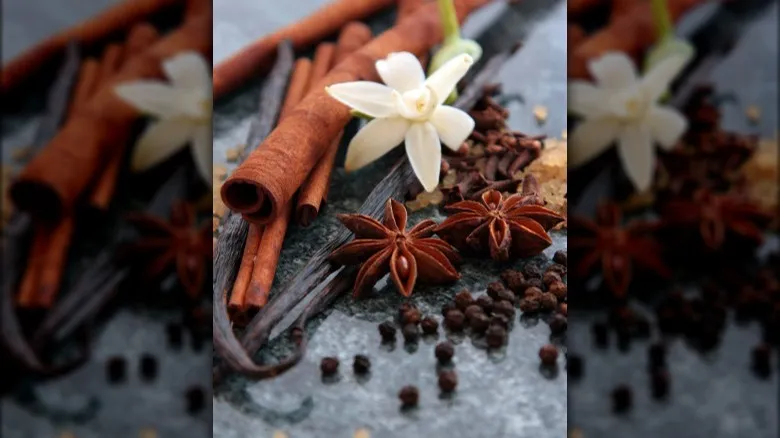
To wrap things up, give your nut butter a taste. If you enjoy it as is, there's no need to change anything. However, if you feel it could use a little enhancement, consider adding a small pinch of salt and/or sugar, or perhaps a touch of honey, maple syrup, agave, or another sweetener—just be cautious with the amounts. Mix thoroughly and taste again before adding more. That’s all your basic nut butter really requires, if anything at all. If you’re feeling adventurous, this is the perfect time to incorporate various spices (like cinnamon, ginger, cayenne, or vanilla) and mix in extras such as chia seeds, chocolate, and more.
How to store it
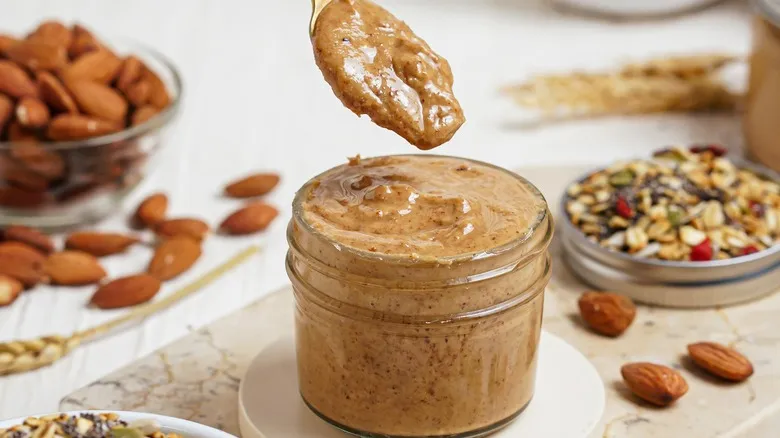
Since nut oils can spoil relatively quickly, it's best to keep your nut butter in an airtight container—glass Mason jars work well—in a cool, dark location like a pantry, garage, or cupboard away from the stove. The refrigerator is the ideal storage option, as it helps maintain freshness and prevents bacterial growth (which is especially crucial for homemade, preservative-free nut butters!). However, I personally don’t refrigerate mine because (a) it becomes too firm in the fridge and isn’t as easy to spread right away, and (b) I consume nut butter so quickly that it rarely has a chance to go bad. But you know the saying, "Do as I say, not as I do..." and the more contemporary version: "You do you!" (Just play it safe and store it in the fridge if you think it will take you more than a few weeks to finish your jar—or consider making smaller batches of about 1 cup of nuts to start with.)
A note on equipment
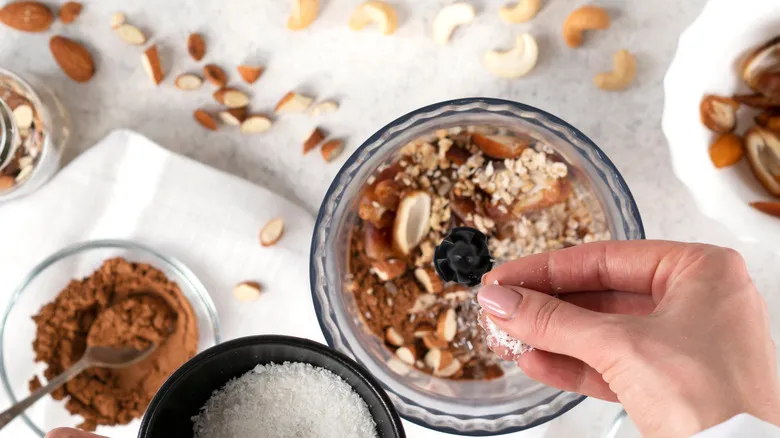
To create the smoothest nut butter in the least amount of time, without the fear of damaging your valuable kitchen appliances, it's essential to invest in the best food processor or blender within your budget. While food processors are typically regarded as superior for making nut butter, either option requires sharp, durable blades and a powerful motor, which usually come at a higher price. However, this investment will pay off, as you'll discover numerous other uses for the appliance.
At the premium end of the home blender market is the Vitamix, which typically starts around $300 and often costs more. A slightly more affordable option is the Cuisinart 14-cup food processor, priced at about $200. Another well-known brand is Ninja, which can effectively handle the task, but requires you to hold it down instead of just pressing a button. Since it's designed for shorter blending sessions, you may need to pause it between uses. Nevertheless, it is significantly cheaper, ranging from $40 to $50 depending on the model and any sales, making it a potentially better option.
If your blender or food processor is more of a lightweight than a heavy-duty machine, consider using softer nuts, like cashews instead of almonds, to reduce strain on the appliance. Be sure to give it breaks during the blending process to prevent overheating the motor.
DIY
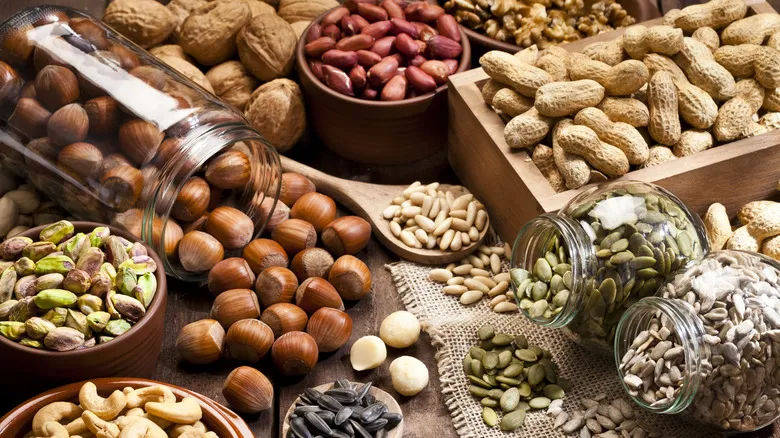
Now that you’ve discovered how simple it is to create nut butter at home, why not give it a try? You might want to explore some of these exciting flavor variations. Will you begin with unique nut butters such as pistachio or chai-spiced almond butter? Perhaps you’ll opt for a gourmet nut butter that makes a perfect gift, like salted maple pecan butter? Or will you kick off your nut butter adventure with a timeless favorite like chocolate peanut butter?
Chai spiced almond butter
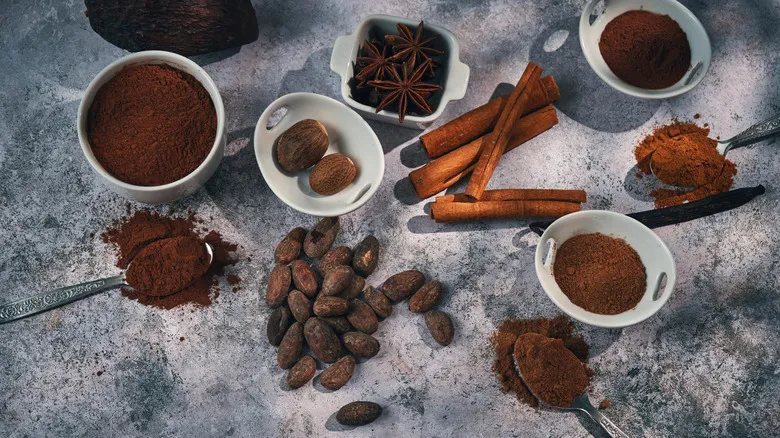
The rich flavors of cloves, cinnamon, cardamom, and nutmeg enhance the already-delicious almond butter, and they pair wonderfully with peanuts, cashews, and other nuts as well. Both green and black cardamom would be excellent choices here, and for an extra touch, consider toasting and grinding your own spices. A hint of ginger can also be a delightful addition, so be ready to whip up another batch quickly, as this will disappear fast!
Homemade salted maple pecan butter
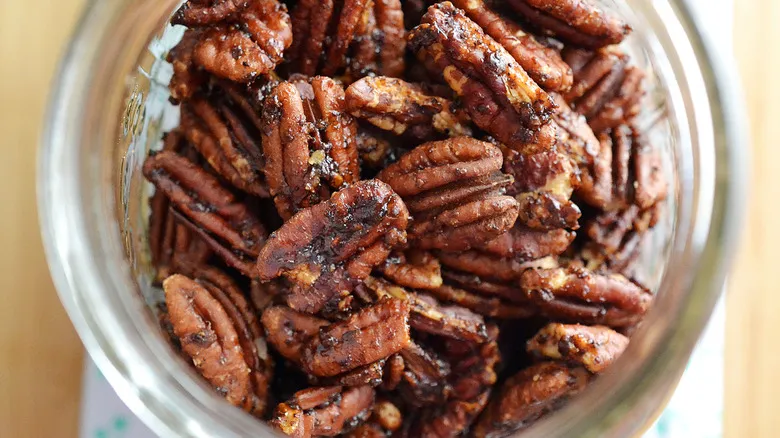
Pecan butter may not receive as much attention as other nut butters, but it’s equally delightful, whether enjoyed on its own or enhanced with flavors like dark chocolate or a blend of sea salt and maple. One exceptional pairing we've sampled is salted maple pecan, guaranteed to wow your guests. If you love pecan pie, this nut butter is perfect for you. You could even create a variation inspired by black-bottomed pecan pie by adding dark chocolate.
Homemade chocolate peanut butter
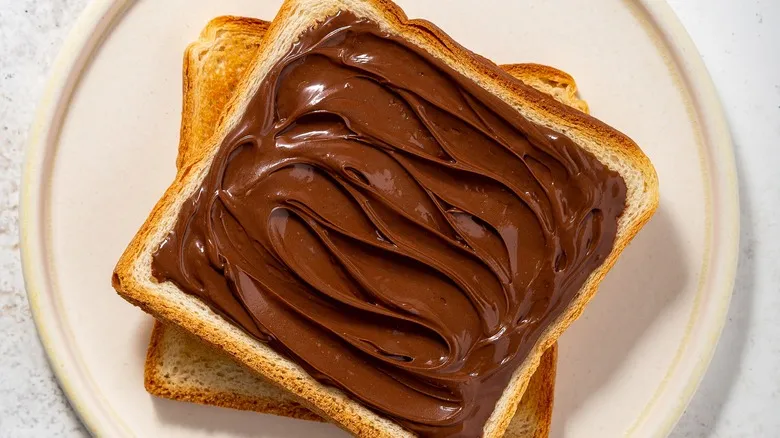
Eliminate the hassle of spreading peanut butter on chocolate by blending the two together, making it easy to spread on toast or enjoy straight from a butter knife (let's be honest, we’ve all done that). This delightful mix is perfect for breakfast, but it also makes an ideal midday snack when paired with pretzels. And after dinner, it’s just as indulgent when served with fruit, providing a simple yet delicious dessert option.
Roasted strawberry walnut butter
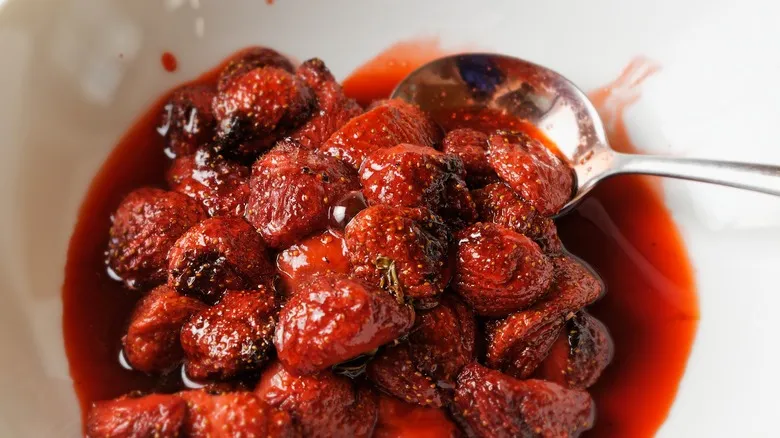
Walnut butter is a unique alternative that can be a delightful addition to your pantry. Packed with omega-3 fatty acids and beneficial for heart health, as noted by the American Heart Association, walnuts are an excellent choice for incorporating nut-based protein into your diet. They are typically more affordable per pound compared to pistachios or pine nuts. This version includes dried strawberries, offering a creative twist on the classic PB&J, all conveniently contained in one jar.
Homemade pistachio butter
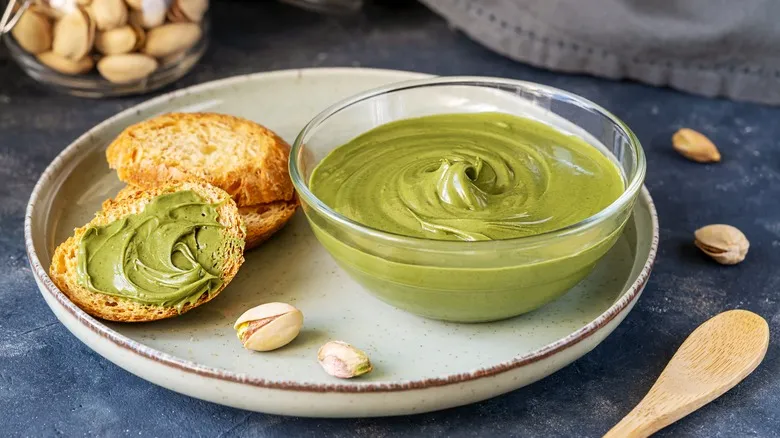
Rich and vibrantly green, pistachio butter can be quite pricey, but it's significantly more affordable when made at home! Incorporate it into ice cream, spread it on bread, or use it to elevate a plated dish. It adds a stunning touch alongside a refined vegetable presentation or an upscale bread platter. If you can source unshelled pistachios, you'll save some effort, but be aware that the cost may mirror the labor involved in shelling them.
Macadamia cashew butter
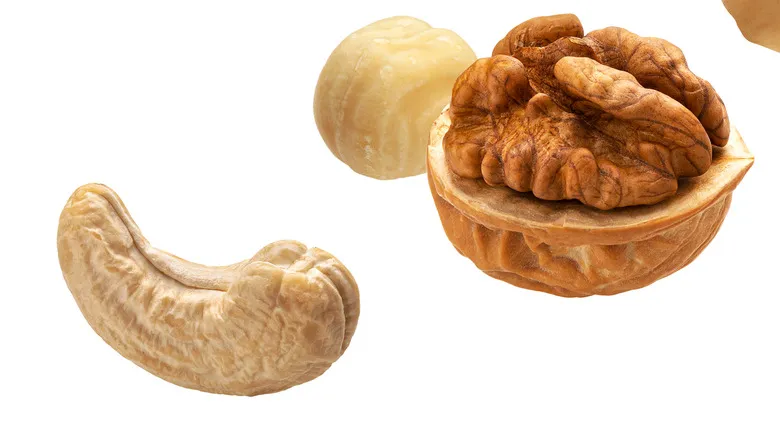
Macadamia nuts make a fantastic single-ingredient butter, but when combined with creamy cashews, you get an incredibly smooth nut butter that’s perfect for spreading on just about anything. It pairs wonderfully with black rice, roasted squash, and fresh herbs like cilantro or parsley. If macadamia nuts are hard to find or too pricey in your area, walnuts can be a great alternative.
Vanilla cinnamon espresso hazelnut butter

Hazelnut butter is a particularly indulgent variety. While you can certainly create a superior homemade Nutella compared to the store-bought versions, consider enhancing it with vanilla, cinnamon, and espresso for a unique twist. It makes for a delightful conclusion to any meal. If you prefer, you can incorporate vanilla bean into your nut butter instead of using extract, especially if you enjoy the aesthetic appeal of those lovely specks of vanilla bean in the final result.
Super seedy sunflower butter
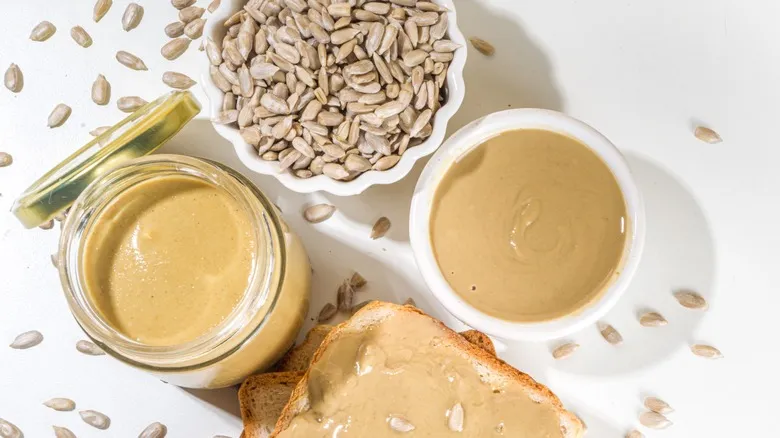
If nuts aren't your thing, you can whip up some creamy sunflower butter instead and customize the flavor to your liking. Honey pairs beautifully with it, particularly in oatmeal. It blends nicely into squash soup or can be drizzled over roasted carrots to elevate your side dishes. You might also consider incorporating a variety of seeds such as flax, hemp, pumpkin seeds (or pepitas), and chia seeds for added crunch and a nutritious boost.
Recommended
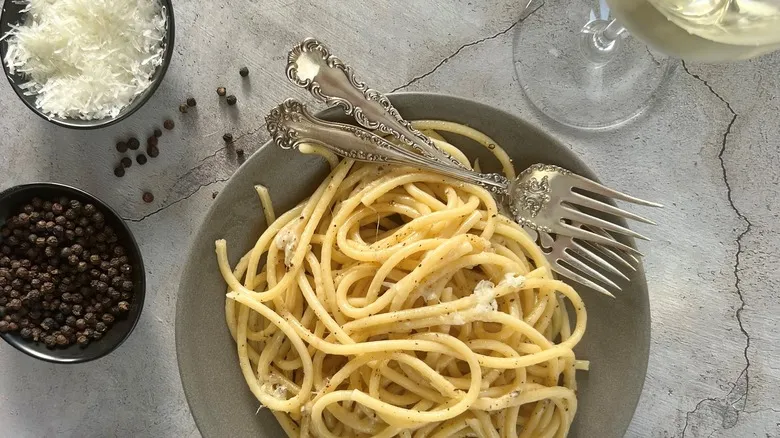
Simple, Classic Bucatini Cacio E Pepe Recipe

Grilled Flank Steak Tacos With Stone Fruit Salsa Recipe
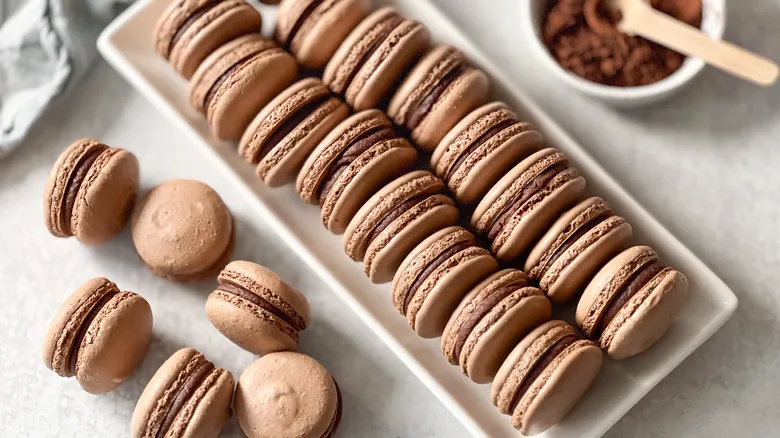
Delicate, Decadent Chocolate Macarons Recipe
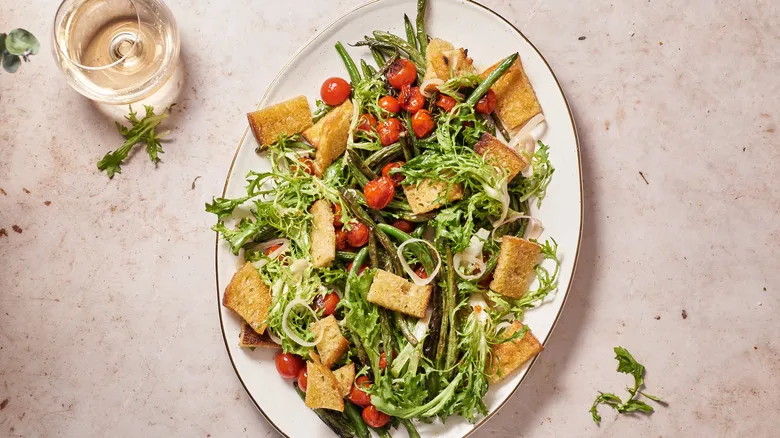
Green Bean And Tomato Panzanella Salad Recipe
Next up

