
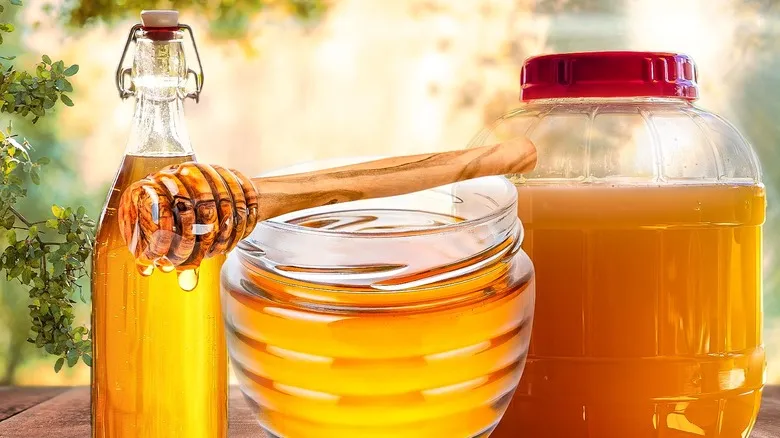
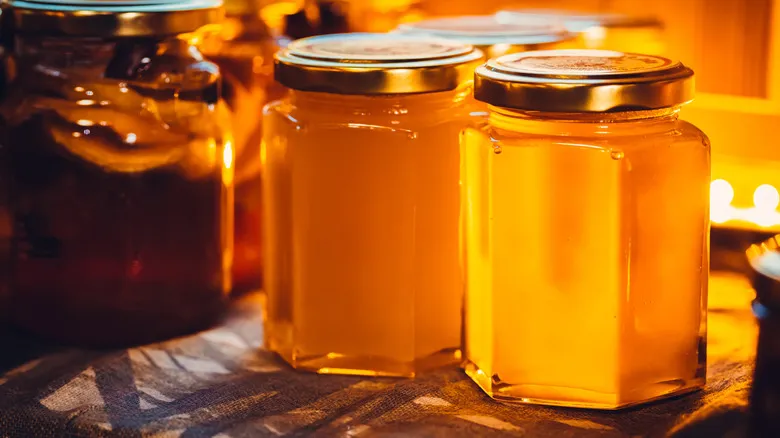
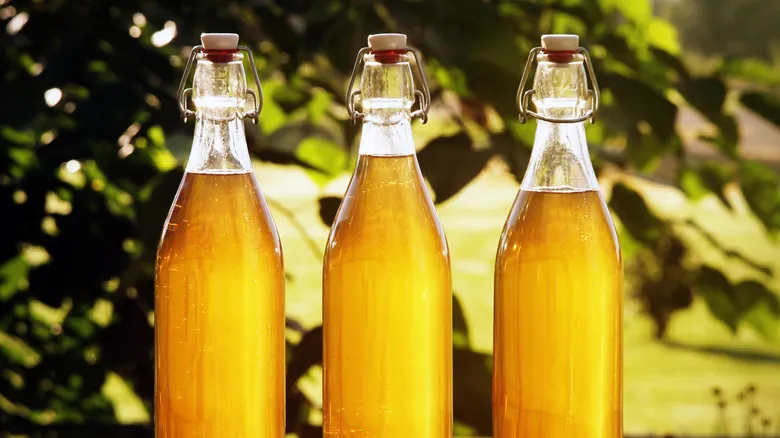
What is mead?
Mead, an alcoholic drink crafted from honey, differs from wine, although they share some common traits. If you envision a thick, overly sweet beverage reminiscent of diluted honey, prepare for a delightful revelation — the realm of mead is far more varied than many assume. Even if sweet drinks aren't your preference, you can still appreciate dry meads. For those who enjoy the effervescence of beer and seltzer, sparkling meads are also available. If you love hard cider, consider trying cizer, which is mead infused with cider or apple juice. Fruit enthusiasts can savor melomel, a mead enhanced with fruits like berries or citrus. Lastly, if you enjoy cocktails with spiced or herbal flavors, metheglin, a mead infused with herbs and spices, may be to your liking.
While many are familiar with mead's ancient legacy tied to medieval Europe, its origins extend much further back. The earliest forms of mead are believed to have emerged in Africa, dating back 20,000 to 40,000 years. The ancient Greeks held mead in such high esteem that they regarded it as the drink of the gods, imbued with magical and healing properties. Various cultures worldwide, from the Incas and Aztecs in the Americas to those in Scandinavia and Egypt, have created their own unique versions of mead. So, if you enjoy mead, you’re part of a much larger community than you might think.
Before you make mead
Creating a basic mead involves relatively minimal hands-on effort, but it still requires attention and time. Like all alcoholic beverages, mead must undergo fermentation and aging, which can take several weeks. The exact duration will vary based on the type of mead you are crafting and the yeast you choose. If you're planning to make homemade mead for a special occasion, be sure to schedule your production accordingly—like all home brewing endeavors, mead-making is a lesson in patience.
While you might envision the process of brewing an ancient drink like mead as rough and rustic, achieving the desired flavor demands careful attention to detail. Every step, from sanitizing your equipment to incorporating the honey, should be executed with precision to avoid any undesirable flavors. So, get ready to enjoy the process—but remember to focus on each stage along the way.
What you'll need to make mead
Making mead doesn't require costly equipment. The earliest meads were simply honey mixed with water and fermented using wild yeast from the air, similar to how natural wines are made today. For those just starting out, a minimalist approach can be effective, utilizing common household items. "You'll need a fermentation vessel, some type of airlock, and cleaning supplies," advises Dan Short. While home brewing stores provide a variety of specialized tools for fermentation, Short suggests that a clean gallon pickle jar and a balloon can suffice as an airlock. This setup allows carbon dioxide from fermentation to escape while preventing outside air and contaminants from entering the fermenter.
Matt Nielson offers an alternative suggestion, stating, "For beginners, I recommend using a two-gallon food-grade bucket as the primary fermenter, as it provides easy access, along with a one-gallon glass jug for secondary fermentation or aging (I prefer using apple juice or cider jugs for this purpose)." Additionally, Nielson notes that you'll need an airlock and some tubing to transfer the mead from the fermenter to the aging vessel. If you're more committed to brewing mead, Nielson suggests investing in some advanced equipment. "Some useful additional tools include a hydrometer or refractometer (to monitor fermentation progress), a medium to large scale (for measuring honey into the fermenter), and a small jeweler's scale with 0.1 gram precision (for measuring nutrients and stabilizers)."
Gather your ingredients
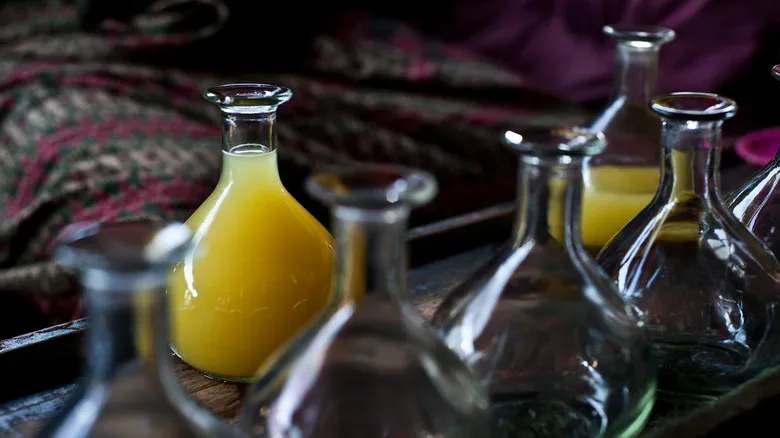
The key component in mead is honey, and you'll require a substantial amount. "To create a traditional mead with a wine-like strength (12-14% ABV), you'll need about 3 pounds of honey for every gallon of liquid. For a 5-gallon batch, you'll need one gallon of honey, which weighs around 12 pounds," explained Matt Nielson. The type of honey you choose is also significant. "What I love most about mead is the diverse range of honey options: Wildflower honey is perhaps the purest representation of terroir," Nielson noted. For those just starting out, Dan Short suggests using orange blossom honey. "I believe it's the most forgiving in terms of balancing sweetness with retained flavor, as you'll lose many flavors during fermentation," he mentioned.
In addition to honey, you'll need yeast, specifically varieties designed for brewing—baking yeast from your pantry won't suffice. To promote consistent fermentation, Nielson also advises using yeast nutrients. "It's important to remember that honey is very low in nitrogen, which is essential for yeast health and growth," he clarified. "Using a supplemental yeast nutrient (like Fermaid O) is highly recommended, as it can significantly enhance the quality of your mead."
Sanitize your equipment
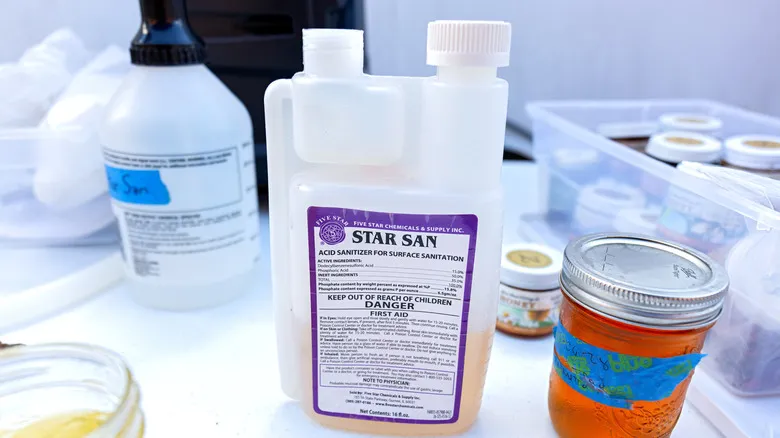
Before you begin crafting your mead, it's essential to sanitize all items that will come into contact with your ingredients—this includes measuring cups and spoons, funnels, stirring tools, as well as your fermentation vessel and airlock. While your equipment doesn't need to be as sterile as a clean room, it does require a more thorough cleaning than a simple wash in the sink. "Failing to keep things sterile is the biggest mistake," warns Dan Short. Avoid shortcuts in this process; any dust or bacteria on a stirring tool or in a fermenter can ruin your mead before you even start. As Short points out, "75% of brewing is cleaning."
"All equipment should be washed with either dish soap or an enzymatic, fragrance-free detergent," suggests Nielson, who recommends products like Seventh Generation dish soap or a specialized cleaner such as Powdered Brewery Wash (PBW). Ensure that any visible grime is removed before proceeding to the final sanitization step. "A food-grade, no-rinse sanitizer like StarSan is highly recommended," he adds. "These sanitizers require only a brief contact time and do not need rinsing." Nielson also notes that if you use StarSan, there's no need to worry about any residual foam left in your fermentation vessel after sanitization—it's completely safe and will not impact the flavor or fermentation of your mead.
Combine your honey with water
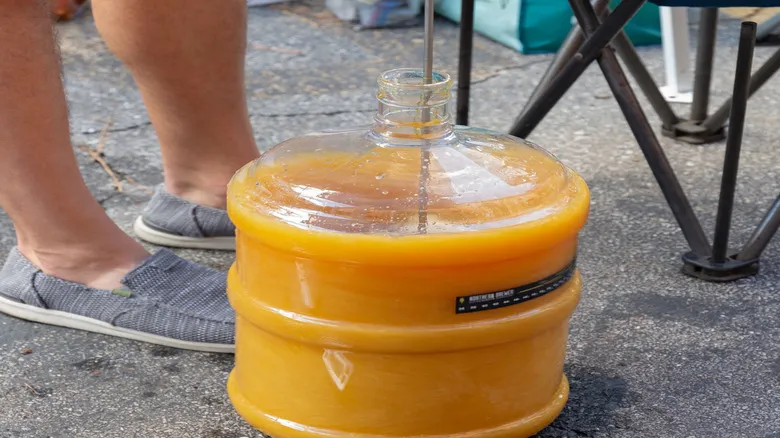
Many individuals picture homebrewing as a complicated endeavor filled with extensive boiling and mixing, which can indeed be the case for certain beer styles. However, mead—particularly when starting with a simple, beginner-friendly recipe—is surprisingly easy to create. All you need to do is combine honey with water until it dissolves, then add yeast and yeast nutrient, and simply wait. There's no need to heat the water. "Heating or sterilizing the water beforehand is unnecessary," explains Matt Nielson. The natural antiseptic properties of concentrated honey are the reason it never spoils, and all other equipment should already be sanitized. While regular tap water is acceptable, Richard Furlong suggests, "I recommend using bottled water from the store."
If you've ever struggled to mix a stubborn clump of honey into a cocktail instead of using simple syrup, you know that dissolving honey can require some effort. This is especially true when dealing with several pounds of honey combined with a gallon or more of water. Nielson prefers to mix half of the water into the honey before adding the rest. While a long-handled spoon or balloon whisk can be used to combine the honey and water, Nielson accelerates the process by using a lees stirrer, like the Stainless Steel Mix-Stir, attached to a cordless drill. As he puts it, "Work smart, not hard."
Add the right yeast for the mead you want
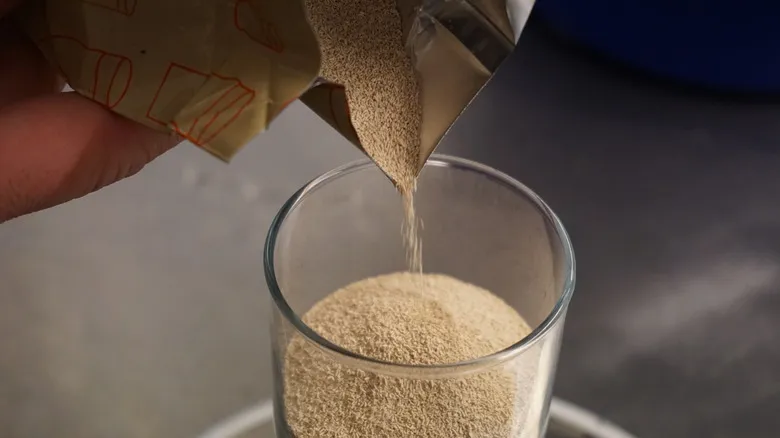
Yeast is the essential component that transforms honey-sweetened water into mead. To create exceptional mead, it's vital to select the appropriate yeast and provide a conducive environment for it to function effectively, resulting in the desired flavor profile. Fortunately, as Dan Short points out, "There are numerous commercial options for mead-specific yeasts available now." He mentioned that the yeast options vary from traditional wine yeasts, which yield drier meads, to specialized mead yeasts that halt fermentation earlier, leaving more residual sugar and producing sweeter meads.
"Some of the best choices for novice mead makers are wine yeasts that require minimal nutrients and can ferment across a broad temperature range," said Matt Nielson. "Lalvin QA23 and K1V-1116 are excellent selections." To maintain yeast health, Richard Furlong recommends injecting oxygen into the mead before introducing the yeast. "I suggest using pure oxygen with an oxygen wand from your local brew shop to aerate your mead," he advises. "It's nearly impossible to achieve the right amount of O? in your mead just by shaking; using pure O? will help prevent fermentation issues. You only need about 30 seconds of O? for a 5-gallon batch." Additionally, as Nielson previously mentioned, incorporating a yeast nutrient can further support the thriving of your yeast.
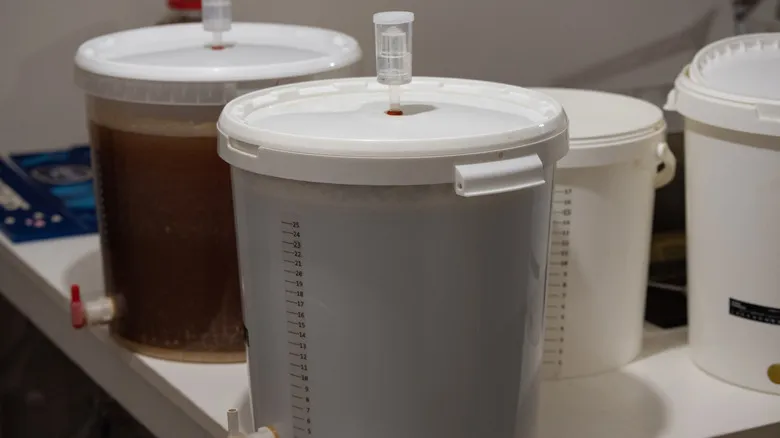
Find a safe place for your mead to ferment
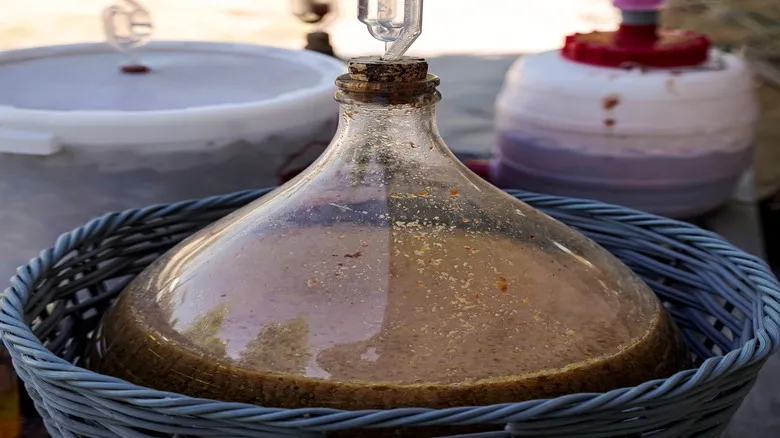
After adding yeast to your mead, it's time to allow it to ferment. Since the mead will bubble and expand as the yeast produces gas, it's important to use a fermenting vessel that is large enough to accommodate everything without spilling. "One common issue during fermentation is that a vigorous reaction can cause your container to overflow, especially if you're adding nutrients," says Matt Nielson. "To avoid this, simply use a larger vessel." The ideal container for fermenting mead should provide easy access and be approximately 1.25 to 2 times the size of your batch. For a 1-gallon batch, a 2-gallon bucket works well; for a 5-gallon batch, a 6.5-gallon bucket offers ample space.
Once your mead is in the fermenter, the next step is to place it in an area with a relatively stable temperature. "Avoid making it in your kitchen," warns Dan Short. "The temperature will fluctuate too much, and it could get too hot or too cold." These temperature changes can stress the yeast. However, you don't need to overthink where to store it. "I always suggest using the closet you visit the least and placing it in the back," Short advises. Fermentation, as Richard Furlong explains, typically takes three to five weeks. "You'll notice a layer of yeast sediment at the bottom of your carboy. That's when you should transfer your mead to a smaller carboy," he notes, emphasizing that this helps prevent oxidation by minimizing headspace. This shorter secondary aging period, according to Furlong, is meant to separate the mead from the yeast and allow it to settle and clarify.
Add flavorings, if desired
One of the aspects that both mead makers and enthusiasts appreciate about mead is the vast array of flavors it can possess, depending on the ingredients chosen by the maker. Innovative mead artisans have created variations infused with everything from berries and chilies to spices and chocolate, sometimes even drawing inspiration from Mexican hot chocolate by combining these elements. While it's advisable for beginners to keep their initial batch straightforward, exploring other flavoring possibilities is always beneficial.
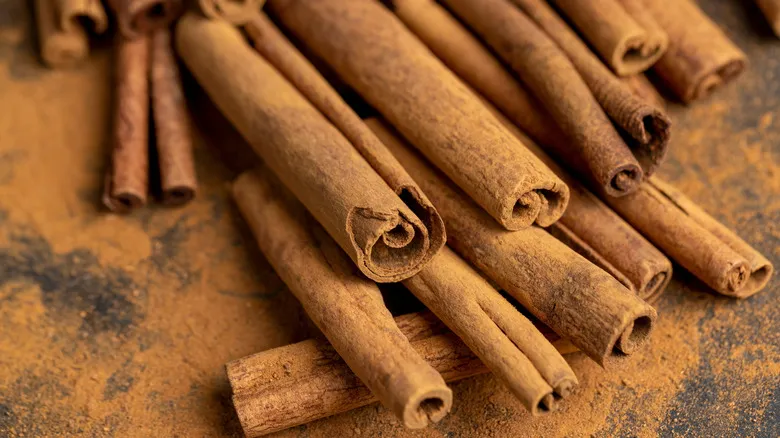
Flavoring agents can be introduced either during the primary fermentation phase or during the aging process, once the mead has been separated from the yeast and transferred to a smaller vessel. "Generally, ingredients added during fermentation will undergo flavor transformations due to the yeast, while those added post-fermentation or during aging will retain their original character," explains Matt Nielson. "For fruits, it's best to add them during aging for a fresh fruit profile, while adding them during primary fermentation will yield a more integrated, wine-like essence. Spices should be incorporated during the aging phase." Richard Furlong suggests introducing delicately flavored fruits like mangoes and peaches during aging. To infuse your mead with spices, he advises boiling the spices to create a strong tea and adding it to taste.
Bottle the finished mead
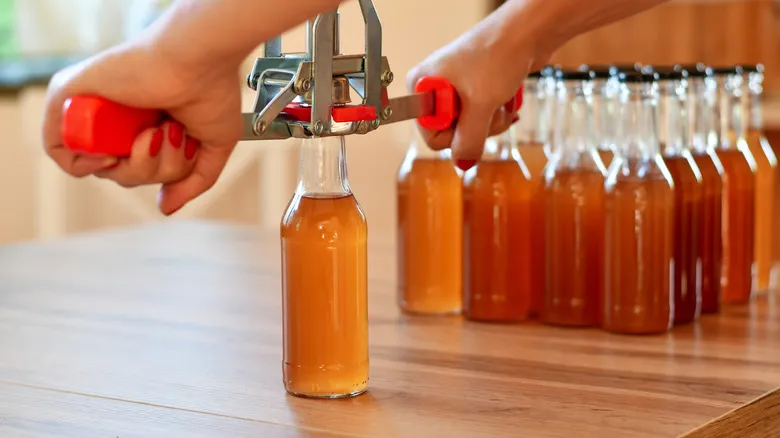
Once your mead has settled and been flavored, it’s time to bottle it for storage and serving. "Bottles of various sizes are a common packaging choice for mead," says Matt Nielson. "Standard 12-ounce beer bottles and caps are a readily available and cost-effective option, as are swing-top bottles with rubber or silicone seals. Wine bottles (either 375 or 750 ml) also make for an appealing choice."
To facilitate the transfer of your mead from its aging vessel to the bottles, you’ll need a racking cane (a siphon that allows you to control the flow of liquid into your bottles) and food-grade plastic tubing to direct the mead from the aging container. These items can often be purchased together, such as with the Fermtech Stainless Steel Auto-Siphon. You may also require metal caps and a capper to secure them to the bottles, or alternatively, corks and a corker if you’re using wine bottles. Regardless of your bottling method, it’s crucial to keep everything that comes into contact with the beverage impeccably clean. "Once again, sanitize everything," emphasizes Richard Furlong, "including bottles, caps, bottling bucket, and bottling cane."
Store and enjoy
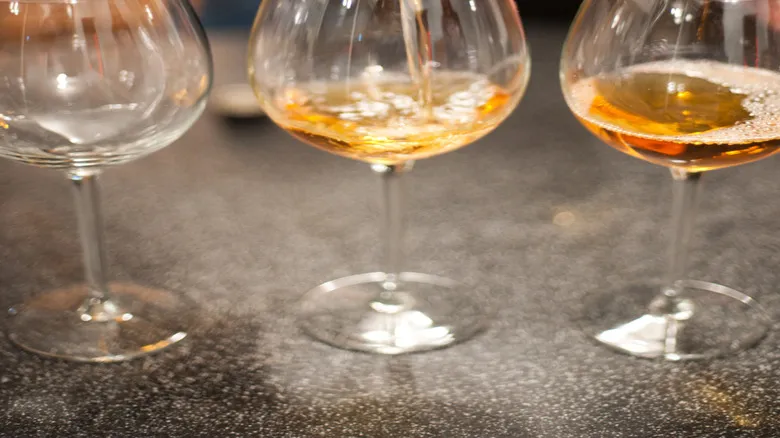
Once you've bottled your mead, it's time to share and savor it. Since you won't be consuming it all at once, it's important to store it properly to ensure each bottle remains as delightful as the last. According to Matt Nielson, "Wine bottles with natural corks should be stored on their side; all others should be kept upright." Storing wine bottles horizontally prevents the corks from drying out, maintaining an airtight seal and allowing unopened wines to age gracefully. While sealed bottles don't require refrigeration, they should be kept in a location with a consistent temperature. Richard Furlong recommends, "Store mead indoors, not in a garage where temperatures fluctuate wildly."
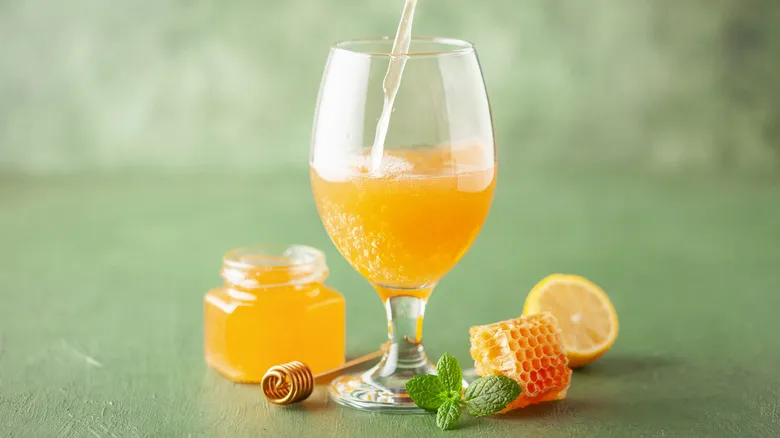
Now, how should you serve the mead you've put so much effort into creating? The simple answer is: however you prefer. Dan Short shares, "To quote one of my favorite distillers, the best way to enjoy it is whatever you think tastes best." If you enjoy it chilled, serve it that way. If you prefer it at room temperature, go for that. And if it’s meant to be bubbly but you’re not a fan of carbonation, many people choose to let it go flat and enjoy it that way.
How long does mead last?
If you create a one-gallon batch of mead, it's likely that you'll either consume it all or give it away before it has the chance to spoil. However, if you intend to save some for a special occasion, it's important to understand what to expect as it matures. "Mead can last around 3 years in bottles," explains Richard Furlong, adding that using a preservative like food-grade Potassium Sorbate can extend its shelf life. "After 3 years, oxidation may begin, and the sorbate can undergo chemical changes, potentially resulting in a celery-like flavor."
The way you seal your bottles can also affect their durability. Dan Short points out that if you're storing your mead in beer bottles, you might start to detect some undesirable flavors after about a year. In contrast, corked bottles can have a longer lifespan, depending on the type of cork used—some are designed for extended storage, like those for aged red wines, while others are meant for wines that are best enjoyed young. The alcohol content of the mead is another factor influencing its longevity. "As with any alcoholic drink, a higher ABV can lead to greater aging potential," says Matt Nielson. "An 18% ABV mead stored in wine bottles with high-quality corks can last for decades."
Recommended

The Perfect Dishes To Pair With Moscato According To An Expert

Yes, You Can Take Wine On A Plane In Your Checked Luggage. Here's How
The Best Fried Food To Pair With Stout Beers
The Reasons To Choose Boxed Wine Over Bottled
Next up