
The freezing point of ice vs. ice cream
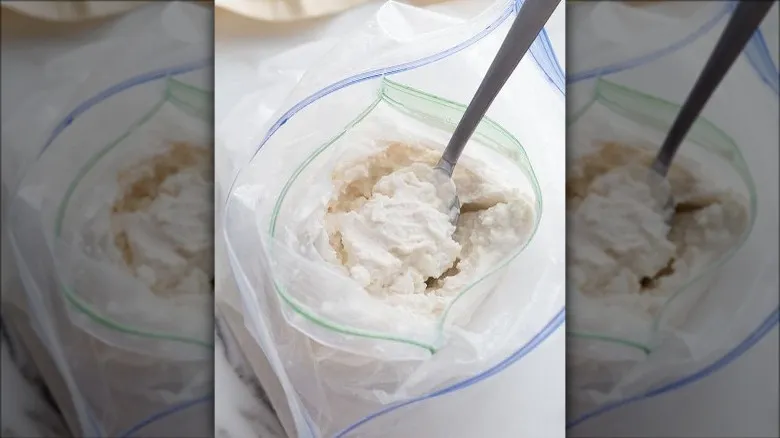
When you're making homemade ice cream in a bag, the last thing you might think about is the icy roads of winter. However, both processes share a crucial ingredient: rock salt. If you've considered making ice cream without adding salt to the ice, you might want to rethink that approach. Without this essential ingredient, the water's freezing point won't drop low enough to solidify the ice cream.
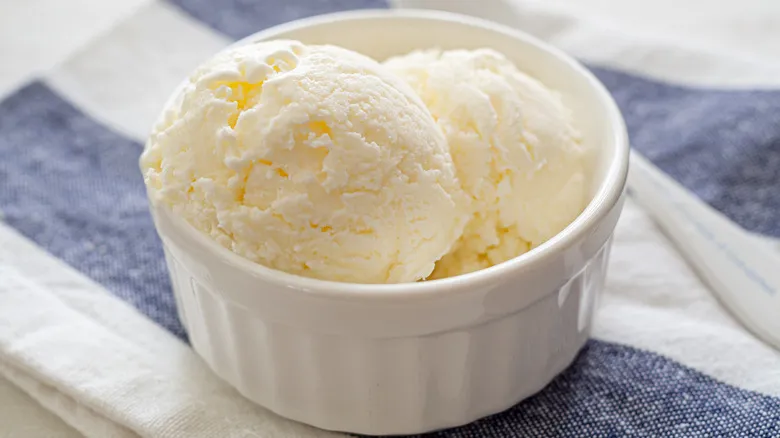
Fresh water freezes at 32 degrees Fahrenheit, while most ice creams freeze at around 27 degrees Fahrenheit. This four-degree difference is due to the fat and sugar content in the dairy used to create the ice cream. These components lower the freezing point of your frozen treat, which is why your homemade ice cream won't set if you only use untreated ice.
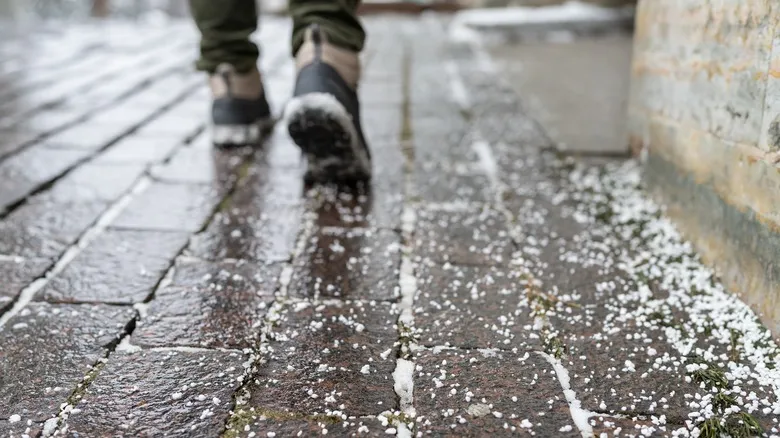
Adding rock salt to the ice alters the chemical composition of the water. Essentially, the more salt you incorporate, the harder it becomes to freeze. This means that even though the saltwater is melting as you churn the ice cream, its temperature is actually below 32 degrees Fahrenheit. Ironically, this is also the reason why spreading rock salt on roads is effective in winter; it reduces the melting point of snow, preventing ice from forming on the streets.
The role of thermodynamics, air, and other stuff
Following that, thermodynamics plays a crucial role. It's actually the heat from the ice cream ingredients that causes the ice to melt, rather than the rock salt. According to the second law of thermodynamics, heat transfers from a hotter object — the ice cream mixture — to a cooler one — the salty ice — until their temperatures balance out, ideally speaking.
Moreover, some ice cream brands contain up to 50% air, which is achieved in commercial settings using large machines that aerate the mixture. Home chefs need to find alternative methods to incorporate air into their ice cream. This is where the coffee can comes into play, and rolling it back and forth is part of the process of making homemade ice cream. And you thought it was just for entertainment!
Lastly, you might be curious why most people opt for rock salt instead of table salt when making ice cream. The reality is that any type of salt will work. However, rock salt is generally more affordable than table or kosher salt. The same quantity of salt is necessary for the chemical reaction to occur, regardless of its cost. Think of it this way: if you're going to invest a significant amount in homemade ice cream, it makes more sense to spend that money on delicious add-ins like Oreo cookies or Skittles rather than on rock salt, which is essentially the same stuff used for de-icing winter roads.
Recommended

Giada De Laurentiis' Secret Weapon For Boiling Pasta Is Italian Sea Water
Uncured Bacon Isn't Really Uncured. So What Is It?
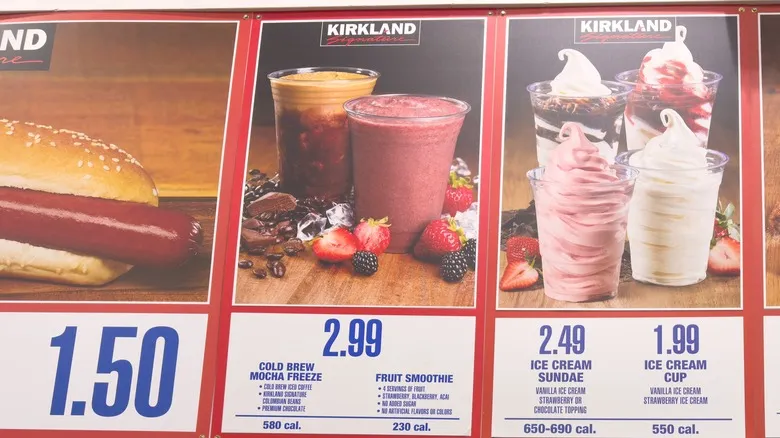
The Concerning Mystery Behind Costco's Food Court Frozen Coffee
Yes, Cheese Sweats Are A Thing — Here's Why It Happens
Next up