
A spendier, high-tech option

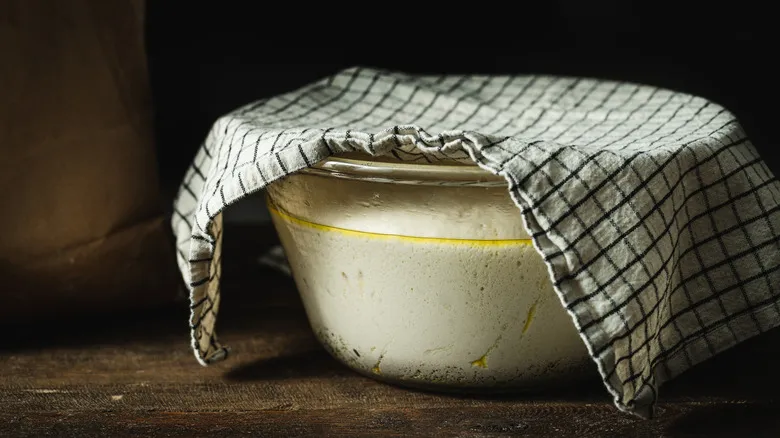
For a budget-friendly option, proofing your bread outside of a warm oven with the door ajar may seem straightforward, but it’s quite effective. The oven gently warms the dough, speeding up fermentation without actually baking the bread. One thing to keep in mind about using a towel: while it can aid in the proofing process, it has a potential downside. Nathan Myhrvold points out that if you don’t keep a close eye on the dough while it’s resting under the linen towel, it may develop a crusty skin. To avoid this, Myhrvold and his team recommend placing the dough in a plastic bag. Leave a little air inside the bag to prevent the dough from sticking to the sides. Opt for clear plastic so you can easily monitor the dough’s progress. Continue proofing the dough this way until it’s ready for baking.
If you’re willing to invest in a tool for reliable rises, a bread proofer could be a great choice. You can find various models on Amazon, with prices ranging from around $30 to several hundred dollars. However, Nathan Myhrvold has suggested a budget-friendly hack to create your own proofing box. Essentially, you can use an upgraded Styrofoam cooler instead of a commercial one. There are several methods to construct this setup, but one of the simplest is to place a heating mat inside the cooler and set a wire rack on top of it. Then, put the bread in a covered bowl on the rack.
For an additional step, connect the heating mat to a temperature controller mounted on the outside of the cooler. This way, you can monitor the temperature without opening the box. You can adjust the heater’s settings to suit your needs. By using these quick proofing techniques, you could be enjoying freshly baked bread in just a few hours.
Some final bread proofing tips
According to Nathan Myhrvold, these acceleration techniques can take anywhere from one to four hours, influenced by several factors. These factors may include the type of yeast used, the room's ambient temperature, and the hydration levels of the bread dough.
Regardless of the method you choose, it's essential to monitor the signs of doneness if you opt to expedite the proofing process. This is crucial because speeding up proofing means you are deviating from the recipe. In this case, you'll need to rely on additional indicators of doneness beyond what the recipe specifies.
The first sign to look for is size. Has your bread dough expanded? Ideally, it should double in size. The second sign is how quickly the dough springs back when you poke it, similar to the Pillsbury Doughboy's belly. If it bounces back immediately—giggle or no giggle—it requires more time to proof before baking. If it retains the indentation from your finger for a moment but then fills in within 10 seconds, your bread is properly proofed.
Recommended

The Decadent Coffee Dessert That Was A Favorite At Buckingham Palace
Borrow An Ingredient From Your Bar Cart For Moister Cakes

17 Nostalgic Cakes You Probably Forgot Existed

17 Hacks To Make Store-Bought Cookie Dough Taste Homemade
Next up