
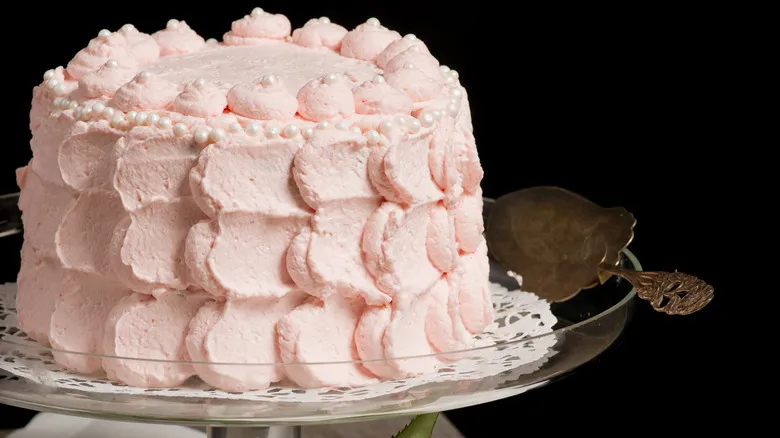
How to apply the rows of scallops
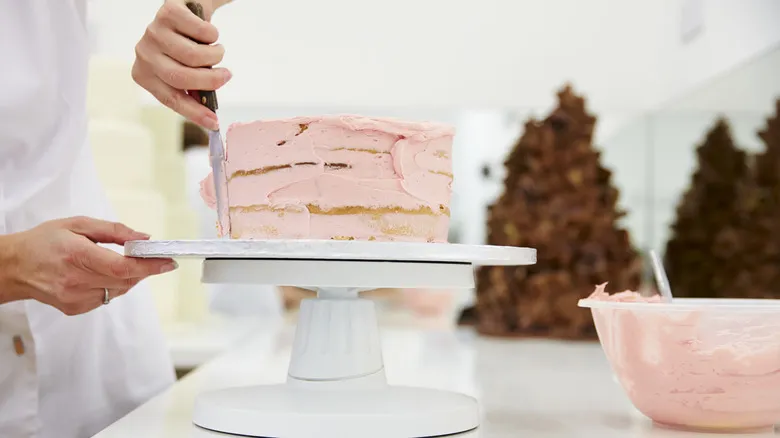
This technique produces beautifully intricate results, yet it’s surprisingly easy to execute. Start by piping frosting onto the sides of the cake using either a specialized decorating bag or a regular plastic bag filled with frosting, with the tip cut off. It’s a good idea to begin with a crumb coat — a thin layer of frosting that covers the bare cake and provides a smooth surface for further decoration.
To create the design, squeeze a generous dot of frosting onto the side of the cake. Then, using the back of a spoon, gently press and drag the dot outward in a sweeping horizontal motion. The resulting shape will resemble a comma.
Continue around the cake in a horizontal line, applying a new dot that overlaps the previous one and lightly dragging it with the spoon until you form a complete ring of petal shapes. Then, start a new row until the entire side is covered. You can also work vertically from top to bottom. Experiment with your technique until you discover what feels most comfortable for you.
Find the right amount of pressure to create the desired shape without flattening the frosting too much, which could expose the underlying layer or disturb the cake itself. Don’t worry if your scalloped shapes aren’t perfect — with practice, your skills will improve, and you can always add sprinkles to disguise any imperfections.
Tips for pro-level application of the scallops
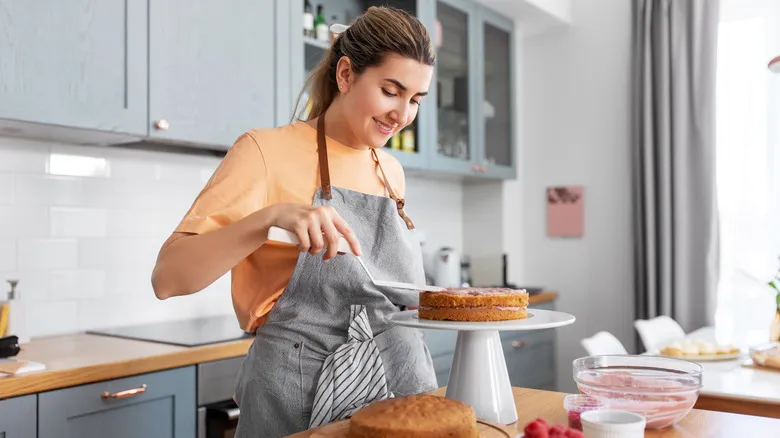
To effectively decorate your cake using simple tools and avoid any frustrating mistakes, always apply frosting to cakes that have completely cooled. For even better results, place the naked cake layers in the fridge or freezer for a couple of hours. This will firm up the surface, making it easier to apply the frosting smoothly—both in texture and appearance. When creating scallop shapes, remember to use a warmed spoon. Just as a hot knife makes the cleanest cuts, a warm spoon (which you can heat by dipping in hot water or running under the tap) will glide through the frosting without dragging. Be sure to wipe off any excess frosting from the spoon between shapes to maintain a neat design.
You can also apply this technique to a store-bought cake, providing a quick and easy way to customize while still enjoying the satisfaction of having made it yourself. Simply buy your favorite cake from the grocery store and remove any excess icing and decorations until you have a mostly clean surface to work with. This approach is also a win for culinary sustainability—you can grab a discounted cake with outdated messages or unwanted colors, scrape off phrases like "Happy Valentine's Day," and once you redecorate it to your taste, no one will be the wiser.
Recommended
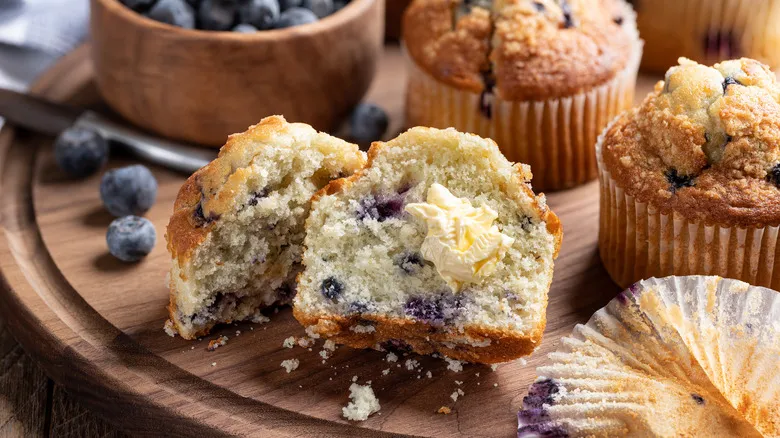
The Butter Mistake That Immediately Ruins Muffins
Top Your Baked Potato With A Hot Dog For A Bonfire Night-Inspired Meal
The Closest Substitution For Heavy Cream In Cooking And Baking

Baking Soda Can Remove Labels From Glassware Without A Trace
Next up