
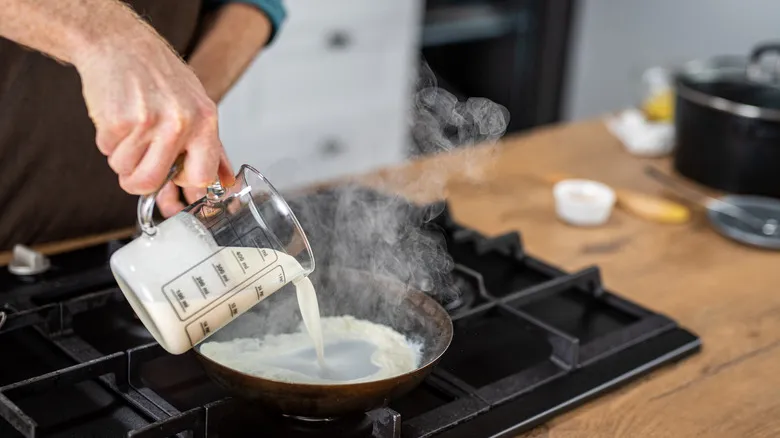
The nuances of homemade evaporated milk
One consideration when making your own evaporated milk is that the required evaporation will differ based on the type of milk you choose. The goal is to achieve a creamier product with a higher fat-to-water ratio. Most homemade evaporated milk recipes do not specify whether to use 2% or whole milk, so be prepared for some uncertainty in the process.
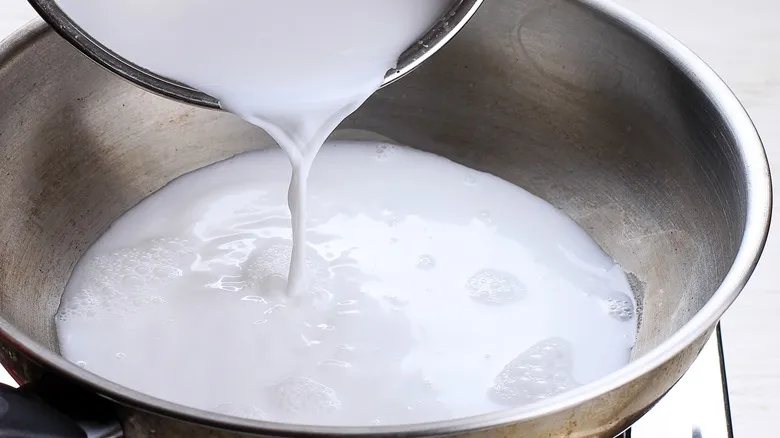
Here’s a brief guide: If you start with a creamier milk (like 3.25% whole milk or higher), you’ll achieve a rich result without needing to boil it down as much as you would with 2% milk. Conversely, if you opt for low-fat milk (around 1%), you’ll need to evaporate significantly more to achieve a creamy texture — and using skim milk, which has very little fat, is likely not worth the effort.
Keep in mind that you can also adjust the thickness of your homemade evaporated milk to suit your preferences. The more you boil it down, the richer and creamier it will become, as the fat content will be higher in relation to the water, enhancing whatever recipe you’re preparing.
Is it worth evaporating your own milk?
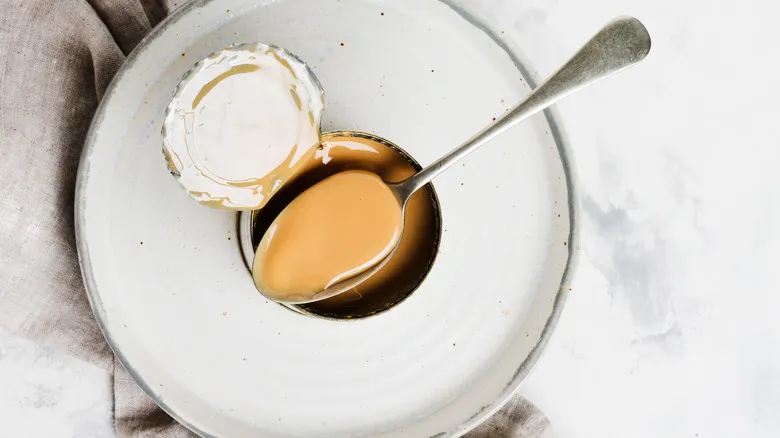
There’s no definitive answer on whether making your own evaporated milk is superior to purchasing it from the store (and just to clarify: evaporated milk is not the same as sweetened condensed milk). If you create your own using high-quality milk, you might achieve a more flavorful result, but if you opt for standard milk, the difference from the canned version may be minimal. Nonetheless, if you want to skip an extra trip to the store, making it at home is a practical option, though it will require some additional time for the milk to reduce.
If you're aiming to save some money, evaporating your own milk is slightly more economical. For instance, a 12-ounce can of inexpensive evaporated milk at Walmart costs $1.26, which is equivalent to 24 ounces of regular milk (keep in mind that evaporated milk is milk that has been reduced by at least half, meaning one portion represents at least double the volume of regular milk). In contrast, for $1.58, you can purchase a half-gallon (64 ounces) of regular milk. If you were to make evaporated milk from that, you would yield approximately 32 ounces for just a few cents more than the 12-ounce can of evaporated milk.
Recommended

13 Mistakes Standing Between You And Perfect Asparagus

Turn Leftover Holiday Ham Into The Next Morning's Eggs Benedict

The Paper Bag Trick To Prevent Ice Cubes From Sticking Together
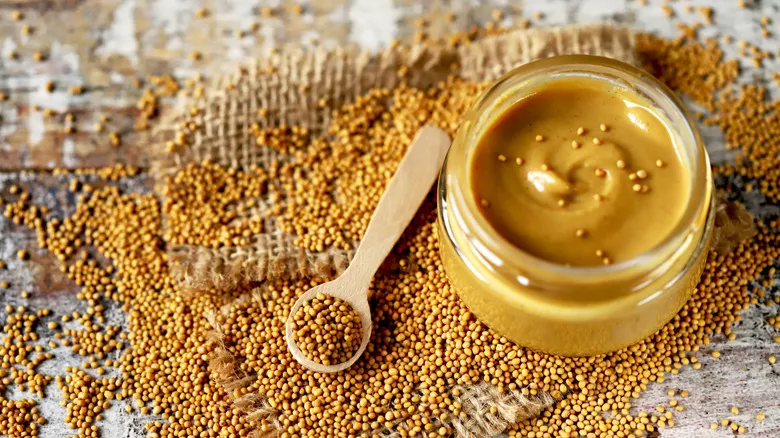
Why Is It Called Dijon Mustard?
Next up