
How to use your homemade self-rising flour
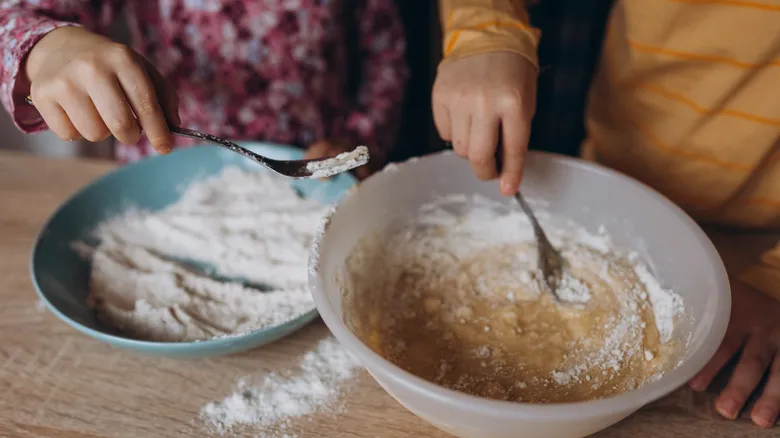
Your homemade self-rising flour functions similarly to the store-bought version, making it a suitable substitute in any recipe that calls for self-rising flour. This includes cakes, muffins, cookies, biscuits, waffles, cornbread, quick breads, and pancakes. Additionally, if a recipe requires regular flour and a leavening agent and you don't have either, your homemade self-rising flour can be a lifesaver. In such cases, you can replace the regular flour and baking powder with your self-rising flour. Just be mindful of the amount of baking powder needed per cup of all-purpose flour; if it exceeds what you used to create your self-rising flour, you'll need to add extra to make up the difference. It's essential to remember that self-rising flour can only replace recipes that use baking powder, not biological leaveners like yeast.
One key difference to consider when using homemade self-rising flour instead of the store-bought kind is that the latter is made from soft wheat, which contains less protein than the all-purpose flour used in your homemade version. Consequently, if you're accustomed to using store-bought self-rising flour, you may find that your baked goods are slightly less tender when you switch to homemade. Fortunately, this difference is subtle, and most people likely won't even notice.
How to store your homemade self-rising flour
If you prepare a large quantity of homemade self-rising flour that you can't use all at once, it's perfectly fine to save the leftover portion for future use. However, storing self-rising flour requires careful attention to prevent the leavening agent from activating prematurely or the flour from spoiling, which can occur when the oils in the flour become rancid.
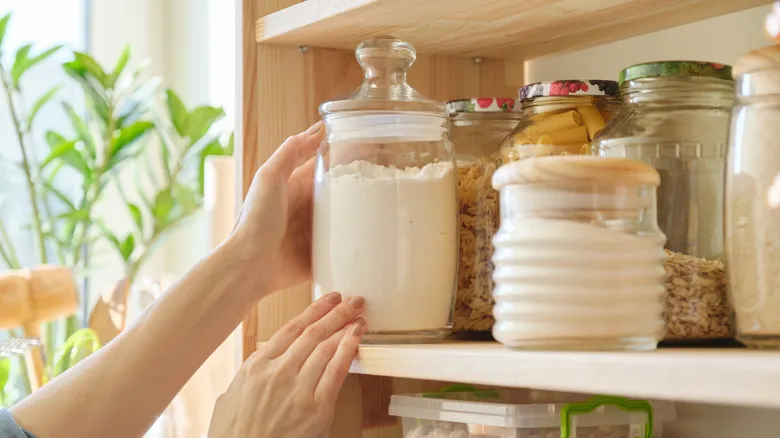
To start, transfer the flour into an airtight container, as exposure to oxygen can lead to oxidation and spoilage. Next, store the container in a cool, dark location, away from any direct heat sources. Heat exposure is a common mistake that can cause the flour to spoil due to rancidity. Additionally, ensure that both the storage area and the container remain dry, as any moisture or humidity that comes into contact with the baking powder in the self-rising flour can trigger premature activation of the leavening agent, rendering it ineffective in recipes.
Considering these important factors, the ideal place to keep your self-rising flour, once sealed in an airtight container, is in the pantry. Aim to use the flour within approximately six months, as that is the typical shelf life for wheat flour and baking powder at room temperature after being opened. Even with proper storage, the leavening agent will degrade over time, so it's best to use the flour sooner rather than later.
Recommended

12 Canned Foods You Should Be Using For Easy Desserts
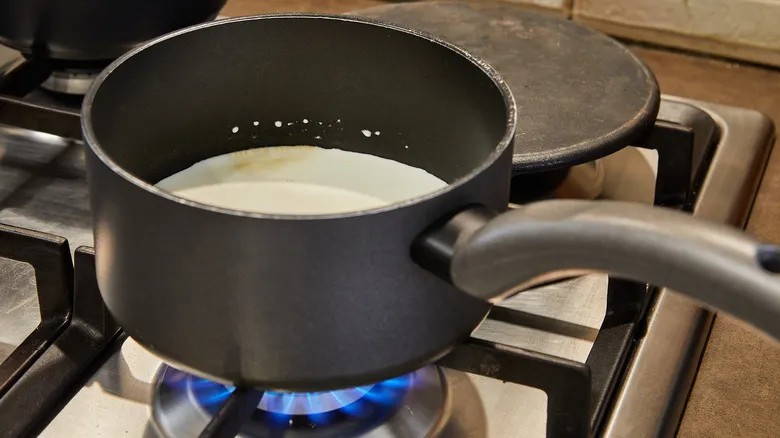
The Important Reasons A Recipe May Call For Scalding Milk

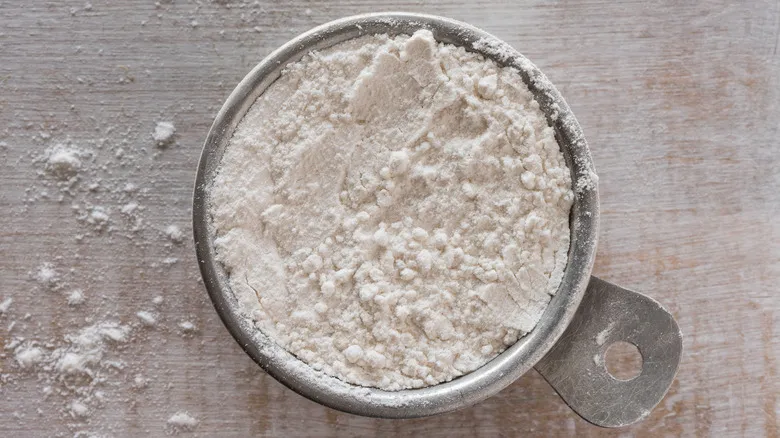
Measure Your Flour Like Ina Garten For The Best Possible Bakes

Make Richer Rice Krispie Treats With One Invisible Canned Ingredient
Next up