

What causes overproofed bread?
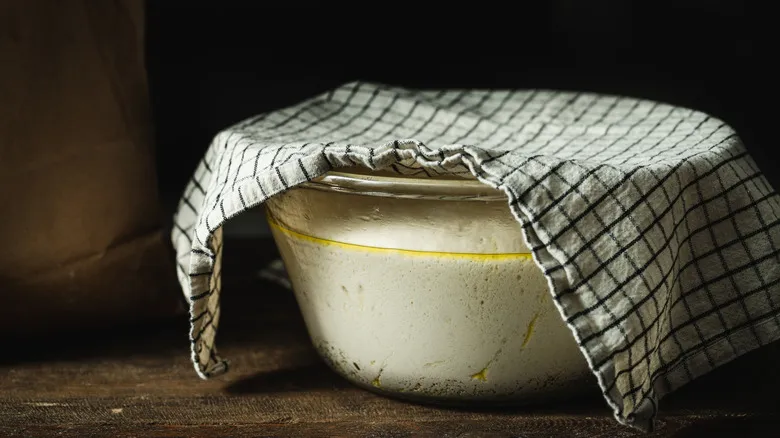
When baking bread with yeast, it's important to allocate time for the dough to proof—some people refer to this as "rising" or "fermenting," but they all mean the same thing. There are, of course, recipes for "quick breads" that skip the proofing step; flatbreads are a typical example (you can also use baking powder in these recipes to create some lift).
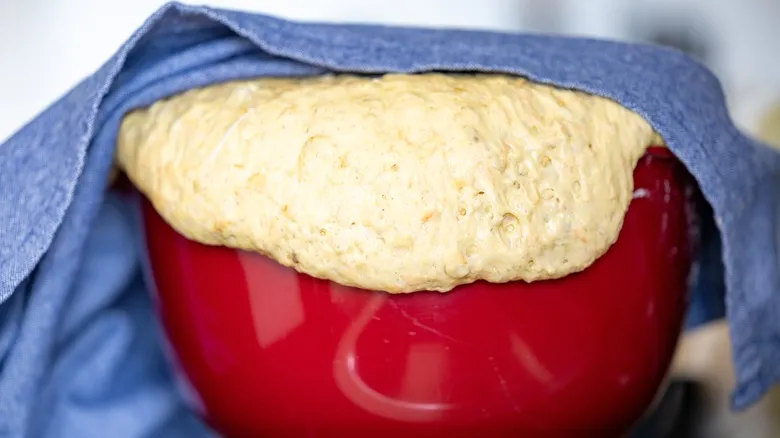
During the proofing stage, yeast consumes carbohydrates and transforms them into carbon dioxide, which creates the bubbles in your dough that help it rise, preventing it from becoming a dense, rock-like loaf. However, there is a limit to how long you can proof the dough; over-proofing won't magically make it airy and light. If the dough is left to proof for too long, the carbon dioxide can cause it to burst, leading to a collapse or deflation. The final result will be flat or dense, and not very appealing. Unfortunately, there isn't a specific time frame for proofing bread; it varies based on factors such as the recipe and the conditions in which you're proofing (like whether it's warm or cold), so it can take anywhere from half an hour to overnight.
How to avoid overproofing bread
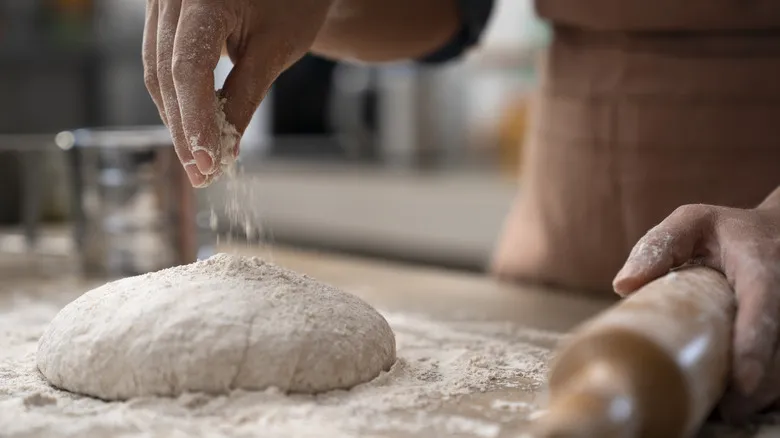
While it’s fairly simple to remedy overproofed dough, it’s best to prevent it from happening in the first place. Here are a few tips to help you do just that. First, keep an eye on your dough as it rises. You don’t need to watch it constantly, but you can check its readiness by gently poking it with your finger. When the dough is perfectly proofed, it will spring back from your touch while still leaving a slight indentation.
If you tend to forget about your baking, consider setting a timer to remind you to check on the dough after a certain period. Following the recipe is always a good idea, but also be mindful of the environment. If the dough is rising in a warm area, it will proof more quickly, increasing the risk of overproofing. Ideally, keep it in a space that’s no warmer than about 77 degrees Fahrenheit.
If you need to step away for a few hours and can’t monitor the dough, don’t fret. You can place it in the refrigerator, which will significantly slow down the proofing process. You may need to let it proof overnight, but this will help prevent it from becoming overproofed.
Recommended

Joanna Gaines Gives Pecan Pie A Spicy Twist With Ancho Chile

How Boston Cream Pie Got Its Inaccurate Name
How Much Money Can You Really Save By Making Your Own Bread?
Mistakes Only Beginner Bakers Make, According To Baking Experts
Next up