
How to properly freeze your sourdough starter
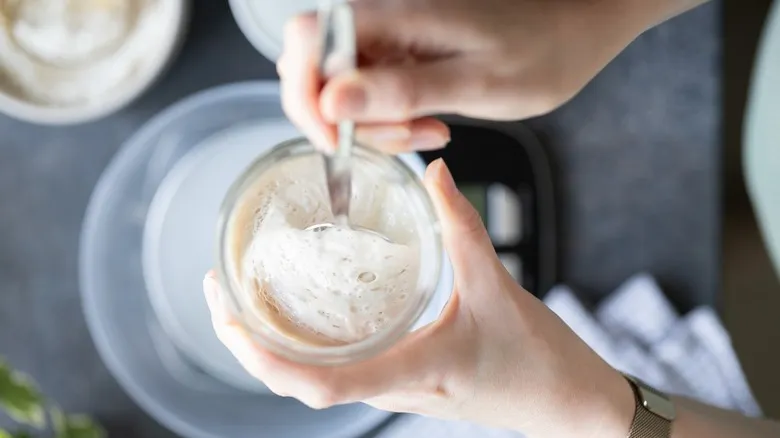
When it comes to effectively storing a sourdough starter in the freezer, there are several methods you can consider. One option is to place a cup of starter in a plastic freezer bag, ensuring as much air as possible is removed. Another approach is to pre-freeze the starter in silicone molds, muffin tins lined with parchment paper, or ice cube trays. It typically takes about 12-24 hours for the starter to freeze, after which you can transfer the portions into a freezer bag.
Common issues people face when freezing their starters include mold, freezer burn, and contamination. Thankfully, these problems can be avoided by using clean utensils when preparing your starter for storage and inspecting it for any signs of mold or unpleasant odors. Additionally, using freezer bags is crucial for preventing freezer burn, as they help retain moisture and keep air out, ensuring your starter remains hydrated.
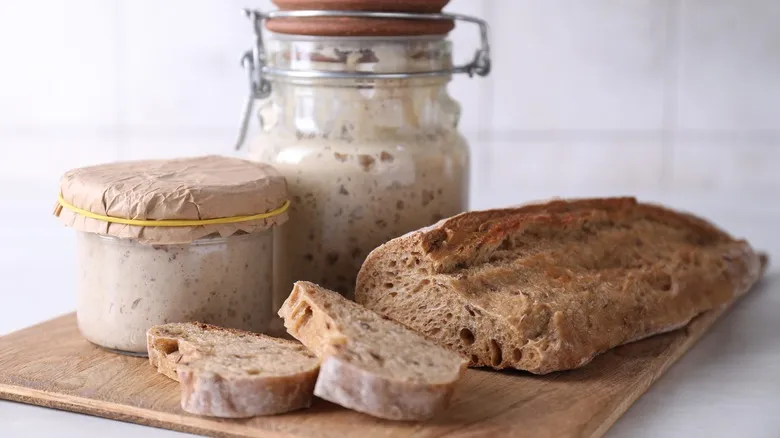
Another method involves drying out your sourdough starter before freezing it. You can achieve this by spreading a thin layer over a sheet of parchment paper and allowing it to dry in a turned-off, unheated oven. You can either use the oven light to generate warmth for quicker drying or leave it overnight to set. Once dried, the starter will easily flake off the parchment paper and can be stored in the freezer indefinitely. The main drawback of this method is that it takes longer to revive your starter, so you'll need to plan accordingly.
Reviving your frozen sourdough starter the right way
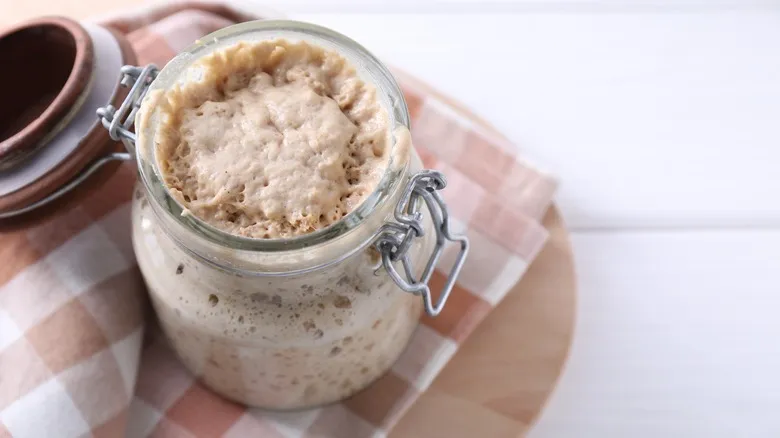
When you're ready to begin baking, a starter that hasn't been dried before freezing should be revived in the refrigerator for at least 24 hours. This will allow it to thaw gradually, after which you can continue the process at room temperature. Once the starter has warmed up, discard half of it to refresh it, and then resume feeding it with equal parts warm water and flour.
Reviving a dry starter takes a bit more time, typically around three days before you can start regular feedings. To begin, combine half a tablespoon of the dry starter with a tablespoon of warm water and a tablespoon of bread flour. Cover the mixture with plastic wrap and let it sit for 24 hours. The next day, add another tablespoon of flour and two teaspoons of warm water, then re-cover. On the third day, mix in a tablespoon of flour and a teaspoon of water to achieve a thicker consistency. After this, transfer the mixture to a jar containing 1/3 cup of flour and 1/4 cup of water. The starter should start to develop bubbles quickly as it ferments, and you can then resume regular feedings!
Recommended

Can You Substitute Chocolate Chips For Baking Chocolate?

The Ingredient Ina Garten Uses To Serve Cake Like A Restaurant

Baking Soda And Powder: Which Leads To Better Cookies?

The Unconventional Tool That Can Make Restaurant-Style Pizza In A Home Oven
Next up