
Buying the wrong flour
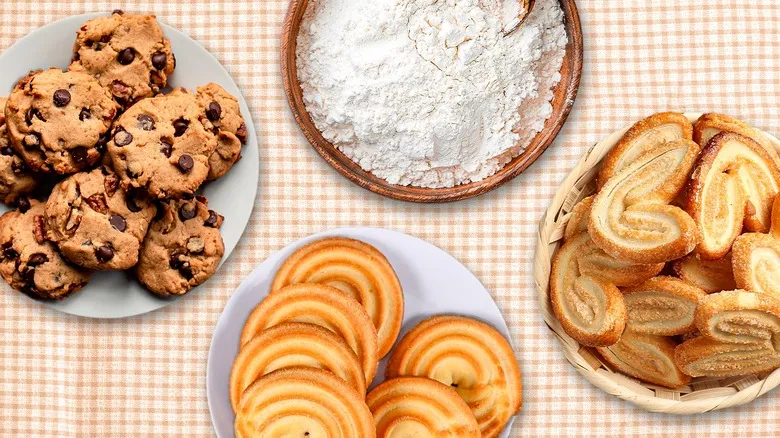
There are various types of flour available: all-purpose, cake, pastry, bread, self-rising, whole wheat, and more. With this wide range, one of the most frequent mistakes when baking cookies is treating different flours as if they are the same. While it's essential to have quality all-purpose flour on hand, as it is often specified in cookie recipes, don’t assume it’s the only option your recipe may require, nor should you substitute other flours without caution.
"All-purpose, whole wheat, and alternative flours like almond or coconut flour behave quite differently in recipes," explains Marissa Stevens. "Each type has distinct characteristics that influence the structure, moisture, and flavor of your baked goods." Be sure to select the specific flour — or combination of flours — that your recipe calls for. If you do decide to make substitutions, she advises starting with small adjustments. Find a recipe that utilizes the flour you want to use and follow it closely. Additionally, as she frequently reminds her blog readers who express frustration in the comments, avoid making 1:1 substitutions without verifying their compatibility.
Forgetting to check expiration dates

Another frequent oversight? Neglecting to verify the expiration dates on your ingredients. For some, this may be less of a concern. Sugars, for example, are virtually timeless, as they resist microbial growth. If stored correctly in airtight containers, they can last indefinitely. Salt is another ingredient that remains stable over time without spoiling.
However, other ingredients are not as resilient. Flour, for instance, can become rancid, particularly alternative flours with higher fat content. Leavening agents can also pose issues. "Be sure to check the expiration dates on your baking soda or baking powder," warns Jessie-Sierra Ross. "If your leavening agent is past its expiration date or nearing it, it's best to discard it. Expired leavening won't work effectively and can result in flat cookies."
Using cold ingredients
Some people (ahem, like those of us who whip up cookies on a whim) have repeatedly attempted to use cold butter, eggs, and milk from the fridge — with consistently disappointing outcomes. "Cold butter just won't blend with your other ingredients," says Meredith Kruse, founder of Our Love Language Is Food. "Using butter at room temperature allows you to cream it with your sugars and mix it seamlessly with the rest of your ingredients to create your dough."
Eggs are important as well. "Cold eggs can lead to curdling in the mixture," Marissa Stevens points out. "They can cause the softened butter to harden again, resulting in a separated mixture." If you're pressed for time, you can place them in a bowl of warm water for five to ten minutes to warm them up. Kruse also suggests letting them sit on the counter for at least 30 minutes.
However, there are exceptions to the room temperature guideline. Some bakers actually prefer melted butter that has cooled down instead of using room temperature butter, as it yields the chewiest chocolate chip cookies. If you bake frequently and want to keep butter at room temperature all the time, you might want to invest in a French butter crock, which also adds a charming touch to your countertop.
Measuring flour wrong
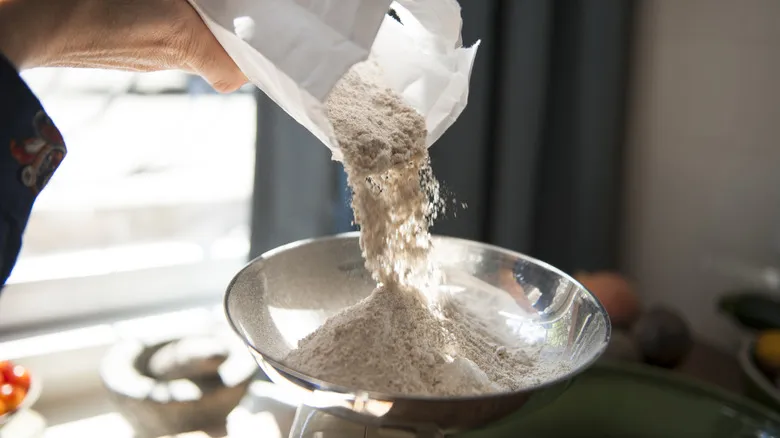
Many individuals (myself included) have learned to scoop flour directly from the bag using a measuring cup, but this method is not ideal. "If the flour is packed into the measuring cup, you might end up with more than you actually need," explains Jessie-Sierra Ross. "It's important to fluff the flour with a spoon to incorporate some air before using a measuring cup."
Ideally, you should avoid scooping directly from the bag, as Marissa Stevens points out, since this can compress the flour back to its original density—potentially resulting in up to 25% more than required. This excess can lead to cookies that are dry or dense. Don't take her word for it! "Conducting a side-by-side test with proper measuring techniques (more on that later) clearly demonstrates the difference. It's definitely worth trying for yourself!" Instead, fill the measuring cup with light spoonfuls and then level it off. Even better, use a digital scale for accuracy.
Eyeballing your ingredients
Baking is a process that is deeply rooted in chemistry, which can be quite particular, so it's essential to avoid estimating measurements. Accurate measuring is crucial. "If you forgo the digital kitchen scale for weight measurements or the standard measuring cups for volume, you risk creating an inconsistent product that may not meet your expectations," explains Jessie-Sierra Ross. "To achieve flaky shortbread cookies and properly risen snickerdoodles, it's vital to measure your ingredients as accurately as possible."
In some instances, precise measurements aren't as critical, especially when they don't significantly impact the final result of your dish (like when rolling items in sugar or a sweet-salty blend before baking). However, when specific quantities are required, it's important to take note.
Opting not to sift your dry ingredients
Sifting is an effective method for eliminating lumps and clumps from your dry ingredients. These undesirable bits can be unpleasant to bite into and can prevent liquids from mixing evenly, resulting in a lumpy final product. Additionally, sifting ensures that your dry ingredients are well combined.
Jessie-Sierra Ross notes that sifting is somewhat a matter of personal preference. If you prefer to skip it, you can, as it’s not as crucial for lighter baked goods like cakes. However, Marissa Stevens suggests that it’s likely beneficial for ingredients that are prone to clumping, such as cocoa powder, powdered sugar, salt, or baking powder. "Those clumps can lead to uneven pockets in your dough and affect the texture," she explains. "If you don’t have a sifter, a wire mesh strainer can serve the same purpose."
Messing with the recipe
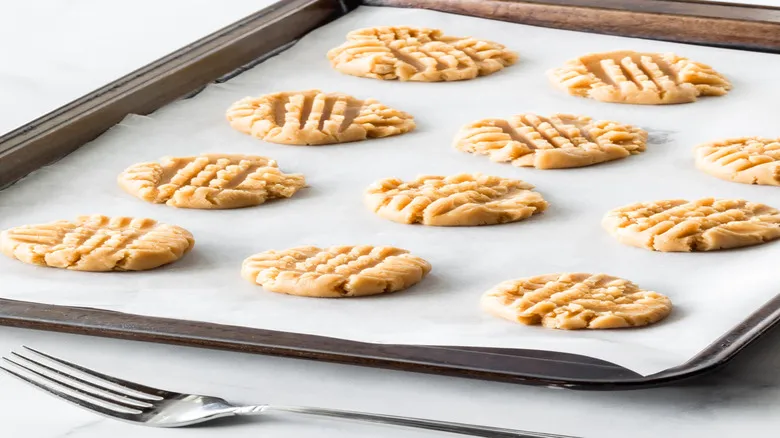
It's a fact that many recipes benefit from a little refresh, like chocolate chip cookies during the holiday season. Peanut butter cookie recipes can also be quite adaptable, provided you know what you're doing. Other enhancements—such as browning your butter, experimenting with different extracts, or using various types of flour—can all add a new level of excitement to your cookies.
However, the downside is that if you make mistakes, you risk ruining your batch. Altering the number of eggs, incorrectly substituting baking soda for baking powder (or the other way around), cutting back on sugar, or combining wet and dry ingredients simultaneously can all significantly impact the final outcome. "Modifying fundamental ingredients like flour, sugar, or leavening agents influences the chemistry of your cookies," explains Marissa Stevens. "These components dictate how cookies spread, rise, brown, and maintain their structure; they’re not just about flavor."
"More experienced bakers tend to have a better intuition for which substitutions might work in a recipe," notes Meredith Kruse. If you're still honing your skills, it's wise to stick to the original recipe. "A well-tested recipe specifies particular ingredients and their ratios for a reason."
Overworking the dough
Wheat flour is made up of the proteins gliadin and glutenin. When you knead the dough, these proteins combine to create gluten, which is the structural element responsible for the chewy texture found in quality French bread or pasta. The more you knead, the more gluten develops, which can result in a tough texture that isn't suitable for cookies. There are additional drawbacks as well.
"In cookie doughs, excessive mixing typically introduces too much air, leading to cookies that are flat and dense after baking," explains Jessie-Sierra Ross. "You should mix the cookie dough just until it is uniform (with no pockets of flour) to prevent incorporating too much air." To achieve this, Marissa Stevens recommends mixing until the dry and wet ingredients are completely blended.
Skipping the chill
"If a recipe instructs you to chill your cookie dough, trust me, it truly makes a difference!" says Meredith Kruse. "Depending on the type of cookie you're preparing, there are various reasons for this, but one of the primary benefits of chilling is to minimize spreading during baking, which leads to flatter cookies."
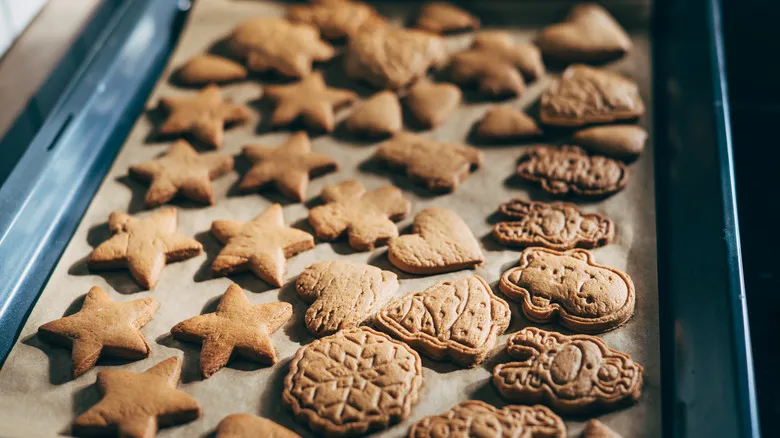
But that's not all. Chilling the dough also makes it more manageable, according to Kruse. "For instance, if you're making crinkle cookies that need to be rolled into balls and coated in sugar, chilling the dough reduces its stickiness, allowing you to shape it into nice, round balls," she explains. Additionally, it lessens the stickiness, so you end up with less dough on your hands and more on the cookie sheet. A helpful tip: using a dedicated cookie scoop can help you create uniformly sized balls—especially if you opt for a three-scoop set for added versatility—without making a mess.
Chilling the dough allows the fat to cool, resulting in a crispy exterior and a chewy interior. Moreover, it gives the dry ingredients time to absorb the wet ones, further reducing unwanted spreading. Lastly, Marissa Stevens notes, "That time in the refrigerator allows the flavors to develop, particularly for cookies like chocolate chip."
Preparing the cookie sheet improperly
A cookie sheet is just a cookie sheet, right? You simply grease it and you're good to go? That's what this beginner baker learned (though considering this baker has been at it for 35 years and still feels like a novice, that says a lot). Instead of just spraying your cookie sheet with PAM and calling it a day, Marissa Stevens has a valuable tip that you shouldn't ignore: use parchment paper or silicone baking mats. "They prevent sticking and ensure cookies brown evenly. Once you give them a try, you'll never want to go back to greasing your cookie sheets!"
Also, keep in mind that using a baking sheet that’s too dark can lead to burnt cookie bottoms. Dark pans absorb and distribute heat more effectively than lighter ones, which is great for pizza but not ideal for cookies when you want to avoid a dark underside.
Crowding the cookie sheet
One of the most common mistakes when baking cookies is overcrowding the cookie sheet. "It's tempting to fit as many cookies as possible on the sheet, but that can lead to disaster," warns Marissa Stevens. "Cookies require space to spread out, and adequate air circulation ensures they bake evenly." Additionally, Meredith Kruse emphasizes the importance of spacing for the cookies' shape. Baking them too closely can cause them to stick together or lose their intended form.
Jessie-Sierra Ross points out that science plays a significant role in this aspect as well. "We often overlook that, just like flour, sugar, and butter, heat is a crucial ingredient in baking," she explains. "Maintaining uniform and consistent baking temperatures helps prevent burnt edges or, even worse, raw centers." These burnt edges and undercooked centers can lead to unattractive, uneven cookies due to inconsistent heating.
Setting the wrong oven temp
We often feel tempted to preheat the oven to 350°F and just go for it, since that’s the standard temperature for baking cookies, right? Well, not quite. Setting the wrong temperature can significantly impact the final outcome. This is because the oven temperature is closely tied to the ingredients in the recipe and, more importantly, to the chemical reactions that occur between them. The level of heat is crucial for achieving the desired reactions. If you choose the incorrect temperature, your baked goods might rise too quickly, not rise at all, or even collapse.
Always ensure your oven is at the correct temperature, regardless of the situation. Even if you're removing something else from the oven, resist the temptation to immediately place your cookies inside without allowing the oven to adjust. Likewise, if a recipe instructs you to start at a higher temperature and then reduce it, be sure to follow those specific guidelines.
Putting the cookies in while preheating

"Beginning with a properly preheated oven is essential for achieving uniform baking," says Marissa Stevens. "The initial moments of baking are critical for cookies to form their structure. Starting at the correct temperature is absolutely essential." She cautions that placing cookies in an oven that is still warming up can ruin them, as some may finish baking — and even start to overbake — before others have set. Additionally, Jessie-Sierra Ross notes, "Baking cookies in a cold oven results in the outer edges cooking much faster than the center, leading to burnt edges and undercooked centers."
Preheating is vital to ensure that the oven is not only sufficiently hot but also maintains a consistent temperature, as the preheating phase often employs intense heat to reach the desired level. Allow 10-15 minutes (or at least wait for the beep) to ensure the oven is ready. Failing to do so can initiate chemical reactions in your cookie dough that the inadequate heat cannot support, resulting in unpredictable outcomes.
Opening the oven door
Just as maintaining the right temperature is important, it's equally crucial to keep that temperature stable. "I understand the urge to take a look, but opening the oven door releases heat and causes significant temperature fluctuations," explains Marissa Stevens. Not only does this lower the temperature, but the oven has to work harder to regain heat, which can disrupt your cookies. "If you frequently check inside, the final texture and consistency of your cookies might not turn out as you expect," adds Meredith Kruse.
Jessie-Sierra Ross suggests waiting until two to three minutes before the cookies are expected to be finished before opening the door. "If you need to check for doneness, use your oven light," Stevens recommends. "It's an excellent way to monitor their progress without interrupting the baking process."
Overbaking the cookies
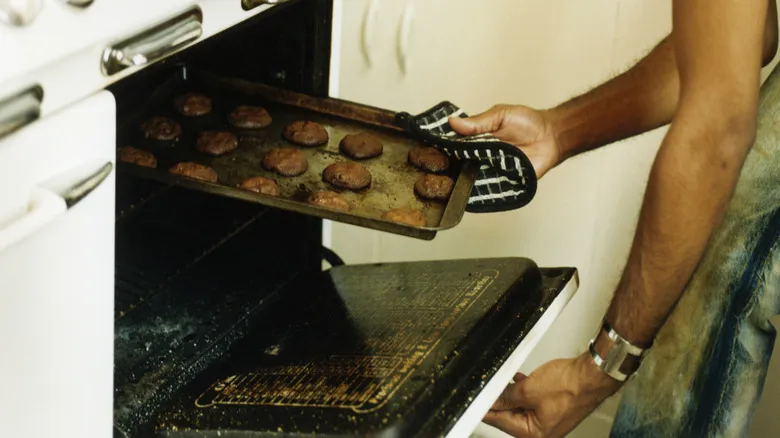
Many of us prefer cookies that are soft and chewy in the center, rather than those that are fully baked and crunchy throughout. While some recipes, like shortbread, require a completely firm texture, many others do not. The good news is that achieving that perfectly gooey center is easier than you might think; you simply need to remove them from the oven a bit earlier than you expect.
Cookies often appear underbaked when the timer goes off, but leaving them in until they are dark can lead to dryness and overbaking. "The main reason cookies get overbaked is that they continue to cook on the hot baking sheet after being removed from the oven," says Marissa Stevens. She adds that even quickly moving them to a cooling rack won't change this fact, as they may crumble due to their delicate state right out of the oven. The best approach is to take them out when they still look a little underbaked. "They will firm up as they cool," she explains.
Another common issue arises from relying too heavily on a recipe you haven't tried before. Because of natural variations in oven temperatures, altitude, and other factors, your oven may not perform the same way as the one used by the recipe's author. "To prevent tough, overbaked cookies, I like to check on them about two or three minutes before the suggested baking time," advises Jessie-Sierra Ross. This can help account for any discrepancies. If you tend to forget, she suggests using a kitchen timer instead of trying to remember the time in your head.
Storing improperly
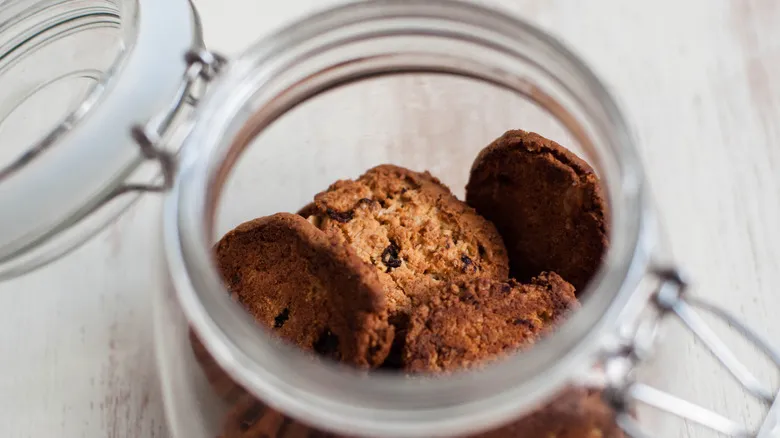
Like any baked item that includes dairy, eggs, and flour, cookies will eventually spoil, and this process is accelerated by improper storage. Allowing air to reach the cookies draws out moisture, leading to dryness, and causes the starches to become stale.
For optimal freshness, select a container that protects against air exposure and store the cookies at room temperature. "I prefer using large cookie tins lined with wax or parchment paper to keep my cookies fresh for several days," says Jessie-Sierra Ross. Airtight food storage containers are also effective if aesthetics aren't a priority. However, a typical cookie jar with a loose-fitting lid may not be the best option.
If you can't consume your cookies within four days, consider freezing them. Just be sure to use a freezer-safe container or bag, and they can remain good for up to a year.
Recommended
Easily Upgrade Your Apple Pie With One Warm Spice

How To Easily Turn Store-Bought Yellow Cake Mix Into Spice Cake
5 Simple Substitutes For Cream Of Tartar In A Recipe
Why Tahini Works So Well In Cookies
Next up