
Build a teepee fire for better s'mores
Cooking over an open flame is a fundamental part of camping, especially when it comes to making s'mores, the ultimate camp treat. While mastering fire building can take some practice, there's a straightforward tip to make it easier. Dana Gillespie, Camp Manager for Silver Sage Girl Scouts, emphasizes that the type of fire you create is key. "If we're using a Dutch oven, we need more hot coals," she notes. "But for s'mores, we need flames with coals in the background."
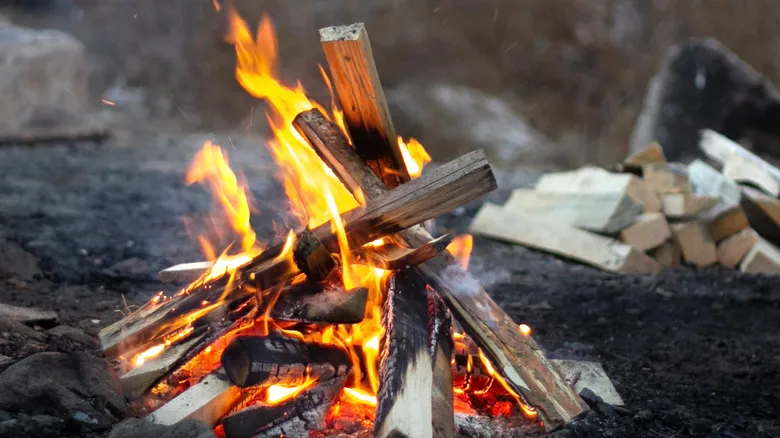
To achieve the flame Gillespie refers to, you'll want to construct a teepee or cone-shaped fire. This design can generate large flames based on the amount of fuel you use, and it also produces coals quickly due to its fast-burning nature. These characteristics make it ideal for crafting delicious classic s'mores—or even s'mores croissants if you're in a creative mood.
To build a teepee fire, start by creating a kindling ball using pine cones, needles, small twigs, and dried grass. Then, arrange a mix of small, medium, and large sticks or logs around the kindling in a teepee formation. Ignite the kindling ball, and if you've allowed enough airflow between the sticks and logs, the fire should catch on quickly. Once it's burning, add logs as needed to maintain a warm fire while you roast your marshmallows.
Bury your Dutch oven in a pile of coals
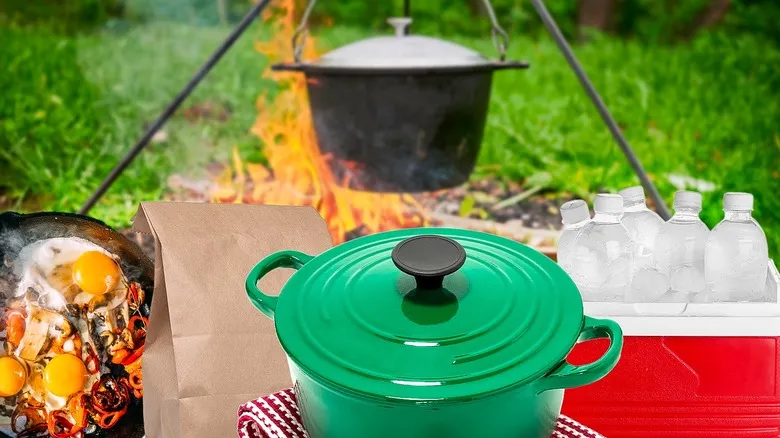
If you enjoy baking peach cobbler or preparing a hearty roast at home, you're just a Dutch oven away from enjoying those treats at the campsite. "A Dutch oven is an incredible tool," says Corrie Duffy of Corrie Cooks. "Consider it your campfire slow cooker!"
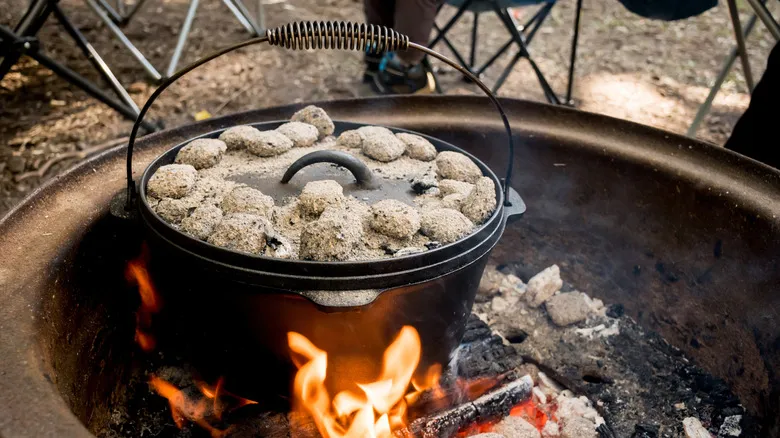
It's also a great convection oven and an excellent option for frying eggs and bacon on chilly mornings outdoors. To cook these dishes over a campfire, you'll need to bury the Dutch oven in a layer of hot coals and then add more coals on top of the lid to generate heat. This method effectively creates an oven-like environment inside, thanks to the heat-retaining properties of the cast iron.
The durability of this kitchen tool is impressive, but it does have a weakness: rust. Pantelis Kakaris, founder of Adventourely, recommends seasoning the Dutch oven before your camping trip. This not only helps prevent rust but also creates a natural non-stick surface for easier cleanup.
To make handling your Dutch oven safer and more convenient, keep a pair of thick work gloves, some long-handled utensils, and a shovel close at hand. The gloves and long utensils will protect your hands from the heat of the coals while you cook. The shovel is ideal for moving coals from the fire onto the lid of the Dutch oven and for extinguishing the fire when you're finished.
A brown bag replaces your morning skillet for breakfast
No one enjoys tidying up after breakfast, whether you're cooking at home or in the great outdoors. Luckily, with the brown paper bag breakfast method, you can skip the hassle of washing pans and dishes.
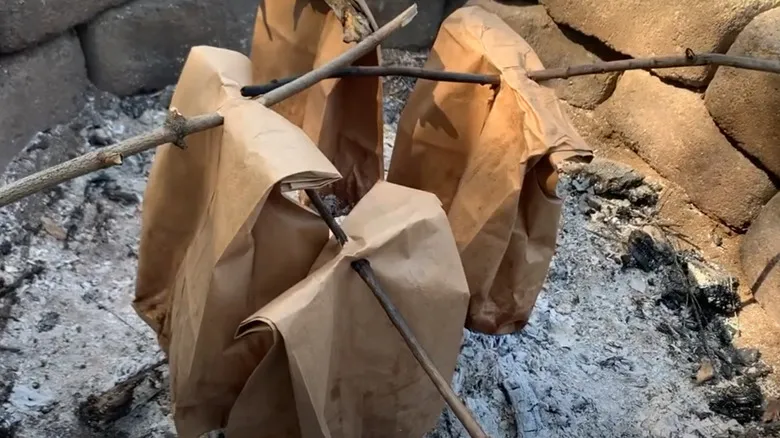
The idea is as straightforward as it sounds. You’ll prepare a bacon-and-egg breakfast in a brown paper bag — yes, the same kind you use for lunch — over an open fire. To begin, gather some uncoated brown paper bags and line the bottom with strips of bacon. Aim for three or four strips per bag, enough to fully cover the base, as the bacon acts as a barrier to prevent the bag from igniting. Next, crack a couple of eggs over the bacon, season with salt, pepper, and any other spices you like, then fold down the top of the bag. Use a sharpened stick to pierce the top and hold the bag over the coals, just like you would when roasting s'mores or hot dogs.
When your meal is ready, there’s no need for a plate. Simply roll down the top of the bag, dig in, and toss it in the trash when you’re finished. Cleanup couldn’t be simpler!
Pre-prep food when you're cooking with kids
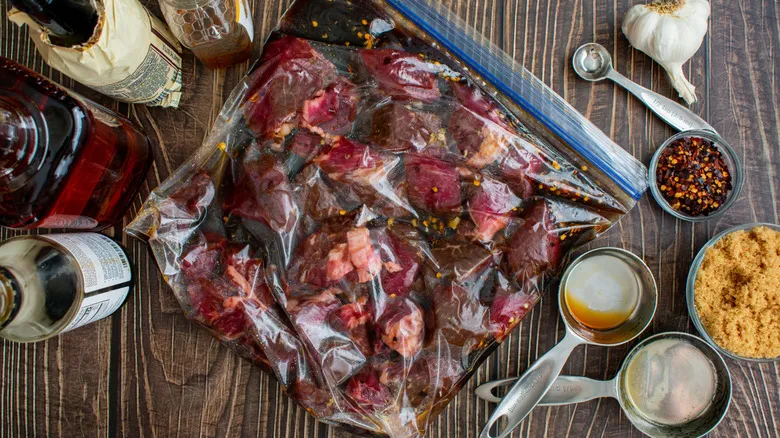
Cooking with children presents its own unique challenges, which can be even more pronounced when you're preparing meals over a campfire. Risks such as sharp knives and open flames are heightened by factors like uneven picnic tables, pesky insects, and limited preparation space. However, getting some food ready in advance can help you navigate these obstacles and keep the kids safe while they cook. That said, you don’t want to strip away all the enjoyment of outdoor cooking, so it’s wise to determine which tasks you’ll handle beforehand and which ones the kids can do on-site.
For Girl Scout Camp Director Dana Gillespie, pre-camping preparation focuses on safety. The Girl Scouts under her supervision never cook raw meat; that responsibility falls to the camp's cooking staff to prevent any risk of undercooked food. Nevertheless, the kids are encouraged to chop vegetables and engage in other cooking activities, allowing them to be part of the experience and embrace their adventurous spirit. Following a similar approach on your family camping trip can keep your kids engaged while giving you peace of mind regarding food safety.
Keep your cooler dry with bottles of ice
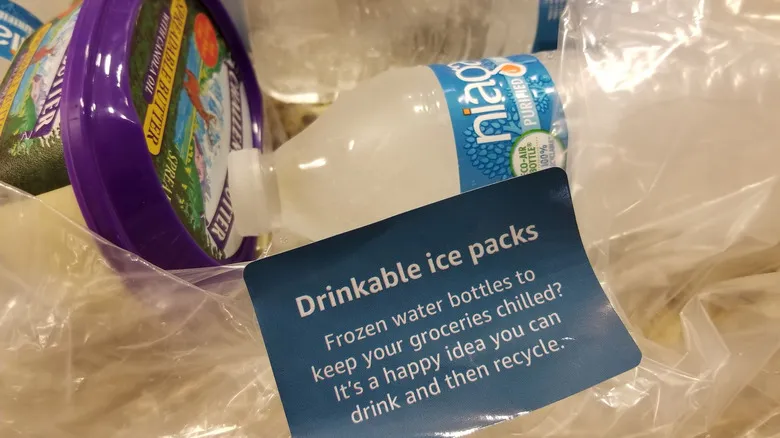
Many campers depend on coolers packed with ice to keep their food chilled. However, as the ice begins to melt, the food inside can become soggy. Corrie Duffy offers a straightforward tip to avoid this issue: "Freeze water bottles in advance," she suggests. "[They] act as both ice packs and drinking water as they thaw."
There are also extra measures you can take to slow down the melting of ice in the bottles. According to professional photographer and travel guide Kevin Mercier of KEVMRC Travel, the principle of "last in, first out" is key. "Arrange [your cooler] by placing the items you'll need first at the top," he advises. This strategy minimizes the frequency and duration of cooler openings, helping to retain the cold air inside and keeping the ice in the bottles from melting quickly.
Kayte Billerman sometimes goes even further than Mercier's advice. It's common for her to bring multiple coolers on her camping trips, and she often seals the less frequently used ones with tape. This approach slows down the melting of ice, allowing her to enjoy fresh meals on the trail for a significantly longer time.
Multi-colored cutting boards prevent cross-contamination
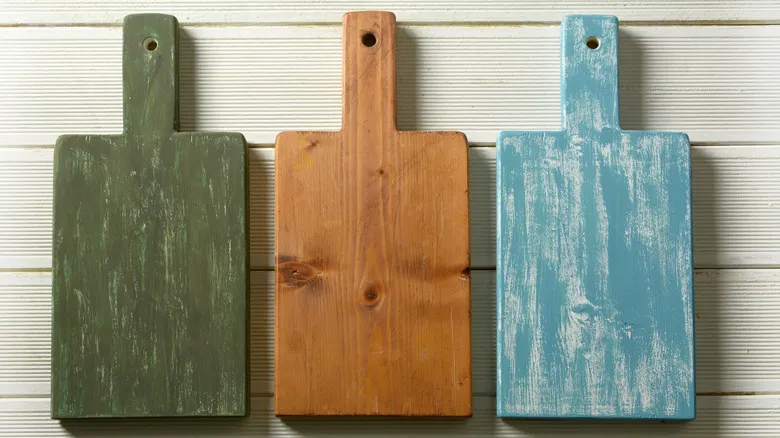
Camp cooking inherently carries the risk of cross-contamination. Items that are poorly wrapped in a cooler, combined with melting ice and unclean hands, create an environment conducive to bacterial growth. Experienced camp organizers take steps to adjust their food packing and handling practices to minimize potential issues. This includes establishing a system to keep incompatible foods, such as raw meats and vegetables, separated. Travel expert Stephanie Webb from Trip Shepherd suggests a simple solution: "I use distinct cutting boards for meats and veggies—one red and one green—and store them separately to prevent any mix-ups."
In essence, this is a color-coding strategy. People often associate colors with specific meanings—think of red stop signs or yellow caution tape. To make your camping color-coding system effective, establish a logical link between the colors and the food items. For instance, use a red cutting board for red meat, a green one for vegetables, and a yellow cutting board for poultry.
Finally, no system aimed at preventing cross-contamination will be effective if the cutting boards are not properly cleaned after use. Be sure to scrub them thoroughly with hot, soapy water before soaking them in warm bleach water to ensure they are truly free of germs.
Clean public grills with tin foil
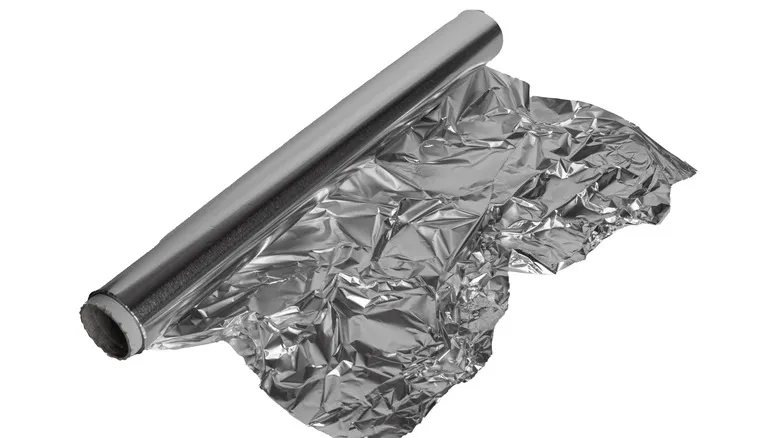
If you're camping in a public park, you're likely to encounter one of the barbecue grills provided by the park system. While this makes grilling your spiralized hot dogs incredibly convenient, it also poses a significant risk of unsanitary conditions. You have no way of knowing when that public grill was last cleaned. Although it's obvious that you should give it a thorough scrub, the surprising tool you can use for cleaning the grill is aluminum foil.
Aluminum foil has distinct advantages over other typical grill-cleaning tools, such as a wire brush. In addition to being lightweight and portable, foil serves multiple purposes, including providing a surface for cooking vegetables or chicken.
Using foil as a cleaning tool is quite simple. Start by preheating the grill for a short time; you don’t want a roaring fire beneath the grate, just enough heat to warm the grates. Then, crumple a large piece of foil into a shiny ball. Once you have your foil ball, gently scrape it back and forth over the grates after the grill has cooled slightly. If you're worried about burning your hands, use a sturdy pair of grilling tongs to hold the foil ball while you clean. Lastly, if the grates are particularly dirty, consider scrubbing them with a mixture of baking soda and white vinegar before you start grilling.
Crack eggs into a water bottle
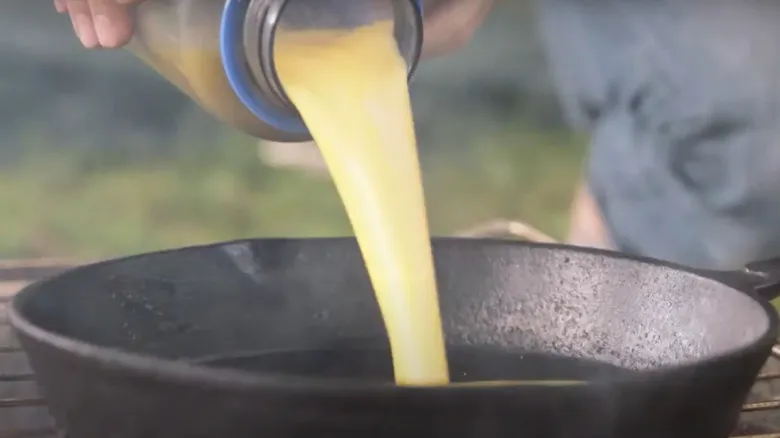
Delicate eggs in a carton combined with a bumpy ride can lead to shattered shells (and a big mess) by the time you arrive at your campsite. This also means that the scrambled eggs or omelets you envisioned for breakfast are off the table unless you find a clever way to protect your precious eggs from ruin. Enter the wide-mouthed water bottle. To save your breakfast, simply crack the eggs into the bottle and secure the cap. When it’s time to cook, just pour the eggs into your skillet or Dutch oven.
There are several benefits to this method, aside from preventing a potential disaster. First, if you have multiple water bottles, you can portion the eggs for each breakfast during your camping trip. For instance, if you’re camping for three days, prepare three separate bottles of eggs for each morning.
Secondly, this approach simplifies meal prep before your trip, as you can season the eggs ahead of time without needing to pack a full set of spices. Plus, scrambling them is a breeze—just give the bottle a good shake to break the yolks and mix everything together.
Start a fire with your corn chips

When it comes to igniting a fire, few things rival a bag of Doritos or Fritos—except perhaps kerosene. While many people typically reach for pine needles as kindling, there are other effective options available. Once you understand why Doritos and similar corn chips catch fire so easily, you might just rethink your choice of fire starters.
Corn chips have several advantages over traditional kindling. For starters, the average snack chip recipe includes fats. In a typical bag of Doritos, you'll find ingredients like sunflower, corn, and canola oils, all of which contribute to their high flammability. These oils burn for an extended period, allowing other materials in the fire to catch flame.
Additionally, ground corn burns exceptionally well due to its high carbohydrate content. Essentially, corn serves as fuel for both the body and the fire. The seasonings—especially salt—help keep the chips dry, and dryness equates to flammability. Plus, since they come in a waterproof bag, you can always rely on having dry fire starters, even in the dampest conditions.
Recommended

Why You Should Keep Club Soda Around During A Dinner Party
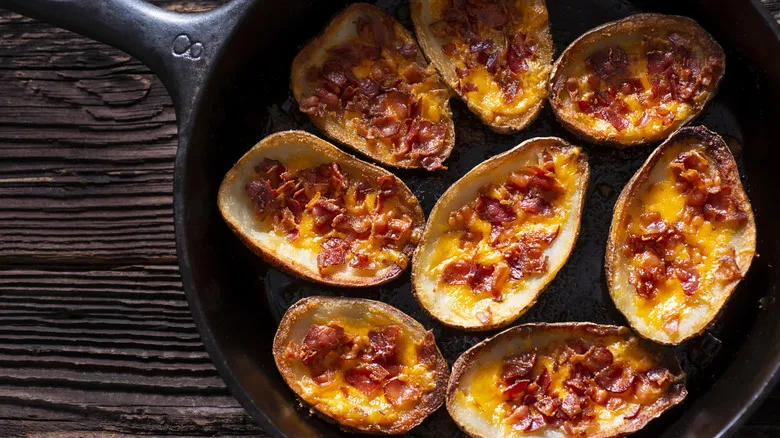
Swap Bacon With One Smoky, Spicy Meat For Next-Level Potato Skins

12 Tips You Need When Making Southern-Style Grits
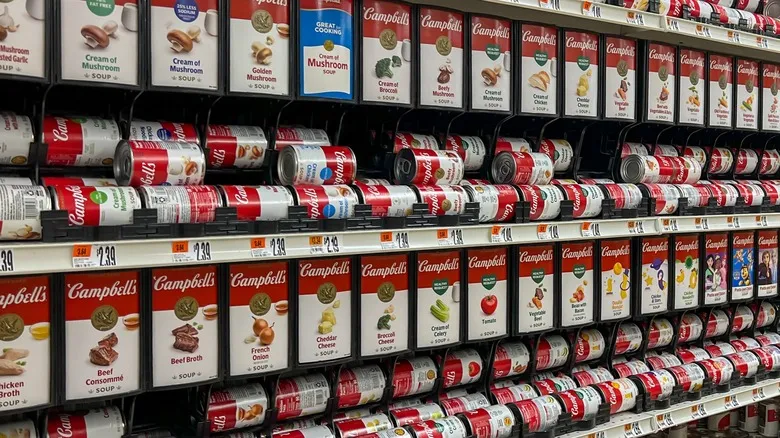
Why Is Canned Soup So Salty?
Next up