
Defrost the shrimp

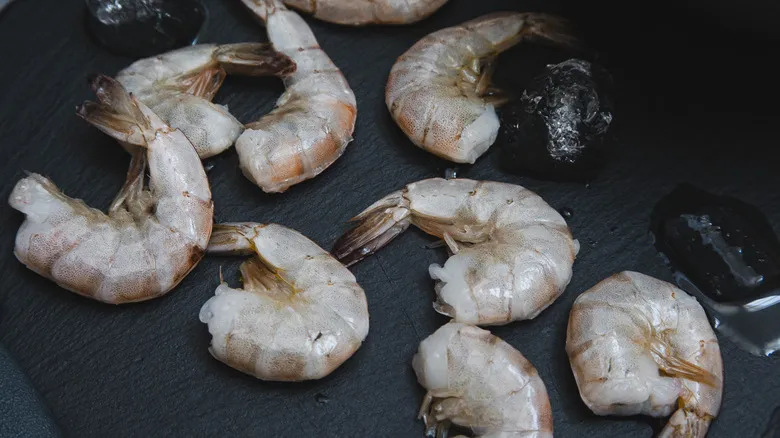
Properly defrosting your shrimp is essential for achieving optimal texture and flavor when grilling. The safest and most effective approach is to thaw shrimp in the refrigerator. Simply move the frozen shrimp into a Ziploc bag and place it in the fridge. To prevent any leakage, keep the bag in a bowl and allow the shrimp to defrost slowly overnight or for about 24 hours. This gradual thawing process helps preserve the shrimp's texture and inhibits bacterial growth.
If you're pressed for time, you can use a quick-thaw method. Submerge the bag of frozen shrimp in a large bowl filled with cold water and ice. Let them sit in this cold bath for 5-10 minutes, gently stirring to ensure even thawing. Avoid letting the shrimp come into direct contact with water or using hot water, as this can begin to cook the shrimp and result in an uneven texture.
After thawing, pat the shrimp dry with paper towels to eliminate excess moisture. This step is crucial for achieving a good sear on the grill. Always use thawed shrimp within 24 hours for the best quality and safety.
Leave shells on to prevent drying
If you followed our suggestion and purchased shrimp with their shells intact, it's advisable to keep the shells on while grilling. The shells serve as a natural shield, safeguarding the tender shrimp meat from the high heat of the grill. This technique helps to retain moisture and prevents the shrimp from becoming overcooked, resulting in a juicier and more flavorful dish. Moreover, the shells contain compounds that enhance the flavor when heated.
When grilling shrimp with the shells on, a simple seasoning of salt and pepper is all you need. However, whether to keep the shells on or remove them ultimately comes down to personal preference, the specific recipe you're using, and the dining context. Shrimp with shells can be trickier to eat, particularly in casual settings, as diners will need to peel them at the table. Conversely, peeled shrimp are more convenient to eat but require a marinade or sauce and closer attention during grilling to avoid overcooking.
If you decide to keep the shells on but wish to use a marinade, you can make a few small incisions along the back of the shrimp to help the marinade soak in and make peeling easier after cooking. For larger shrimp, it's advisable to devein them even if the shells remain on, as the vein can create a gritty texture and a slightly bitter flavor. To devein, simply make a shallow cut along the back of the shrimp and remove the dark vein with the tip of a knife or a deveining tool. For smaller shrimp, you can skip the deveining process to save time.
If using shelled shrimp, marinade

If you're using shelled shrimp or shelling them yourself, be sure to save those shells for making stock. Marinating is the most effective method to keep shrimp from drying out on the grill. Our go-to simple marinade consists of ¼ cup olive oil, 2 tablespoons of lemon juice, 2 minced garlic cloves, and a few pinches of dried oregano, salt, and black pepper. However, feel free to experiment with different marinades. Once you've selected your marinade, add the shrimp and toss to ensure they are evenly coated. Allow the shrimp to marinate in the refrigerator for 15-30 minutes, but avoid exceeding this time, as the acidity from the lemon juice or vinegar can begin to "cook" the shrimp, altering its texture.
Alternatively, you can apply a layer of mayonnaise to the shrimp before grilling. While this may seem unconventional, many grill experts swear by this method. The mayonnaise forms a protective layer that helps retain moisture and encourages even browning.
If your shrimp have a strong fishy smell, soaking them in milk before marinating or cooking can help. Simply immerse the shrimp in a bowl of milk for about 20 minutes, then rinse and pat them dry before continuing with your recipe.
Thread shrimp onto skewers
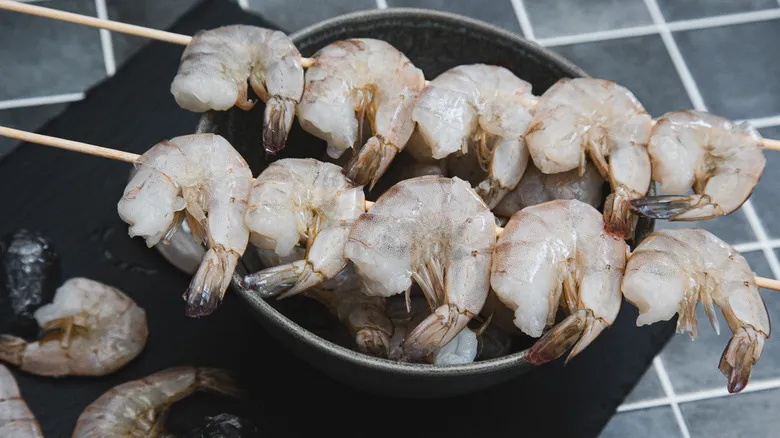
Once your shrimp has been thoroughly thawed and seasoned—whether with salt and pepper or a marinade of your choice—it’s time to thread them onto skewers. This step is crucial for achieving perfectly grilled shrimp. Skewers help keep the shrimp from slipping through the grill grates and make flipping and removing them much easier.
You can opt for wooden skewers, metal skewers, or even a unique skewering technique if you want to get creative. If you choose wooden skewers, be sure to soak them in water for 30 minutes beforehand to avoid burning. Metal skewers are reusable and conduct heat, which can help cook the shrimp from the inside as well. For larger shrimp, using two skewers instead of one is the best approach. This double-skewer technique offers added stability and prevents the shrimp from spinning when you flip them, ensuring even cooking on both sides.
Keep in mind that the distance between shrimp on the skewer can influence cooking time—spacing them further apart will result in more well-done shrimp. Regardless of the type of skewers you use, remember to lightly brush the shrimp with olive oil before grilling to prevent sticking.
Preheat your grill
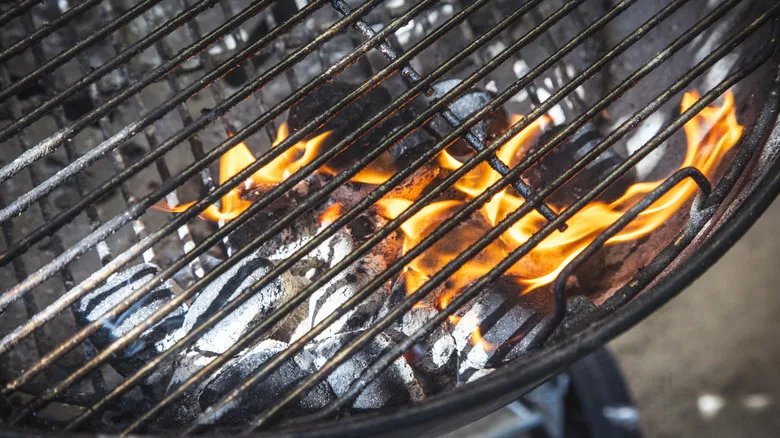
Before you apply oil to your grill and start cooking the shrimp, make sure to preheat the grill to medium-high heat. This process helps to open the metal's pores, allowing it to absorb the oil more effectively. Aim for a temperature range of 350-450°F, which is perfect for cooking shrimp quickly. This ensures a nice char on the outside while keeping the inside juicy and tender.
If your grill has a built-in thermometer, use it to keep track of the temperature. If not, you can perform the hand test: hold your hand about 5 inches above the grill grate and see how long you can keep it there comfortably. For medium-high heat, you should be able to hold your hand in that position for 3-4 seconds before it becomes too hot.
Oil gril grates
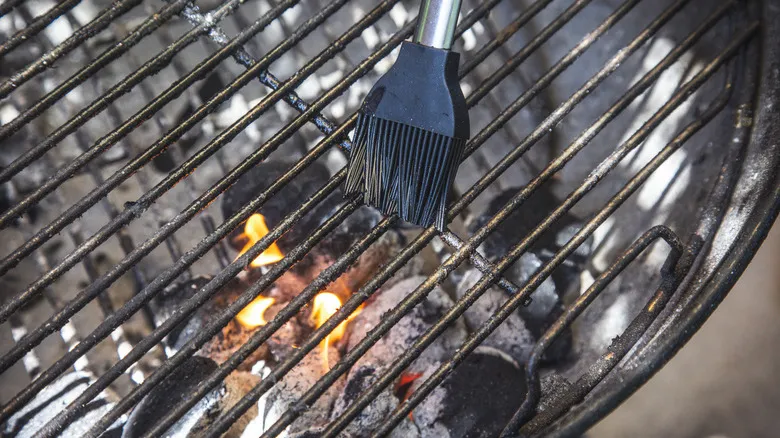
To avoid shrimp sticking to the grill and making it difficult to flip them, we suggest lightly oiling the grill grates. Opt for a high-heat cooking oil, like canola or vegetable oil, instead of low smoke-point oils such as extra virgin olive oil. While the latter is safe for high temperatures, it can still burn and give your food an unpleasant taste.
Ksenia Prints/Chowhound
For this task, use a silicone brush or a dedicated grill oiling tool. Alternatively, you can take a pair of long-handled tongs to hold a folded paper towel soaked in oil. Gently wipe the oiled paper towel across the grates, ensuring you cover the entire area. Exercise caution, as the grill will be extremely hot at this stage. Above all, avoid spraying cooking oil directly onto a hot grill, as this can lead to dangerous flare-ups that could ruin your barbecue plans.
Grill your shrimp
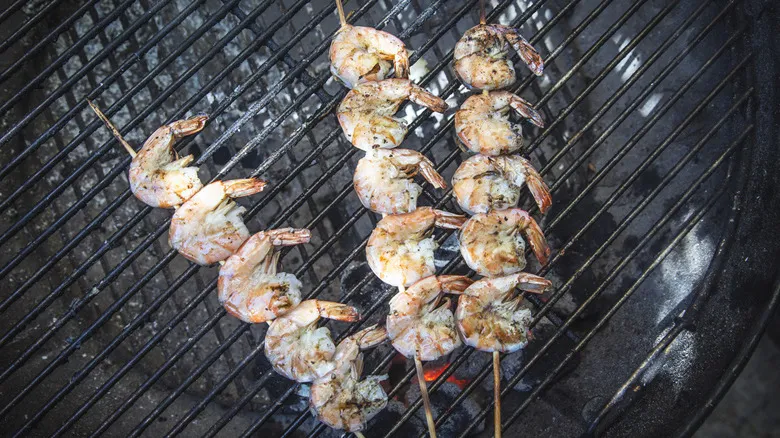
Once your grill has reached the desired temperature and the grates are well-oiled, it’s time to start cooking the shrimp. Arrange the skewered shrimp directly on the hot grill grates, making sure not to overcrowd them. If you have fresh, aromatic herbs like rosemary or thyme, sprinkle them over the shrimp to enhance the flavor.
Ksenia Prints/Chowhound
Grill the shrimp for about 3 minutes on one side. You’ll see the shrimp begin to turn pink and become slightly opaque. Resist the urge to move or flip them too soon, as this can hinder the formation of proper grill marks and may cause the shrimp to stick to the grates.
Ksenia Prints/Chowhound
After 3 minutes, use tongs to gently flip the skewers. Brush the shrimp with oil on the other side. The second side will cook a bit quicker, so grill for around 2 minutes. The shrimp are ready when they are fully pink and opaque throughout, with appealing grill marks on both sides. Be careful not to overcook them, as shrimp can quickly turn tough and rubbery. It’s actually better to slightly undercook shrimp, as they will continue to cook from residual heat. The total cooking time should be approximately 5-6 minutes.
Remove shrimp from grill and serve
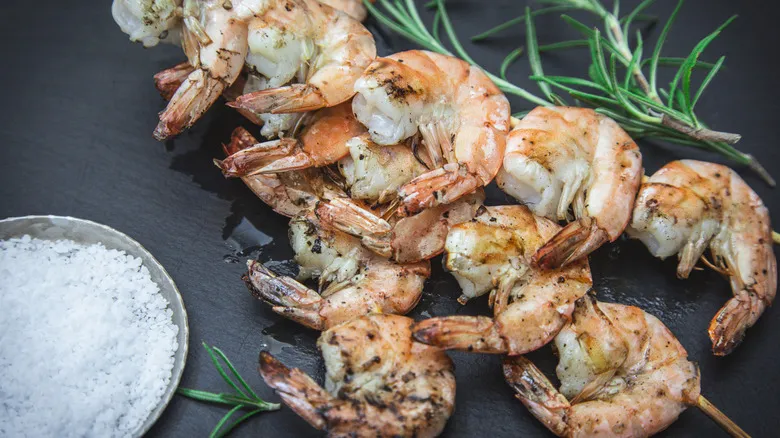
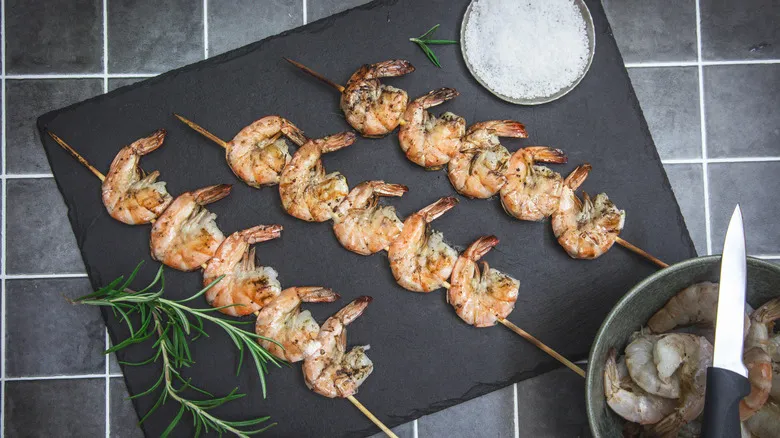
Congratulations! After roughly 5 minutes of cooking and a similar amount of time for preparation, your perfectly grilled shrimp are now ready to enjoy. Serve them as is, paired with traditional cocktail sauce, beurre blanc, or warm garlic butter. With sticky fingers and a smile on your face, you might just feel like you’re “sliding in on a shrimp sandwich,” a Swedish expression for being born with a silver spoon in your mouth.
Recommended
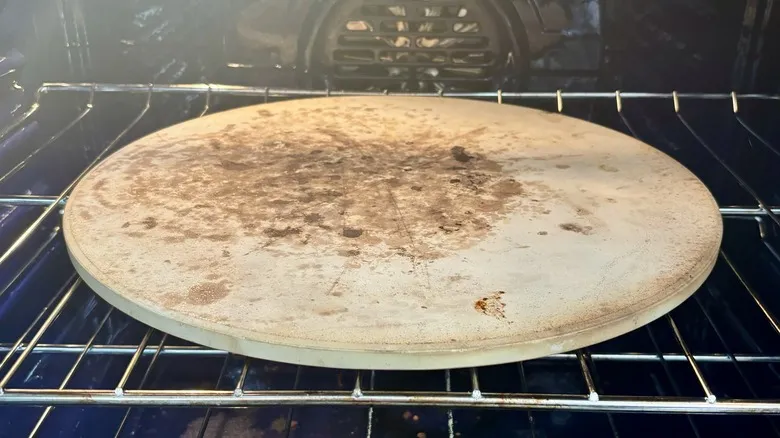
How To Clean Your Pizza Stone Without Ruining It

The Easy Way To Remove The Tendon From Raw Chicken
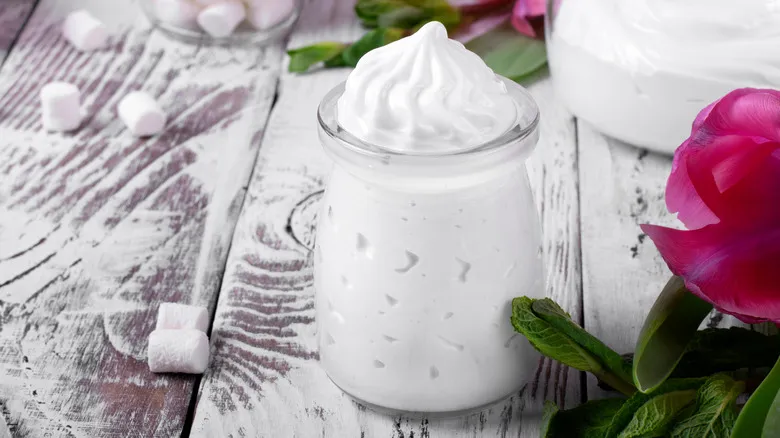
The Only 2 Ingredients You Need For Easy Marshmallow Fluff
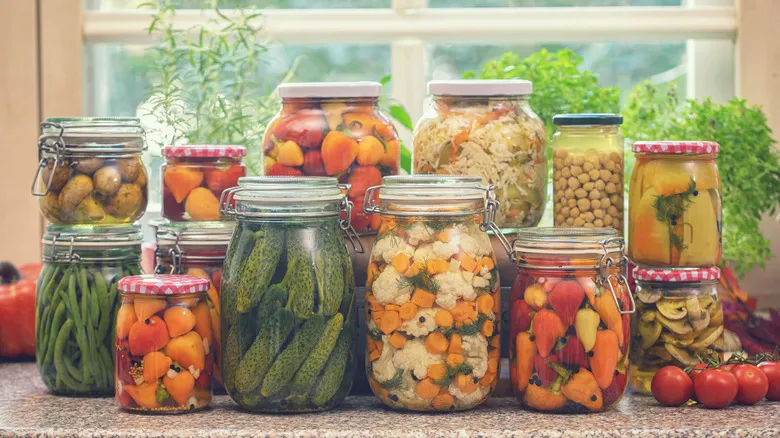
The Tell-Tale Signs Your Home-Canned Goods Have Spoiled
Next up