
What is a sourdough starter?
You might have come across the term "starter" frequently, but you may not fully understand what it means. In essence, a sourdough starter is a collection of wild yeast that you cultivate at home to leaven bread without using commercial yeast. Since the yeast is sourced from the surrounding environment, each sourdough starter has its own distinct flavor and aroma.
This colony develops over time in a mixture of dough that requires regular "feeding," which involves adding flour and water. This process nourishes the yeast microbes, keeping them thriving and ready for your next baking session. While it may seem like a complex scientific endeavor, there's no need to worry. It's quite straightforward and simply involves allowing nature to do its work.
Tools you will need
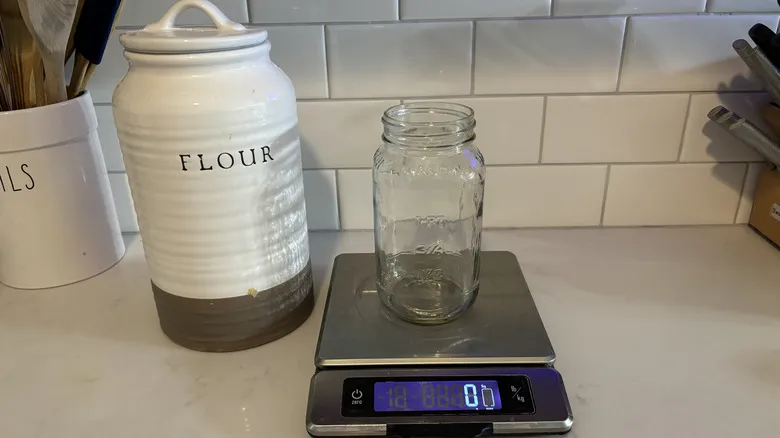
To create a starter and utilize a specific piece of equipment, you'll need a few basic tools. First and foremost, a jar is essential. While any jar with a lid will suffice, a transparent one is preferable. In this article, we utilize a repurposed pasta sauce jar and an old Mason jar. A spoon is also necessary. We suggest using a kitchen scale, as it simplifies the process of measuring ingredients. As you embark on your bread-baking adventure, having a kitchen scale will prove beneficial.
Additionally, you'll require water — we use both tap water and filtered water. Flour is another key ingredient; for this bread, we opted for all-purpose flour. You can start with all-purpose, whole wheat, or rye flour, but ensure that it is unbleached.
Common mistakes
Creating a sourdough starter is relatively straightforward, but there are a few common pitfalls to avoid. First, ensure that the water you use is free from chlorine. If your tap water is chlorinated, let it sit for 15-20 minutes to allow the chlorine to evaporate, as it can harm the beneficial bacteria essential for your starter. Additionally, we suggest using unbleached flour, since the bleaching process can eliminate the good bacteria that aid in the starter's development.
It's also important not to use hot water in your starter. Yeast can die at temperatures as low as 130 degrees Fahrenheit, which is below boiling point. If the water feels warm to your hand, it’s likely too hot for the starter. Furthermore, if your environment is chilly—below 70 degrees Fahrenheit—it may take longer for the yeast to activate. This doesn’t indicate a problem with your starter; rather, cooler temperatures slow down yeast activity, requiring a bit more time for it to rise.
Lastly, take care when measuring your ingredients. Make sure to reset your scale to zero after placing your container on it. Weighing ingredients provides greater accuracy than measuring by volume, but it’s not without its potential errors.
Day one: Add flour and water
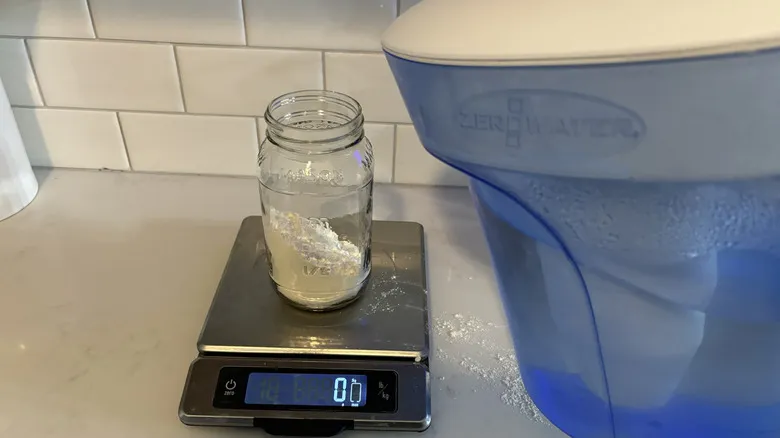
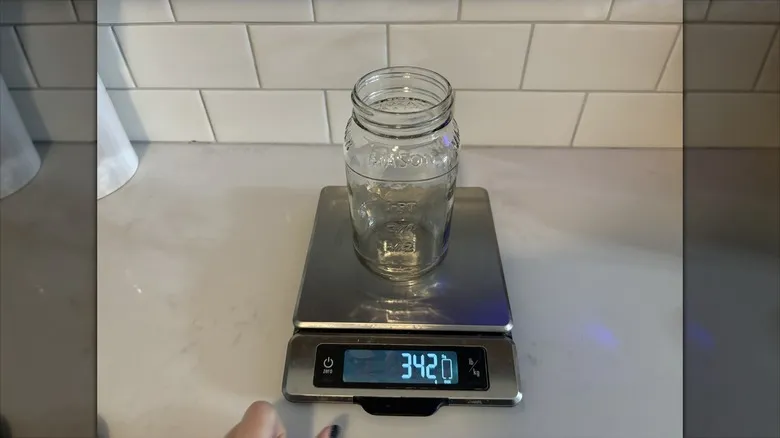
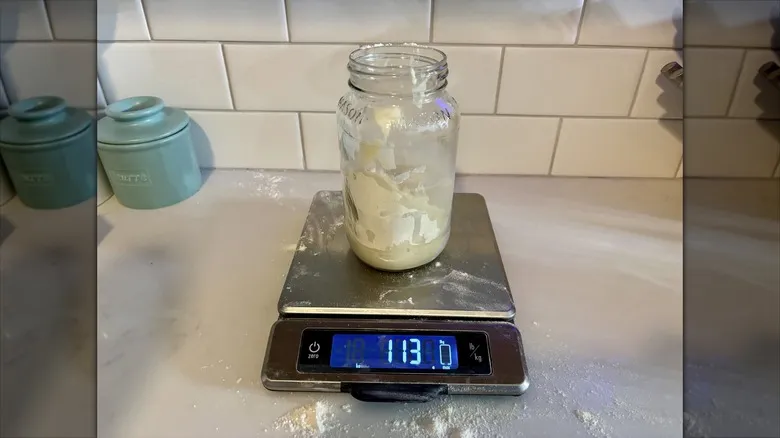
Combine 113 grams of water with 113 grams of flour. This measurement is based on weight, not volume. If you don't have a kitchen scale, this is approximately one cup of flour and half a cup of water.
Let it rest
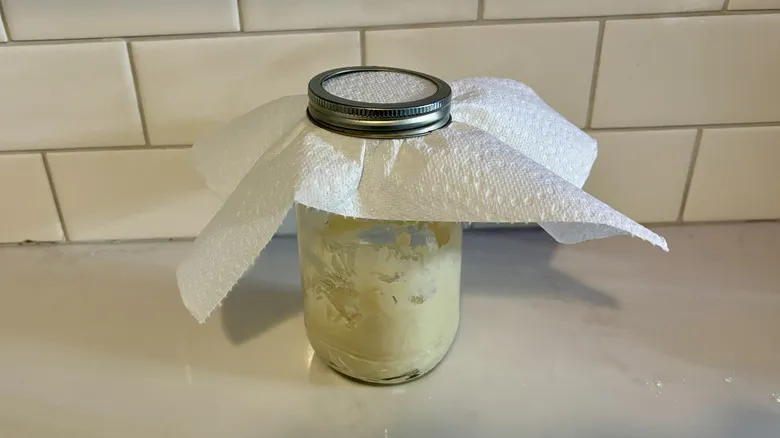
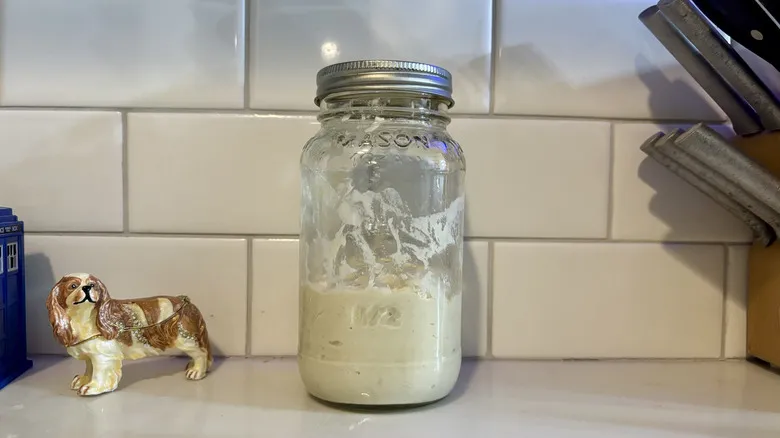
Combine your ingredients until they are well blended, resulting in a rough dough. Cover it loosely with a paper towel or a lid, ensuring it’s not sealed tightly to allow air and microbes to enter, preventing any pressure buildup.
Allow your starter to sit at room temperature in a warm area for 24 hours without disturbing it. Just let it rest.
Day 2: The first discard

After 24 hours, remove everything except for 113 grams of the rested mixture. You can either measure 113 grams into a new clean jar or pour out your starter and add back 113 grams. This amount is roughly equivalent to half a cup of starter.
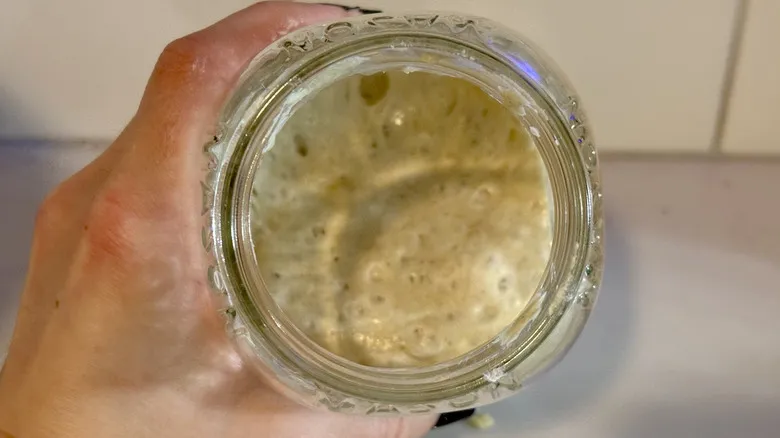
At this stage, your starter might be bubbly or not, and there could be some liquid on the surface. Don't be concerned; as long as your starter isn't showing signs of active mold, it's perfectly fine. These are still the early stages.
Time to feed
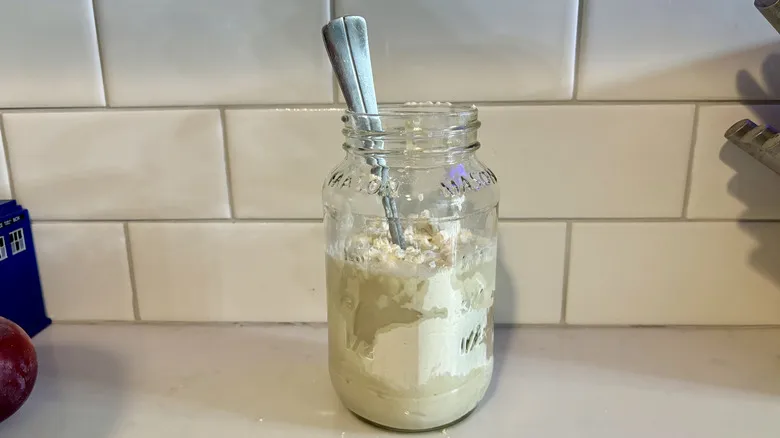
It's time for the initial feeding. Combine 113 grams of flour and 113 grams of water with your starter (make sure to use unbleached flour and non-chlorinated water). Mix thoroughly as you did previously. Allow your starter to rest for 24 hours.
Day 3: Double the feeding
On the third day, you should perform two feedings for your starter, spaced 12 hours apart. This will help energize your starter. Feed 113 grams of starter along with 113 grams each of flour and water, twice within the same day, aiming for a 12-hour interval between the feedings.
Day 4 and until fully started
Keep feeding your starter once or twice daily until it becomes fully active. Remove all but 113 grams of the starter and add 113 grams each of water and unbleached flour. It typically takes at least seven days to develop a fully active starter, but it may take two weeks or longer. Continue the feedings until you reach that stage.
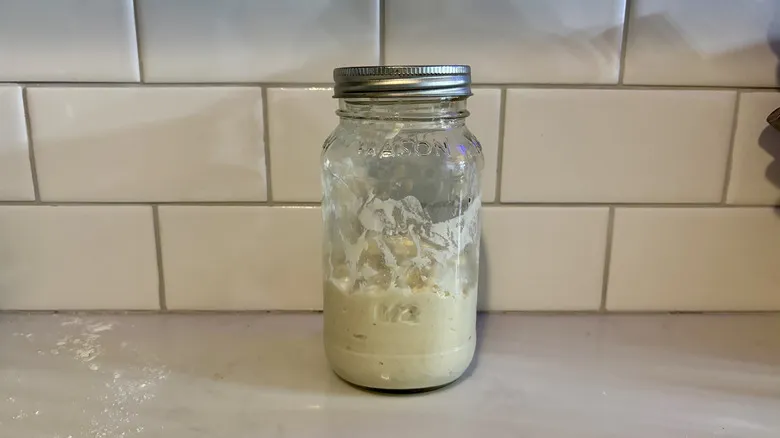
Your starter is complete
Your starter is ready when it has doubled in size within 8-12 hours for at least three consecutive days. It's important to wait for multiple days in a row; otherwise, your starter may not be robust enough to consistently leaven the bread.
How to store your sourdough
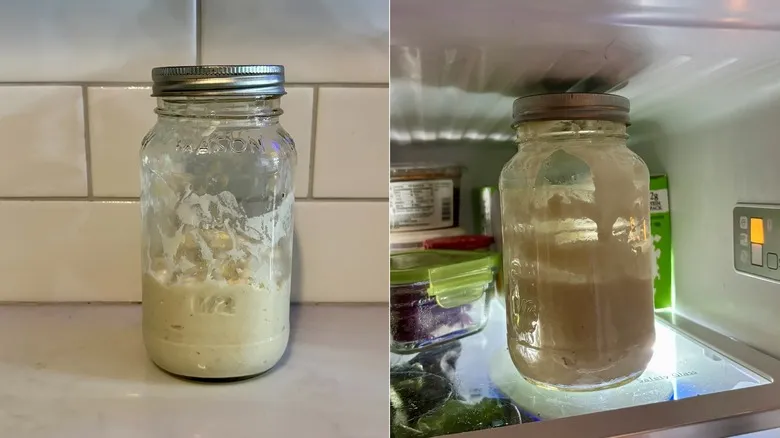
Sourdough starter can be kept on the countertop. You can leave it in its jar, but ensure the lid isn’t sealed too tightly to allow excess gas to escape. If you opt for this method, the sourdough will need to be fed every 12 to 24 hours. During feeding time, you can either discard some of the excess starter or use it to bake bread or other treats. There are numerous recipes available for using sourdough discard.
Alternatively, you can store sourdough starter in the refrigerator. Keep the discard in a loosely covered jar at the back of the fridge. This will slow down the fermentation process, reducing the frequency of feedings and baking. Feed the sourdough in the fridge once a week to keep it active. When you’re ready to bake, take the sourdough out of the fridge and let it sit on the counter until it reaches room temperature. Be sure to give it one or two feedings to revive it before using it in your recipes.
You can also freeze the starter in a sealed container for up to a year. To use frozen sourdough starter, simply take it out of the freezer, allow it to thaw, and feed it one to two times to reactivate it before using.
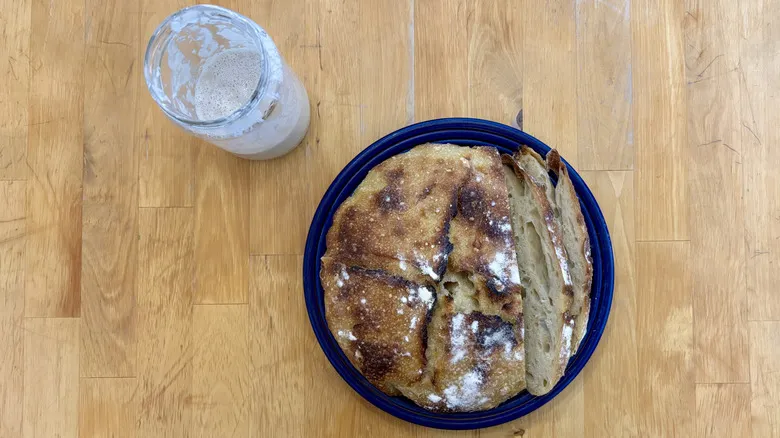
How to use your sourdough
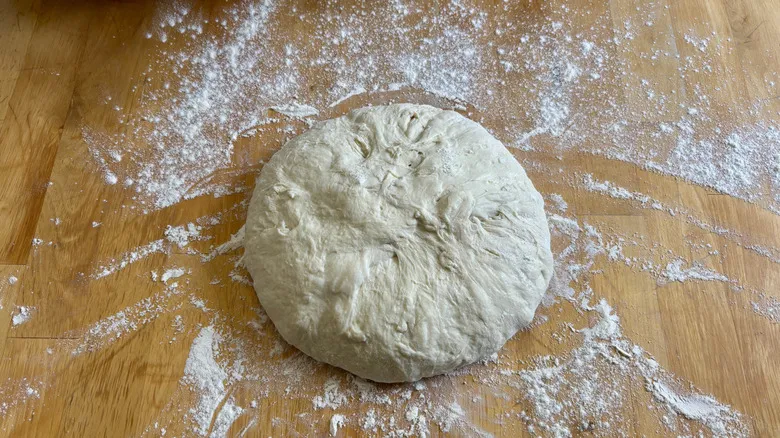
The top priority when it comes to sourdough starter is to create tasty sourdough bread. Besides baking bread, you can also utilize your sourdough discard to whip up delightful treats like coffee cake and chocolate chip cookies.
Recommended
The Case For Baking Your Graham Cracker Pie Crust
How Many Apples Does It Take To Make An Apple Pie?
Bloomin' Apples Are The Fuss-Free Fall Dessert You're Craving
A Guide To Baking With Instant Coffee
Next up