Get the alcohol ratio just right
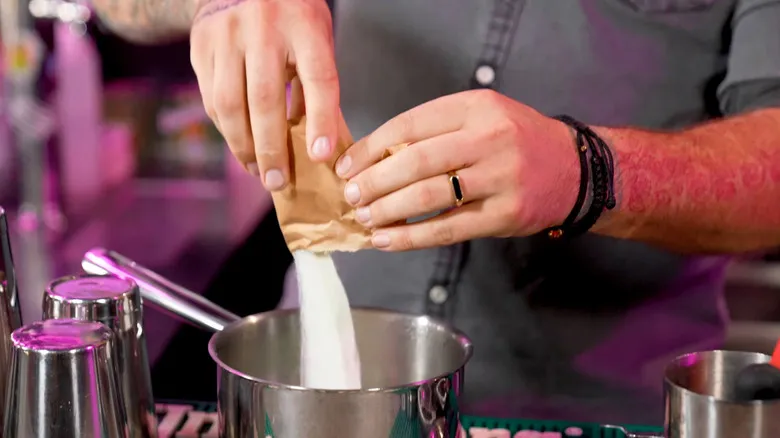
The next step is to gather your ingredients. A typical Jell-O recipe requires only water to be mixed with the packaged powder, but in this case, you'll be dividing the total liquid amount between water and your chosen alcohol. Lockwood's preferred ratio is ½ cup of cold water and ½ cup of alcohol. While Lockwood uses vodka, feel free to select any alcohol you like; just be mindful of the quantity, as too much can be problematic.
Although it might be tempting to increase the potency of your shots, adding excessive liquid will prevent them from setting properly—so it's important to exercise moderation. "It's crucial not to add too much alcohol, as it will interfere with the gelatin's ability to set, leading to a whole new set of problems," Lockwood warns. "When you check back in four hours, your Jell-O shots will still be liquid and runny."
To proceed, bring 1 cup of water to a boil in a saucepan, then add the Jell-O mix and stir with a whisk or bar spoon until completely dissolved. After removing it from the heat, incorporate the mixture of ½ cup of cold water and ½ cup of vodka. This will initiate the cooling process, helping your shots to solidify.
Customizing your shots
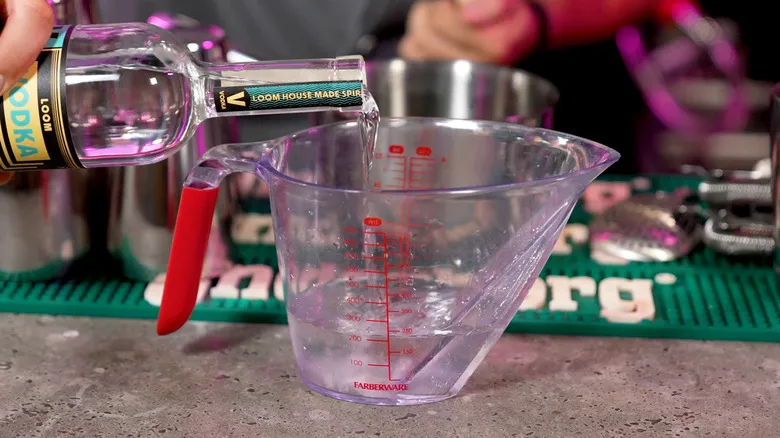
This simple method will yield some delicious Jell-O shots just as they are. However, while it's important not to add too much liquid to your Jell-O shots, you shouldn't feel limited in terms of flavor options. Lockwood opted for vodka and lime Jell-O, but you’re free to explore beyond these choices.
"These types of recipes are quite flexible," Lockwood notes. "Once you have the right ratios, you can start experimenting on your own." So pick your favorite spirit and try blending different Jell-O flavors, incorporating fruit juices, or even creating your own flavored simple syrups.
Whatever combinations you decide on, Lockwood emphasizes, "We just want to ensure that this base recipe and ratio are correct because that will provide balance to your Jell-O shot and make it enjoyable." With that in mind, if you're using simple syrup, a good starting point could be ½ cup of cold water, ¼ cup of simple syrup, and ¼ cup of alcohol.
It's a good idea to taste a small sample before you finalize everything to ensure you're on the right track—don't wait until hours later to discover you’re not fond of the flavor. By then, your Jell-O will have set, and you won’t have the opportunity to adjust it. Once you’re satisfied with your flavor combination, you can proceed with portioning, packaging, and chilling them.
Packaging, setting, and serving your shots
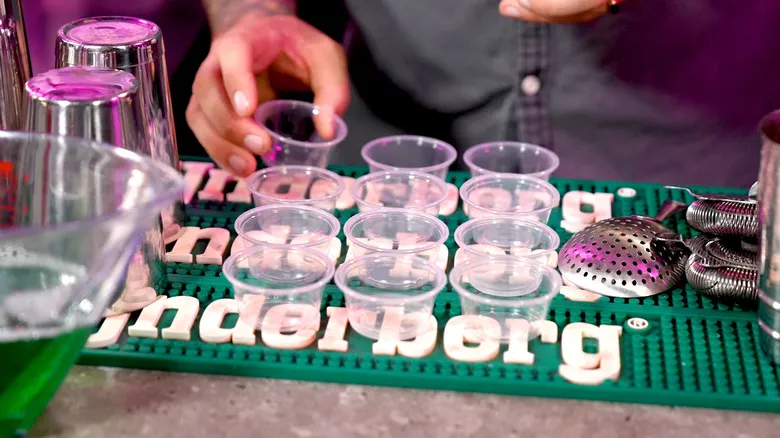
To avoid a potential mess, refrain from pouring your shots directly from a wide-mouthed pot into smaller containers. Lockwood recommends transferring the entire liquid into a vessel with a spout, such as a pitcher, to make pouring easier. This will help minimize spills while you portion them out.
Two-ounce disposable plastic portion cups with lids are a practical choice, especially for transporting your shots to a party or simply storing them in the fridge for later. However, it's important not to cover your shots right away, as this can trap heat and slow down the setting process. The waiting period might be the toughest part, but resist the urge to rush. Your shots need about four hours in the fridge to set properly before you can safely put on the lids. Once that time has passed, don’t hesitate to try one for yourself.
Lockwood concludes with his most crucial piece of advice, which you won’t want to overlook: "Get your ratios right and the world is your oyster." With these expert tips, you’ll find that making these delicious shots is so easy, you might start inventing reasons to whip them up regularly.
Recommended
Your Favorite Bourbon Cocktail Could Use A Boost From Chocolate Bitters
Give Your Guests Elite Beverage Options With An Italian Soda Bar
What Does It Mean To Order A Rail Drink?
The Pancake-Making Tool That Makes Jell-O Shots Easier To Make
Next up
