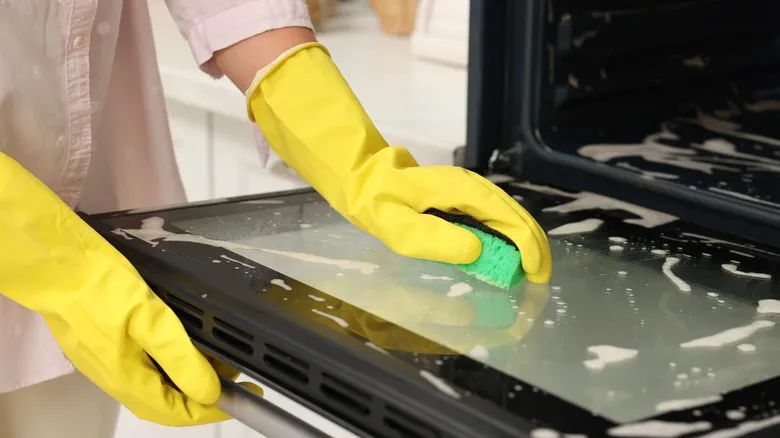
Not cleaning often enough
According to experts, one of the most common mistakes people make is neglecting to clean their ovens frequently enough. Although deep cleaning your oven may not be the most exciting task on your to-do list, it’s essential to make it a priority. Ignoring this chore can lead to greater time and financial costs down the line. The ideal frequency for cleaning your oven depends on how often you use it, but it’s generally better to clean it more often than too infrequently.
Marla Mock, President of Molly Maid, recommends, "You should aim to deep-clean your oven approximately every three to six months. Cleaning it at least once a quarter will help enhance and prolong your oven's performance and lifespan." If you prepare a particularly messy meal or need to do some spot cleaning, feel free to clean more often than the quarterly schedule.
Incorporating a deep clean into your routine will not only improve your oven's efficiency and longevity but also enhance the quality of your food. Clean coils will heat more effectively, which can help reduce energy expenses. Additionally, a dirty oven poses a higher fire risk, as accumulated grease can ignite when exposed to flames or high heat.
Leaving stubborn spots on
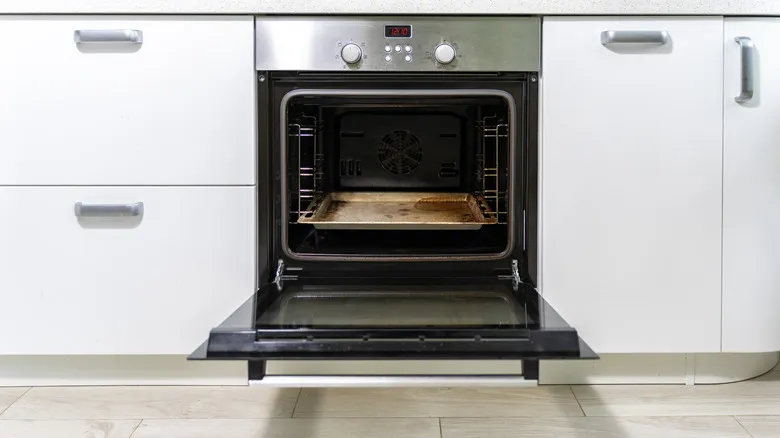
A bit of effort may be necessary to scrub away accumulated grime. It can be tempting to give your oven a quick clean and consider it sufficient, but persistent dirt can result in smoke and even fire if left unattended. Using a dirty oven can also cause grease and residue to become even more baked on and difficult to remove. Not only are you neglecting the issue, but you might also be exacerbating it.
A gentle cleaning solution may help keep your kitchen looking pristine, but don’t hesitate to pull out the heavy-duty cleaners for those particularly stubborn areas inside the oven. "Ovens often need intensive cleaning, and removing hardened carbon stains, especially from oven trays, can be quite challenging," says Delah Gomasi, Managing Director and CEO at MaidForYou.
In addition to manual scrubbing, you can utilize a plastic scraper or silicone brush to eliminate stuck-on dirt without scratching the surface. "For tough spots, a plastic scraper is ideal to avoid damaging the oven's surface," advises Marla Mock. She also suggests using non-abrasive sponges or cloths to tackle even the most challenging ovens and burnt-on grime. It’s crucial to avoid tools that could harm the interior or exterior of your oven during the cleaning process.
Beginning with the exterior
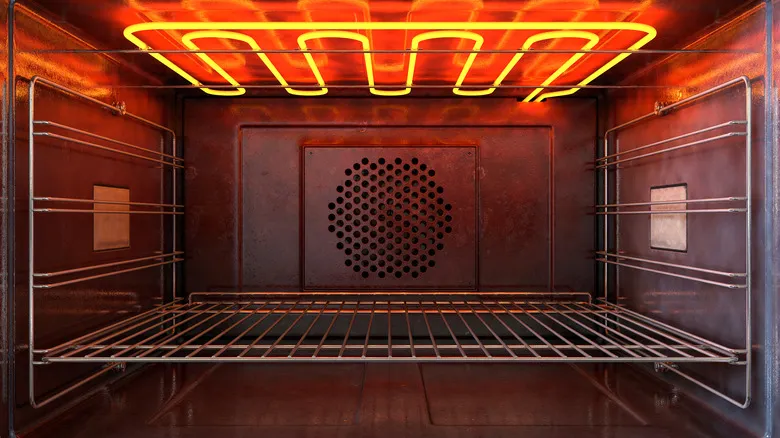
When it comes to cleaning, it's wise to tackle the least enjoyable tasks first to get them out of the way. That's why the oven often ranks high on the to-do list. The inside of the oven tends to accumulate baked-on food, spills, and general dirt, making it the ideal starting point. According to Marla Mock, cleaning the oven can be time-consuming. "Begin with the interior, as that usually takes the longest to finish," she advises.
Mock suggests removing the racks and cleaning them separately. This approach allows you to reach every nook and cranny of the oven's interior and ensures the door is thoroughly cleaned. Since the oven's interior has the largest surface area and comes into contact with the most food, it typically requires more time and effort than a quick wipe-down of the exterior. You may also need to use stronger cleaning products and allow them to sit for a while for optimal results. It's crucial to be mindful of where you apply certain products, as some can be harsh on the delicate heating element in your oven.
Scrubbing away cleaning paste right away
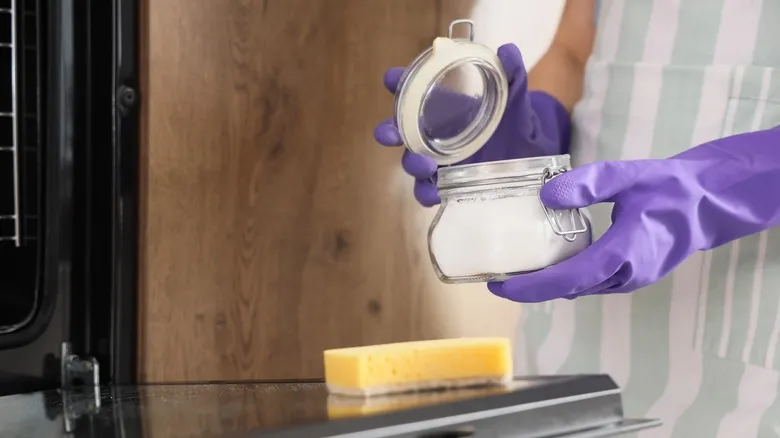
Whether you opt for a store-bought cleaning paste or whip up your own using baking soda, it's essential to let it sit on the oven's surface to be effective. If you apply it and then immediately wipe it off, you'll expend much more effort without reaping the benefits of the solution. Instead, allow it some time to soak into grease, food particles, and stains.
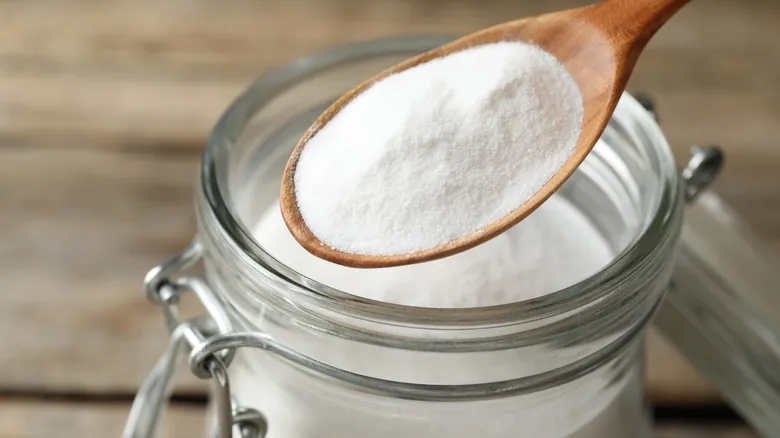
Baking soda is an alkaline powder that, when mixed with water, helps lift dirt and grime. When combined with an acid like white vinegar, it produces fizzy carbon dioxide bubbles that assist in breaking down residue and food stains. Commercial oven cleaners contain similar chemical components to achieve the same results, with some even designed to tackle carbon buildup more aggressively.
You might be surprised by how long cleaning paste actually needs to work. According to Marla Mock, president of the home cleaning service Molly Maid, it's best to let your paste sit overnight to tackle stubborn, baked-on grime. For a homemade cleaning paste, Mock suggests using pantry staples: "Mix ¾ cup of baking soda with ¼ cup of water and apply it generously to the interior surfaces, steering clear of the heating elements," she advises. If you allow it to penetrate the dirt, you’ll often find that you can simply wipe away the residue the next day with minimal effort.
Forgetting to remove post-cleaning residue
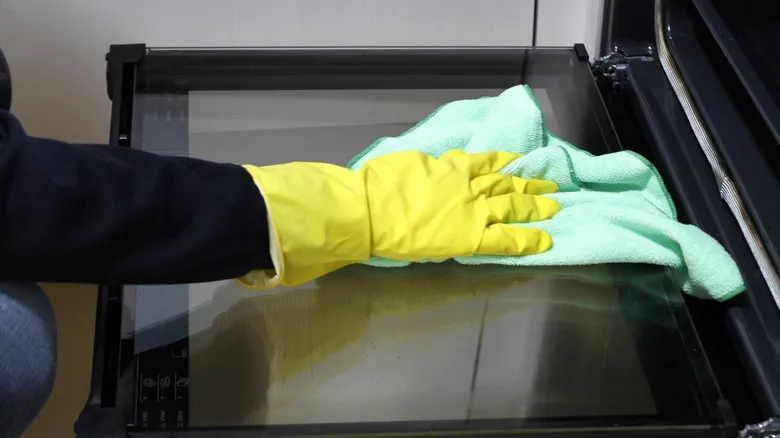
Once you've cleaned your oven, it's crucial to remove any leftover cleaning solution before you start cooking again. Marla Mock suggests using a damp cloth or sponge to "gently scrub away the paste." Be sure to wipe away all excess residue with a clean sponge, rinsing it as necessary between wipes. After you're done, go over the surface with a fresh sponge or towel to ensure it's completely clean and ready for use.
Since some cleaners contain harsh chemicals, the last thing you want when preparing your next meal is any lingering traces of cleaner in the oven. Not only can this create unpleasant odors and affect the flavor of your food, but it may also pose health risks. Taylor Riley, founder of Boom. Facility Service Advisors, recommends Easy-Off because it "breaks down grease and baked-on messes much faster" than the self-cleaning cycle of your oven. However, it's advisable to wipe away any excess with a cloth or sponge and, if necessary, clean your oven multiple times to remove all residue.
Cleaning racks in the oven
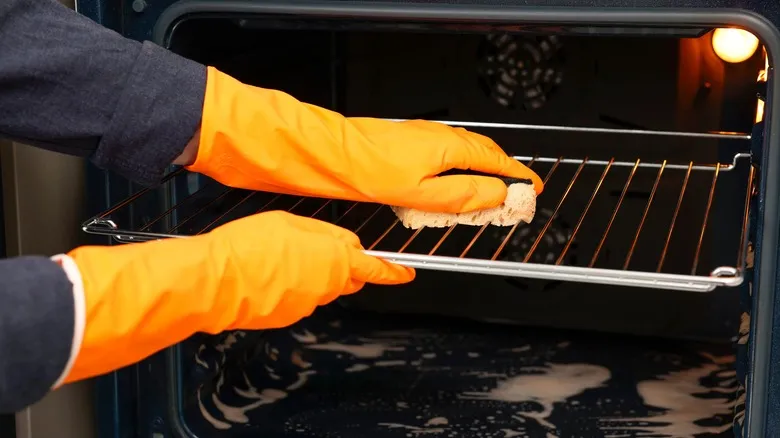
While a quick wipe can handle minor spills, a deep clean of your oven racks requires a bit more effort. For optimal results, remove the racks and clean them separately. This approach allows you to reach every corner of the oven's interior and thoroughly scrub the racks themselves. You might need to soak them to lift particularly stubborn stains.
"Take the racks out of the oven and place them in a bathtub, shower, or large sink," advises Marla Mock. "Sprinkle baking soda over the racks, then pour white vinegar on top. Let the mixture fizz and work its magic for a few hours to help loosen the accumulated grime."
If you're using cleaning products, be sure to protect the surface beneath the racks. "I've had clients who place oven racks on kitchen countertops to dry after being sprayed with oven cleaner," explains Delah Gomasi, Managing Director and CEO at MaidForYou. "Even if you've wiped the cleaner off the racks, there's always a chance some residue remains, and you can often spot homes where this has happened due to vertical lines etched into their countertops." Using a waterproof pad or a thick towel is usually sufficient to safeguard the surface below.
Not preparing for the self-cleaning cycle
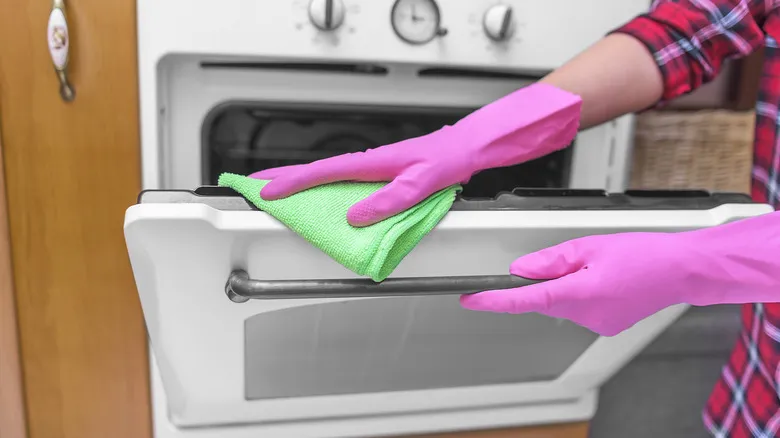
The self-cleaning feature on most ovens is quite handy, but it requires some planning before you activate it. "This process heats the oven to very high temperatures to incinerate any leftover residue, resulting in a fine ash that can be easily wiped away once the cycle is complete," explains Taylor Riley. "However, the self-cleaning cycle can last several hours, so it's crucial to run it when you have ample time and can remain at home."
Since the process can take a few hours, be sure to allocate enough time for the cycle to finish completely. It's also wise to take this opportunity to clean your oven racks, which should be removed during the cycle. To maximize efficiency, you can do this while the oven is self-cleaning.
For an extra boost to your oven's cleaning power, place fresh lemon juice in an oven-safe bowl and steam it on low heat for 20 minutes. This can help lift grime, enhancing the effectiveness of the self-cleaning process. Some experts suggest scrubbing instead of relying on the self-cleaning cycle, as it gives you more control over the cleaning. For older or damaged ovens, the high heat of the self-cleaning setting may be too harsh for the interior. Delah Gomasi warns that the intense heat can potentially damage the oven's glass panes. If you choose to use this option, be sure to follow the manufacturer's instructions and keep a close eye on the oven during the cleaning process.
Leaving your house during your oven's self-cleaning

If you choose to use the self-cleaning cycle, it's advisable to stay close to the kitchen while your oven is in operation. "You should never leave the house during the self-cleaning process, as the oven can become extremely hot and may produce some smoke, depending on the amount of buildup," explains Taylor Riley. "While this method is effective for cleaning, it's important to consider the time it requires."
The self-cleaning feature effectively removes stubborn grime from the interior surfaces of your oven, which you can easily wipe away afterward. Since the self-cleaning cycle can reach temperatures of 800 to 900 degrees Fahrenheit, it incinerates the stuck-on residue. To avoid any potential damage to your home, be sure to keep a close eye on the oven during the cleaning process and refrain from leaving the premises.
Additionally, you might want to open a window or use a fan for ventilation while it operates. Although most kitchens are equipped with smoke detectors near the oven to alert you in case of a fire or other hazardous situations, venting the smoke outside can help prevent false alarms. This also means you should stay nearby to monitor for any genuine emergencies.
Thinking that cleaning is one-and-done
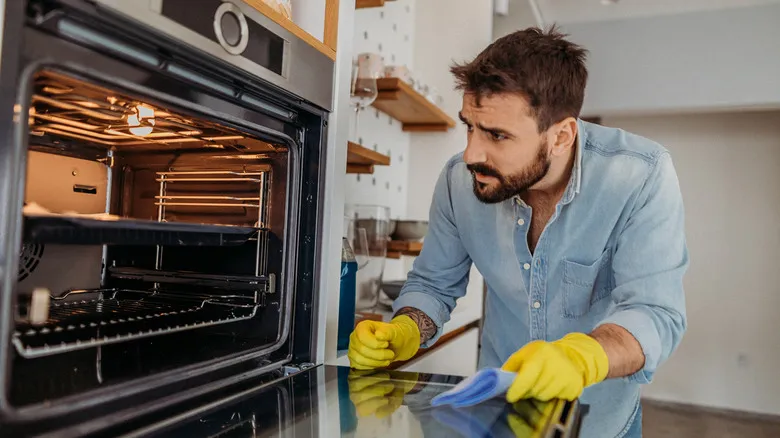
Don’t hesitate to clean your oven multiple times to thoroughly remove all residue from the interior surfaces. Achieving the best results may require several cleaning sessions. If you prefer a homemade cleaner for the initial phase, that’s a great start. Afterward, you can switch to stronger, more effective chemical cleaners for the follow-up. Removing the top layer of grime will also help you identify specific areas that need extra attention during your second cleaning.
Taking out the oven racks can greatly enhance the cleaning process, as it provides a clearer view of the oven’s interior. You can flip the racks over to ensure all residue is removed and to inspect the oven more closely. An empty oven makes it easier to spot any stains or areas that may need additional cleaning. Also, remember to wipe down the gaskets around the oven’s edge, as well as the exterior and handle.
Using dish soap
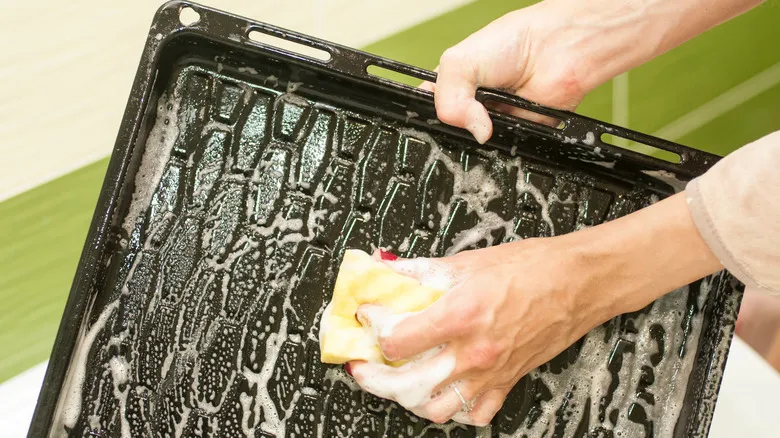
While dish soap can effectively tackle minor food residue and light baked-on stains, a thorough cleaning of your oven typically requires more powerful products. This is particularly important if you haven't cleaned your oven in a long time (or ever) or if there are significant burnt-on messes to address. For optimal results, it's best to use a specialized oven cleaner or a baking soda and vinegar mixture, especially when confronting stubborn stains or layers of grease and grime that have built up over time. Dish soap falls short because it doesn't effectively break down the carbon that can accumulate on the oven's surface.
Delah Gomasi, Managing Director and CEO of MaidForYou, explains that while dish soap can manage surface dirt, it is "not caustic enough to eliminate built-up carbon deposits, particularly on oven trays." Instead, specialized oven cleaners are necessary to deeply penetrate the surface and lift away dirt during the cleaning process. He advises using these cleaners with caution, as the same properties that make them effective for cleaning can be harsh on the skin.
Inadequate ventilation
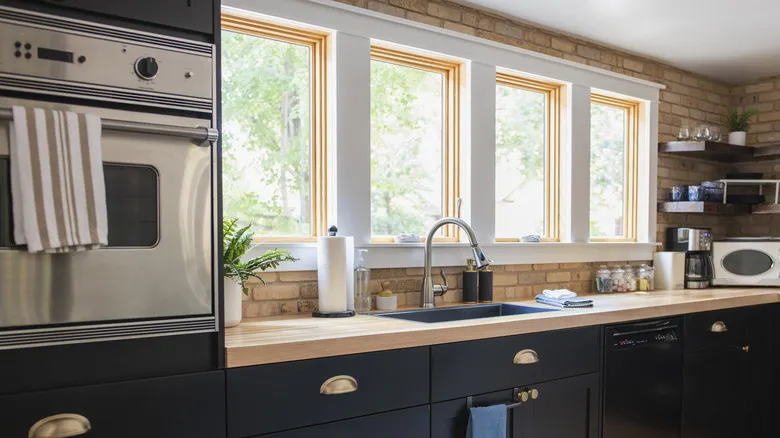
Certain cleaning products can be potent and irritating to your senses, a fact that becomes even more apparent if your kitchen lacks proper ventilation. Ensure there is adequate airflow while cleaning your oven, and consider using personal protective equipment to prevent feeling lightheaded or unwell. Delah Gomasi has his team don gear that protects their hands and exposed skin, as well as shields their eyes from harsh cleaners. If you have leftover masks from the pandemic, now is a perfect time to put them to use. When using homemade cleaning solutions, be aware of harmful combinations to avoid, such as bleach and ammonia.
When utilizing the self-cleaning cycle, smoke can also be an issue, as high temperatures combined with grease and grime may trigger this reaction. "I always suggest opening a few windows to improve ventilation if the process produces smoke," advises Taylor Riley. This can also help restore your kitchen to its usual pleasant atmosphere more quickly once the oven cleaning is complete.
Forgetting about overspray
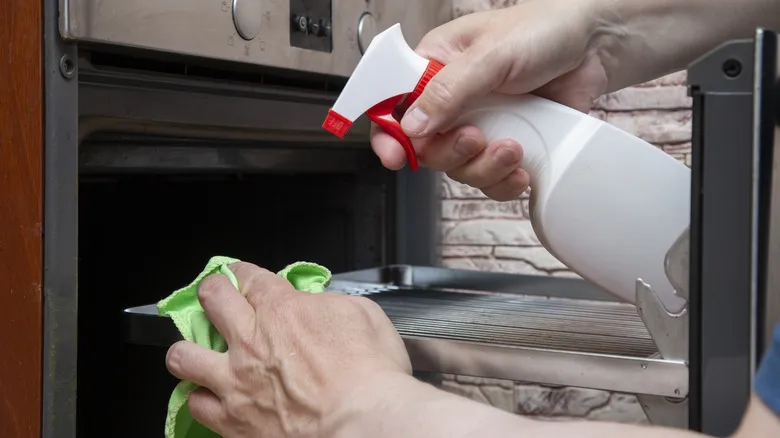
Oven cleaners are potent because they need to dissolve a significant amount of grease and dirt, but this strength can also damage other surfaces, such as furniture, countertops, and even the exterior components of your oven. It's important to identify which cleaners are suitable for different parts of your oven. Some cleaners are too harsh or strong to be used near heating elements, yet they work effectively on oven racks, which should be removed for cleaning anyway. Other products may enhance the shine of the oven's exterior but won't effectively remove baked-on food residue inside. You might consider using several different products to clean your oven and take precautions to limit their use to the specific areas that require attention.
Chemical cleaners like Easy-Off are highly effective against grease and grime, but they are among the most potent options available, so it's essential to exercise caution when using them. "Oven cleaner is extremely caustic, and we've seen many kitchens where sensitive surfaces have been damaged due to improper use of oven cleaners," warns Delah Gomasi. Many of these cleaners come in spray form, which can make it even more challenging to control the application. To protect delicate kitchen surfaces, consider covering them with a sheet or using tape to shield them.
Recommended
The Magical Transformation Baking Soda Has On Regular Noodles

Why Reheating Leftover Eggs Is Almost Always A Bad Idea

Baking Soda Is The Secret To The Creamiest Hummus Ever

Why Sake And Sushi Pair So Well Together
Next up

