
Pre-chilling keeps coolers cold

Coolers operate through insulation. They are constructed from specific materials that can preserve the internal temperature for an extended duration, but this does not imply that they can independently cool their contents. If a cooler is warm when you first fill it, it will raise the temperature of everything inside. Utilizing a significant amount of ice can help mitigate this effect, but it's ideal to begin with a chilled cooler. This approach reduces the effort the cooler needs to exert to maintain a low temperature. If you intend to gather your own ice, be sure to plan ahead and check how long it takes for a tray of ice cubes to freeze.
This technique is most effective for hard-sided coolers. In fact, several leading cooler brands actually endorse the pre-chilling method for optimal performance. In some instances, it can extend the lifespan of ice by over 20 hours. Unfortunately, this method is generally not suitable for soft coolers. The best strategy for a soft-sided cooler is to fill it with food and keep it in the refrigerator overnight, then add ice just before you head out.
More tips for loading your cooler
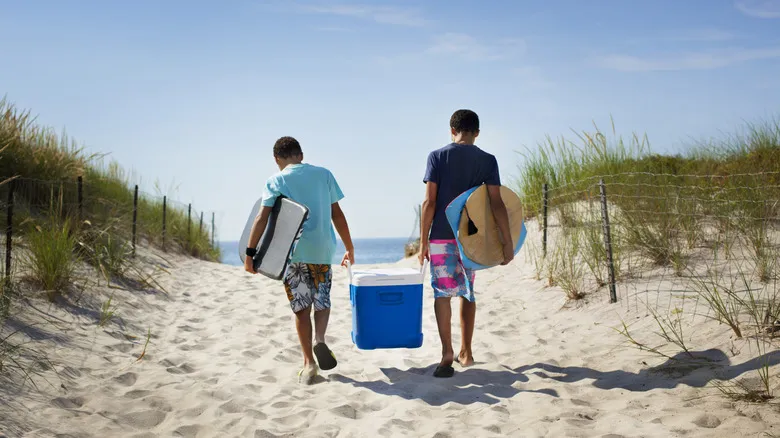
To ensure your cooler remains cold for as long as possible, keep it out of direct sunlight. The key to effective cooling lies in how you pack it with ice, food, and beverages. For optimal results, use a mix of large and small ice pieces. Start by placing a large block of ice at the bottom, then layer in your drinks, followed by ice cubes, and top it off with more ice. Don’t hold back on the ice—your cooler should be filled to about two-thirds with it.
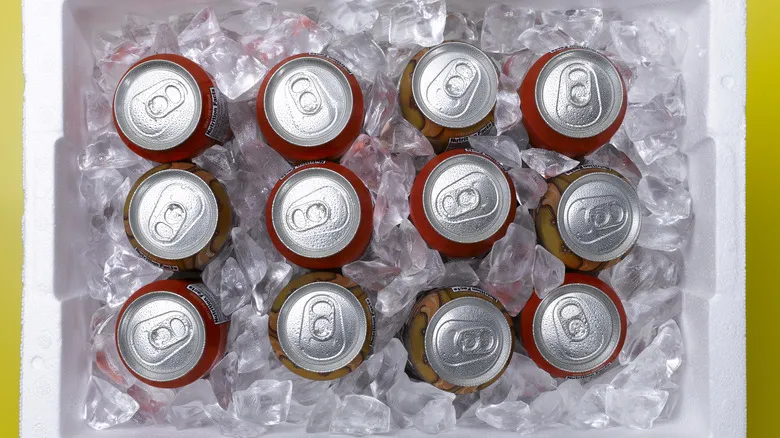
For refreshing beverages, load your pre-chilled cooler with drinks that have also been chilled beforehand! Place any soft items, like the ingredients for a simple sandwich, at the top to prevent them from getting squished. It might seem counterintuitive, but a fully packed cooler is actually more effective at keeping everything cold, as the various cans and snacks insulate one another. Fill any empty spaces with additional ice. Once you start using the cooler, try to minimize how often it’s opened. Each time it opens, warm air enters, raising the temperature inside. When packing your cooler, organize it so that your desired snacks are easy to reach.
Recommended
The Avocado Ripening Hacks You Shouldn't Trust
The Best Blueberry Storage Is Also The Easiest
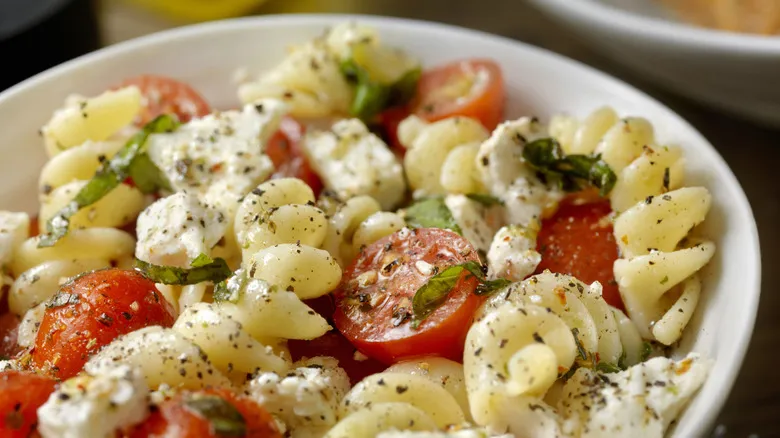
Yes, Pasta Salad Can Be Frozen For Later. Here's The Best Way To Do It
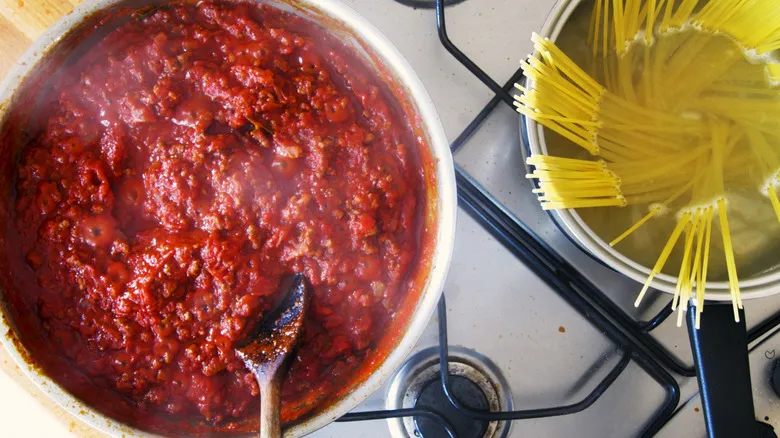
Do Pasta And Sauce Last The Same Amount Of Time In The Fridge?
Next up