A step-by-step guide to the perfect steamed milk

Investing in a high-quality milk steaming pitcher, thermometer, and espresso machine is essential for creating a home coffee bar. (If you enjoy iced coffee, consider adding a good cocktail shaker to your collection as well.) Once you have the right equipment, it’s time to ensure your milk is frothed to perfection.
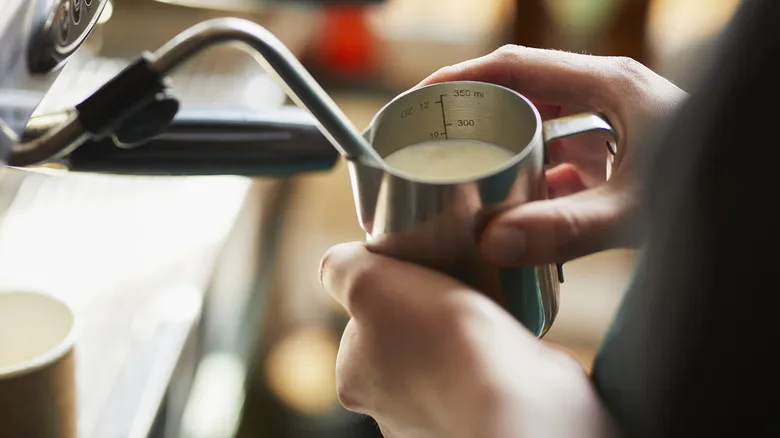
After pulling an espresso shot, pour cold milk into your pitcher. Insert the milk frothing wand and aerate the top of the milk for a few seconds until you hear a sound reminiscent of tearing paper. Once you hear that sound, fully submerge the wand in the center of the milk, creating a whirlpool effect. Continue frothing until the milk reaches approximately 150 degrees Fahrenheit. At this point, you can turn off the steam and remove the wand from the pitcher. Gently tap the pitcher on the countertop to blend the microfoam with the milk. Voilà! You now have beautifully frothed milk, perfect for a lovely latte.
For those who want to practice without wasting milk, Mathew Woodburn-Simmonds suggests steaming water with a drop of dish soap to create foam similar to that of steamed milk. You can then pour this into water colored with food dye. Just remember, don’t attempt to drink what you create!
Latte art also relies on the angle milk is poured

To achieve the finest latte art, it's essential to get the temperature and texture of the milk just right. However, there are additional techniques that experts like Mathew Woodburn-Simmonds recommend to ensure your art turns out perfectly. First and foremost, the way you pour your milk into the espresso is crucial. "When pouring, position your milk jug perpendicular to the cup's handle. Hold the cup with the handle facing east and pour with the milk pitcher’s handle pointing north," Matt advises.
Once you've established that angle, proceed to pour the milk into the espresso. "Begin in the center; this will help guide your design toward the edges as you continue. Starting too close to the edge can lead to splashing," he explains. While seasoned baristas may make this look easy, beginners should take their time with their initial pours until they feel comfortable. It's also important to choose a simple design to start with. Many professionals suggest beginning with basic shapes like a tulip or a classic heart. Once you have your design ready, it’s time to steam the milk.
Recommended

The Right Way To Use The Flavor Notes On Your Bag Of Coffee

A Brief History Of Pumpkin Spice

Noisette: The Foamy French Coffee Style You Can't Miss Out On

Iced Coffee Spiked With Whiskey Is James Beard-Approved
Next up

