
Achieving the perfect proofing temperature
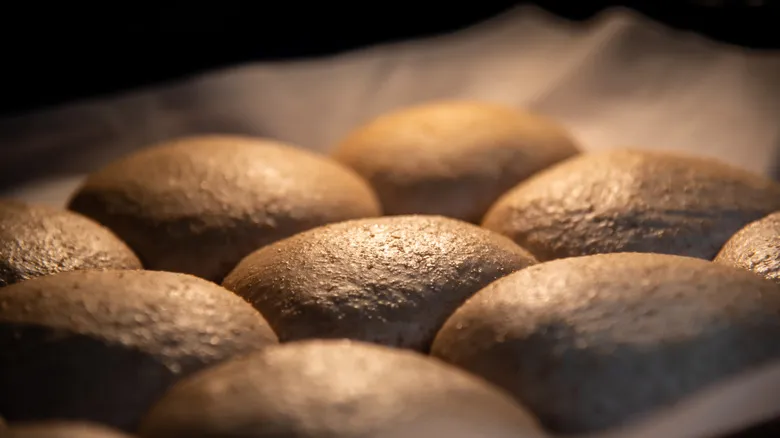
At first glance, it may seem unusual to proof bread in the oven. If the oven is off, its temperature won't be significantly different from the rest of your kitchen, right? However, if you turn the oven on, even at the lowest setting (typically around 170 degrees Fahrenheit for most ovens), it can become too hot, causing the dough to begin cooking. The key is in your oven's lightbulb. Surprisingly, those small bulbs can raise the oven temperature by 75 to 100 degrees Fahrenheit. To determine if your oven is suitable for proofing bread, place an oven thermometer inside, turn on the light, and check the temperature after 30 minutes. If it falls within the ideal range, you're good to go.
If your oven light doesn't generate enough heat, there's an alternative method. Place a baking dish on the bottom rack of the oven and set your bread on the middle or top rack. Fill the baking dish with boiling water and close the oven door. The steam from the boiling water will gently warm the oven. In either method, it's best to keep the bread in a bowl covered with an airtight lid or plastic wrap. While many recipes suggest using a towel to cover the bowl, this can allow air to enter, leading to moisture loss and the formation of a skin on the dough.
For a cold twist on proofing, turn to your fridge
Proofing dough at temperatures between 72 and 78 degrees Fahrenheit is the most effective approach, yielding the best rise in the shortest amount of time. When proofing in a warm environment—such as a heated room, an oven with the light on, or an oven with a steam pan—most breads typically require one to three hours. However, there is an alternative method that challenges this traditional approach: cold proofing. In cold proofing, the dough rises at a lower temperature over an extended period, usually between eight and 16 hours. Your refrigerator serves as an ideal environment for this process.
While cold fermentation takes longer, it can be more convenient for some schedules. In a warm proofing environment, you must closely monitor the dough to prevent overproofing. In contrast, the cooler temperatures of the refrigerator slow down yeast activity, giving you greater flexibility. You can simply place the dough in the fridge overnight and have it ready to bake at your convenience the following day. Just remember to take it out about an hour before baking to allow it to reach room temperature. Additionally, cold proofing provides more time for fermentation, enhancing the dough's flavor. This method is especially favored for sourdough bread, as it intensifies the flavor of a well-developed sourdough starter.
Recommended
Why Bread Gets Stale And How To Make It Soft Again

Room Temperature Vs. Cold Butter: Which Is Better For Biscuits?
The Underrated Vegetable That Belongs In Your Cakes

The Banana Bread Gordon Ramsay Says Is So Good 'It Makes You Curse'
Next up