
Gather the basic roasted turkey ingredients

To make a basic roasted turkey, begin with a high-quality bird. This recipe is designed for a 14-pound turkey, but the ingredient quantities are suitable for birds weighing between 12 and 16 pounds. For the turkey brine, you will need kosher salt, brown sugar, oranges, lemons, fresh thyme, rosemary, and 4 gallons of cold water. After the turkey has brined and is ready for roasting, gather some olive oil, celery, baby carrots, a large leek, fresh Italian parsley, sage, petite potatoes, a yellow onion, and a splash of dry white wine. Some of these ingredients will be used for roasting the turkey, as well as for making a quick stock from the neck and giblets for basting.
Step 1: Prepare the brine
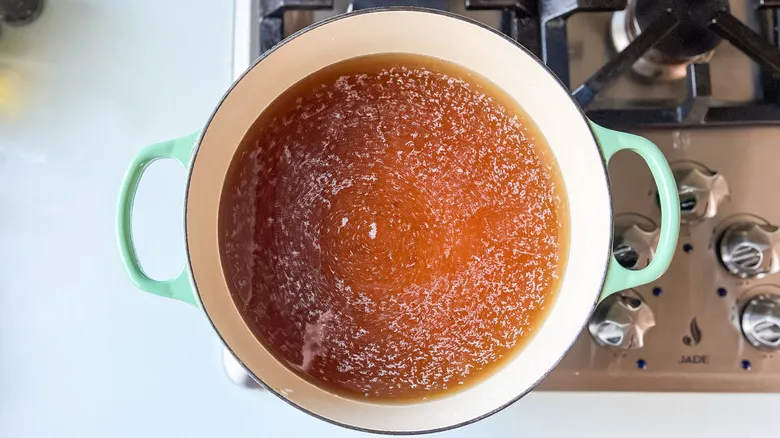
In a large, sturdy pot, mix together the kosher salt and brown sugar with 1 gallon of cold water. Gently heat the mixture and stir until fully dissolved. Once dissolved, take the pot off the heat and allow it to cool completely.
Step 2: Place turkey in brining container
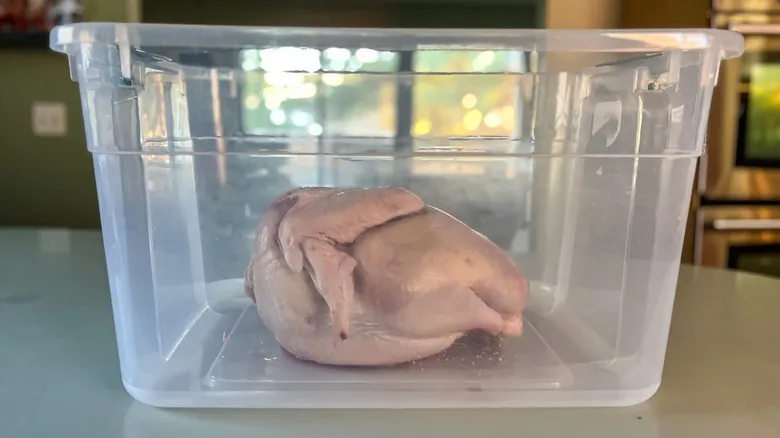
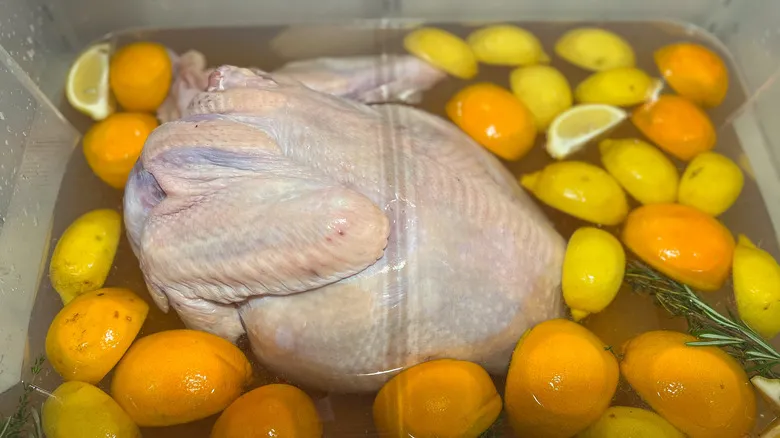
Position the turkey breast side down in a large plastic or suitable container that can accommodate both the turkey and a total of 4 gallons of water.
Step 3: Add citrus and herbs
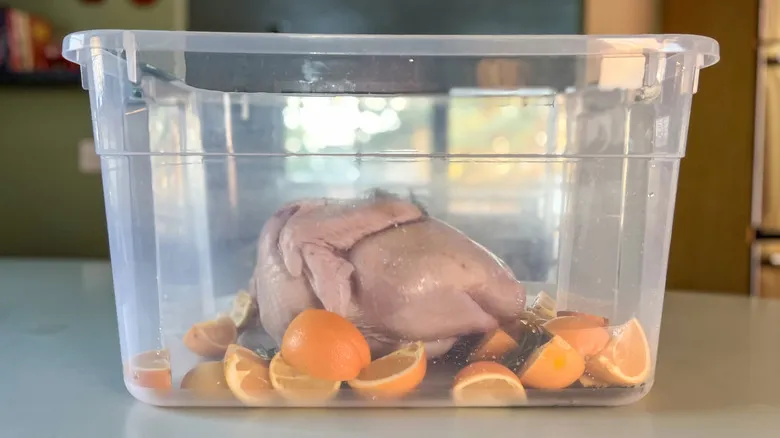
Place the oranges, lemons, 6 sprigs of thyme, and 6 sprigs of rosemary into the container.
Step 4: Add brining liquid and refrigerate
Add the salt and brown sugar blend, then put the container in the refrigerator.
Step 5: Add remaining water

Incorporate the last 3 gallons of cold water.
Step 6: Cover and refrigerate
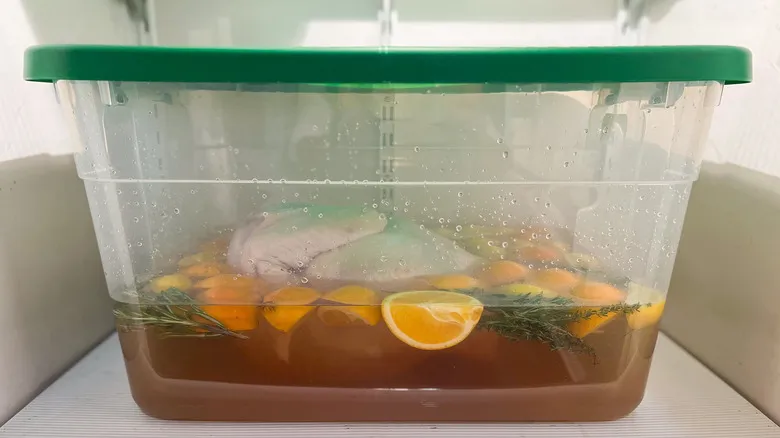
Seal and allow the turkey to brine for a minimum of 8 hours, ideally 24 hours.
Step 7: Turn the turkey breast-side-up

Flip the turkey breast side up halfway through the brining process.
Step 8: Preheat
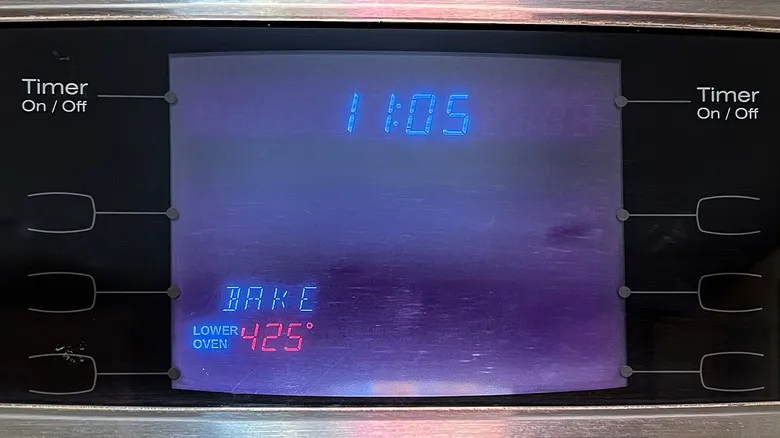
Set the oven temperature to 425°F.
Step 9: Place turkey in roasting pan
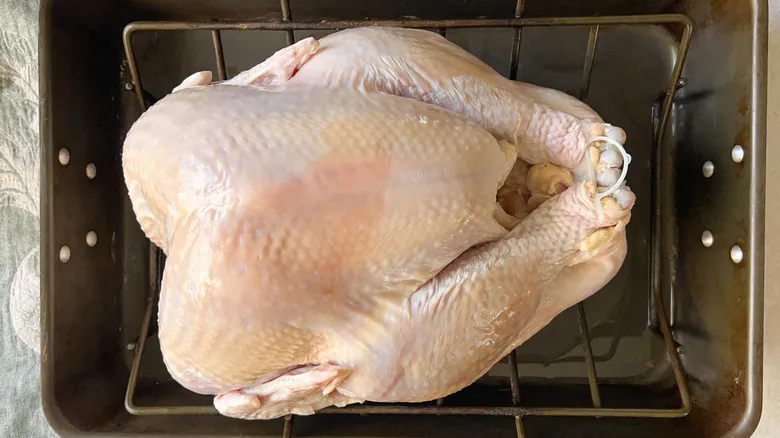
Set up a roasting pan with a rack elevated at least 1 inch above the bottom of the pan, and position the turkey from the brine with the breast side facing up on the rack.
Step 10: Pin down wings
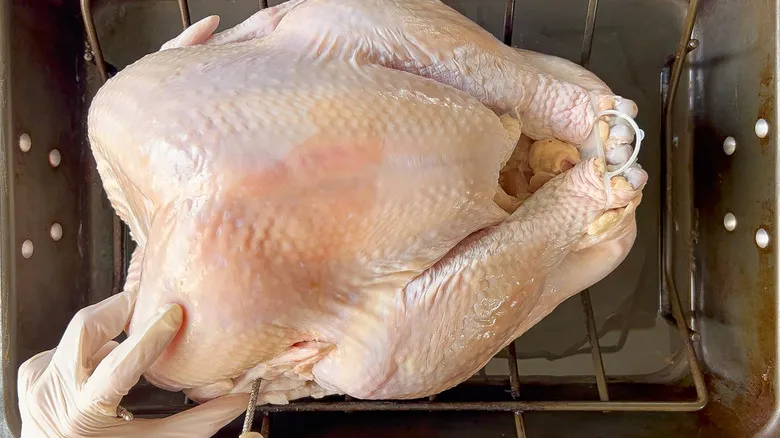
If desired, secure the bird's wings with skewers or tuck them down.
Step 11: Rub turkey with olive oil
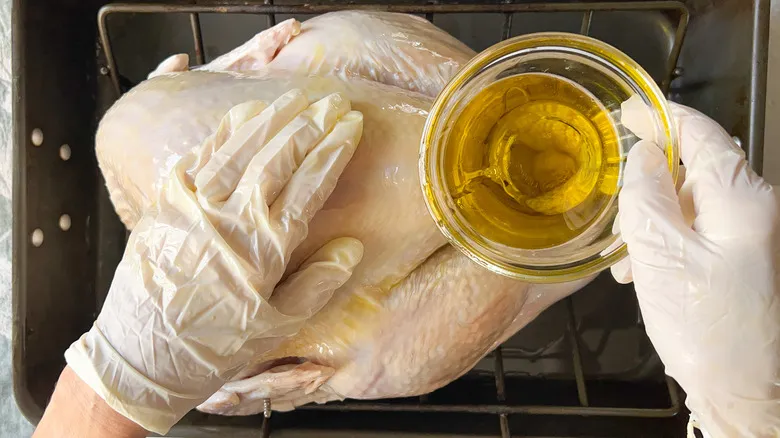
Coat the whole surface of the turkey with olive oil.
Step 12: Fill turkey with aromatics
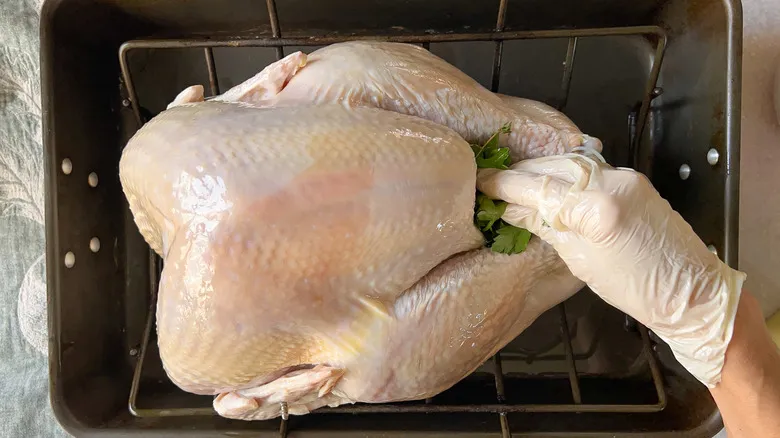
Stuff the cavity of the bird with half of the celery, ½ cup of baby carrots, half of the leeks, half of the parsley, the sage, and the rest of the thyme and rosemary.
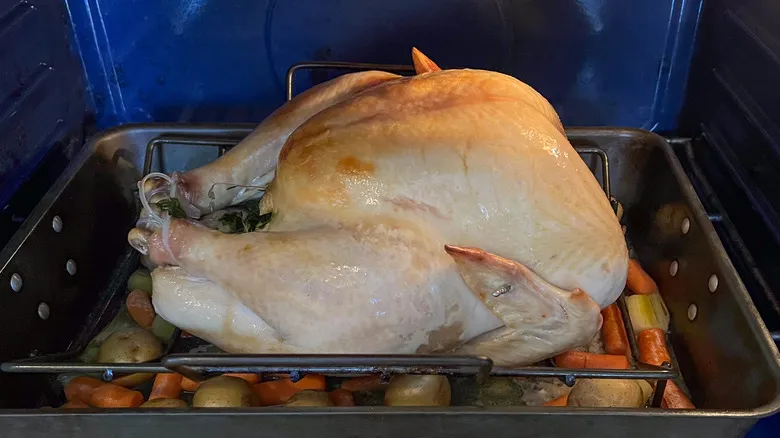
Step 13: Arrange vegetables in pan
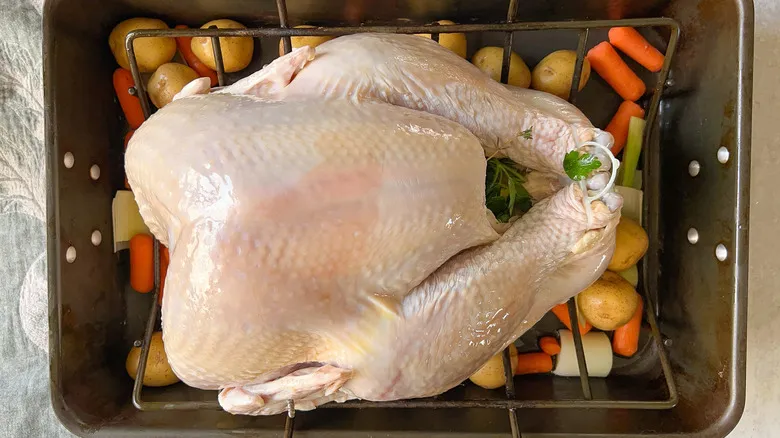
Place the leftover carrots, potatoes, and leeks around the turkey at the base of the pan.
Step 14: Place turkey in oven
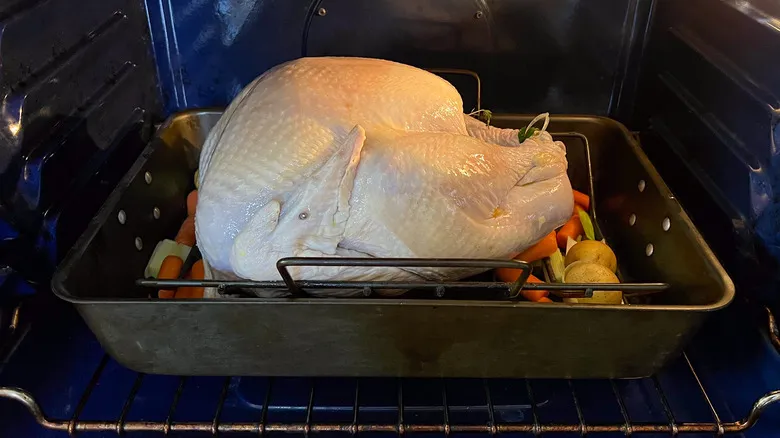
Position the pan on the lowest rack of the oven.
Step 15: Add water to roasting pan
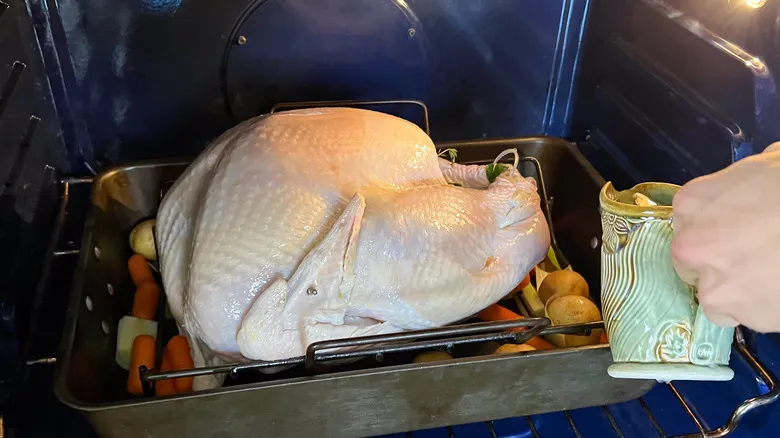
Pour 2 cups of water into the pan and roast the turkey for 20 minutes.
Step 16: Turn down the heat
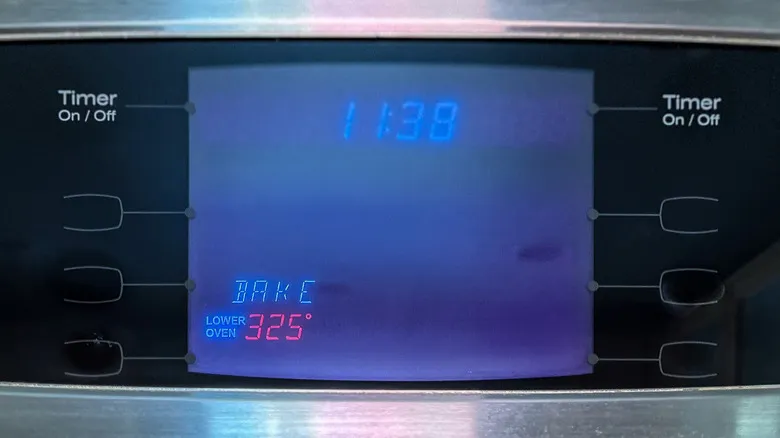
Reduce the oven temperature to 325°F.
Step 17: Baste the turkey
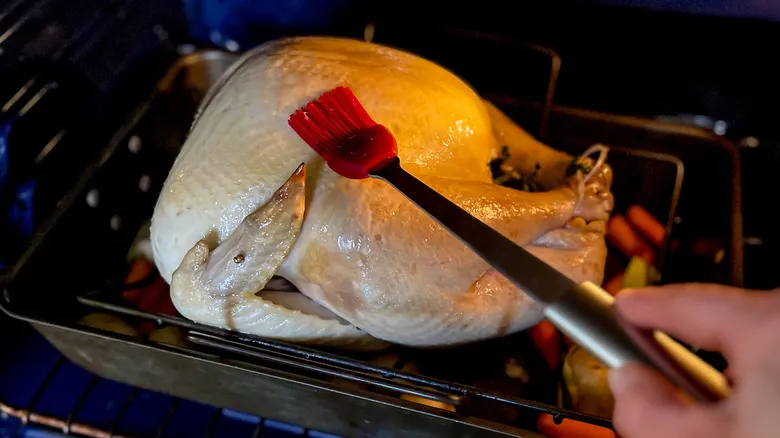
Utilize a brush to coat the bird with the pan juices, and keep basting every 20 minutes.
Step 18: Start the turkey stock
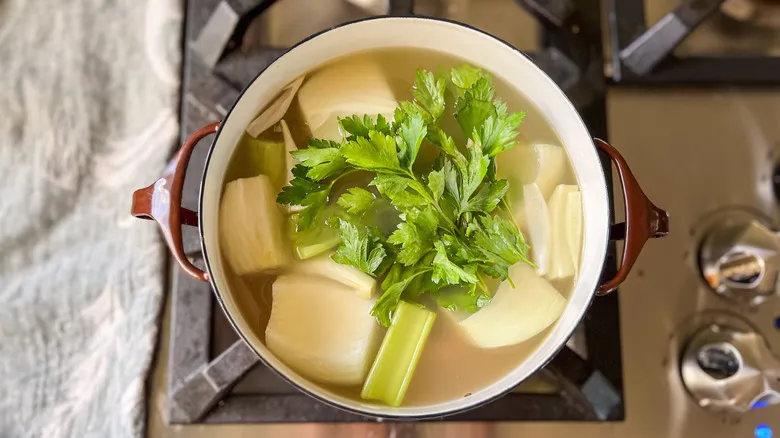
As the turkey cooks, put the reserved neck and gizzards, onion, and leftover celery and parsley into a saucepan and add enough water to cover them.
Step 19: Simmer the stock
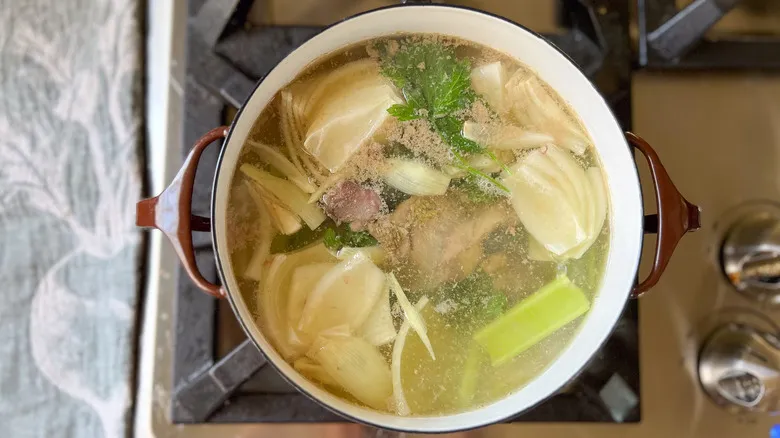
Keep the stock simmering while the roasting occurs, and use this liquid for basting by adding it to the pan.
Step 20: Add wine to pan
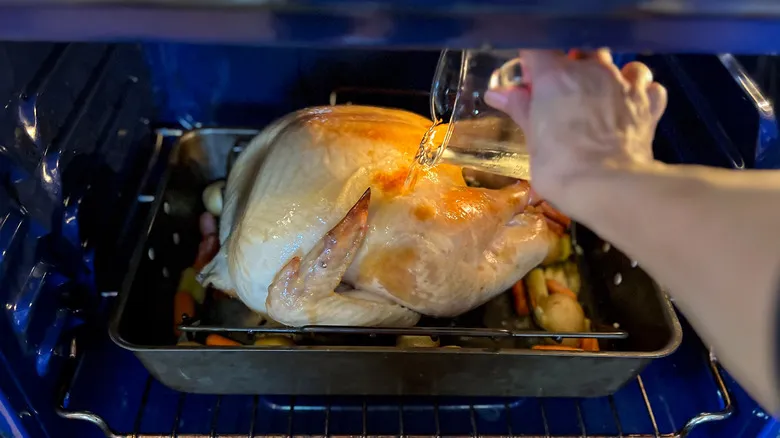
After roasting for 2 hours, drizzle the wine over the chicken.
Step 21: Rotate the pan during roasting
Turn the pan at least once to ensure even browning during roasting.
Step 22: Tent pan loosely with foil
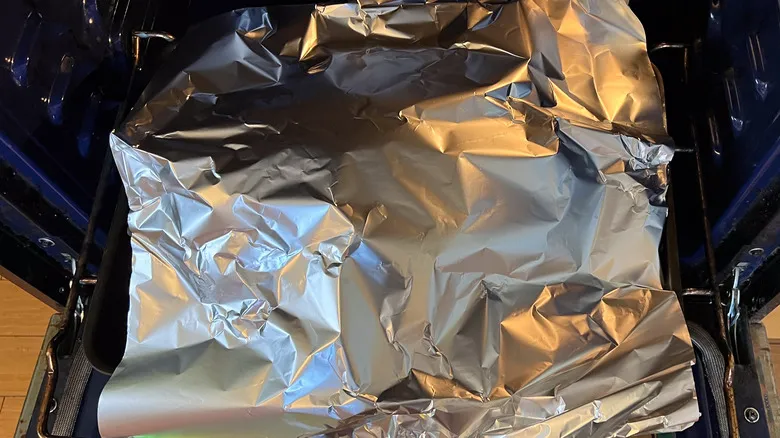
Once the skin is beautifully browned, loosely cover the pan with foil. Keep basting every 20 minutes.
Step 23: Check internal temperature
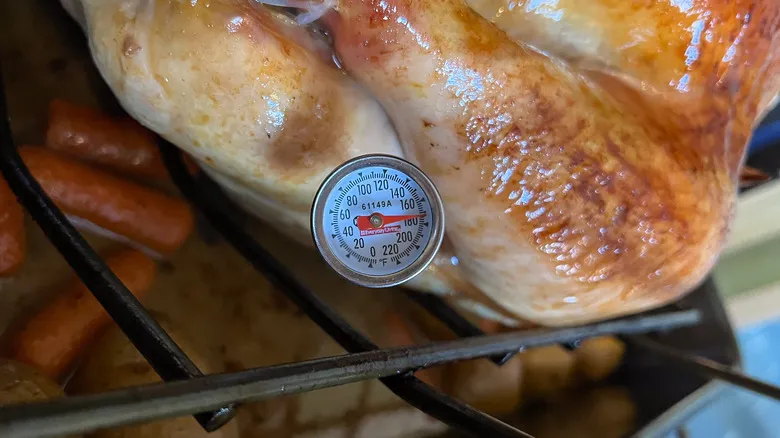
Begin measuring the temperature in the thickest section of the thigh using a meat thermometer after approximately 3 hours of cooking. A 14-pound turkey will take roughly 3 1/2 hours to achieve an internal temperature of 170°F.
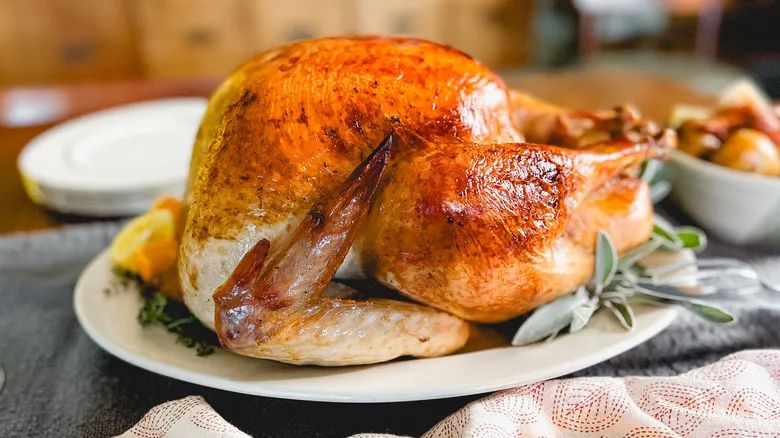
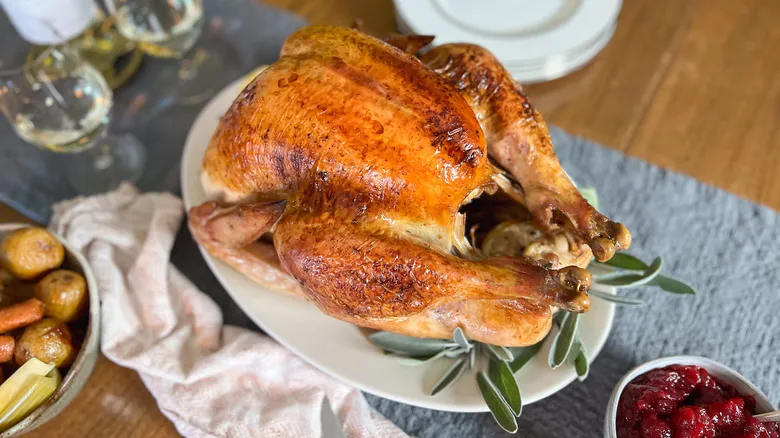
Step 24: Remove turkey from oven
Take the turkey out of the oven and allow it to rest for a minimum of 20 minutes before slicing.
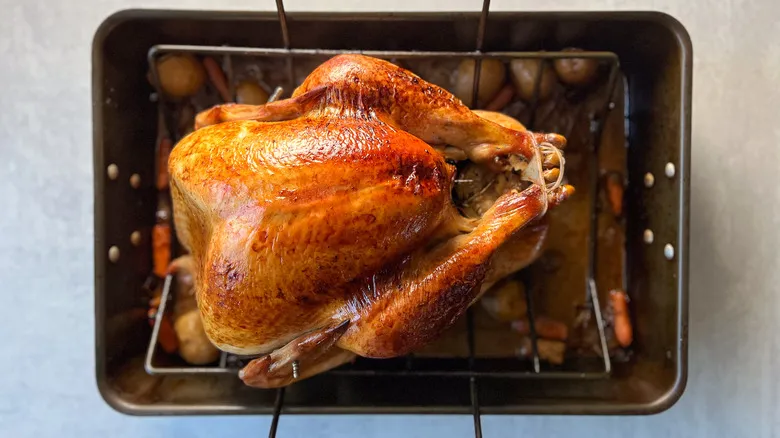
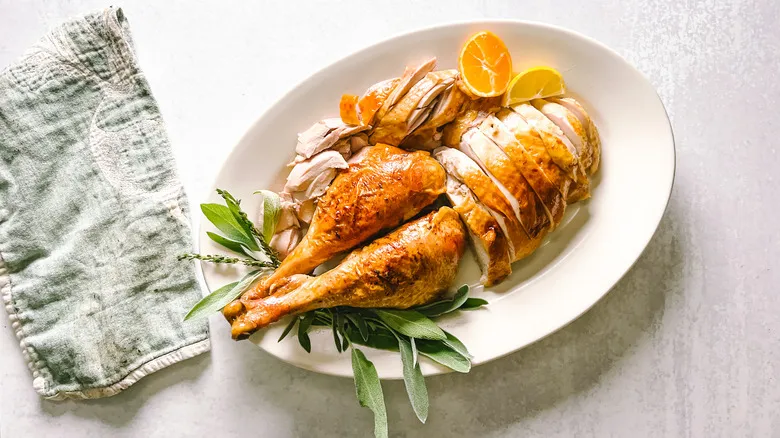
Step 25: Place turkey on serving platter
Take out the vegetables and herbs from the cavity, then transfer the turkey to a serving platter.
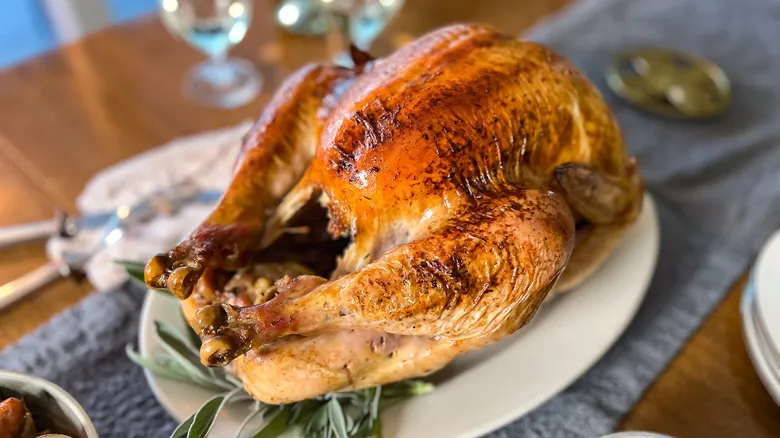
Step 26: Serve turkey with pan vegetables
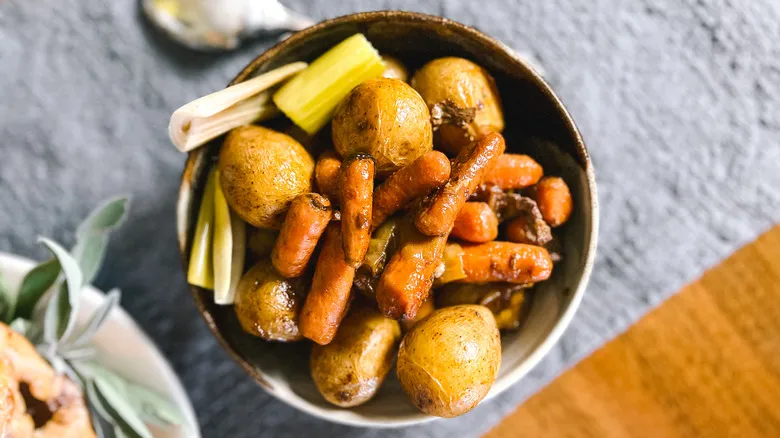
Accompany the roasted pan vegetables and your preferred side dishes with the turkey.
Why should I use a brine for a roasted turkey?
Brining your basic roasted turkey may seem like an additional step, but it offers numerous advantages, as noted by Kinnaird. Turkey is a relatively lean meat, and brining helps it absorb extra moisture, ensuring the bird remains juicy and preventing it from drying out. The kosher salt not only enhances the flavor of the meat but also purifies the tissues and aids in breaking down proteins. Brown sugar contributes flavor and encourages a beautiful, even browning during roasting. Adding oranges, lemons, and fresh herbs infuses a vibrant taste into the brine, enhancing the turkey's natural flavor without overpowering it.
When brining your turkey, use a container such as a stainless steel or enameled stockpot, or a food-grade plastic bucket like the one in this recipe, to avoid any reaction with the citrus acid. Additionally, brining can help thaw a partially frozen turkey and allows it to cook more quickly and evenly.
What are some tips and tricks for a perfect roasted turkey?
Kinnaird emphasizes that successful preparation of a basic roasted turkey hinges on some careful planning. Allow a frozen turkey to thaw in the refrigerator for several days. If you find that your turkey is still partially frozen when it's time to brine, keep in mind that brining will help complete the thawing process.
Don't throw away the neck and gizzards; they can be used to create a flavorful stock for basting or making gravy after roasting. For added tenderness, try to get some oil or melted butter under the skin of the breast. Instead of stuffing the turkey with dressing, fill it with aromatic vegetables and herbs to ensure even roasting from the outside in. Bake the dressing separately and drizzle it with some of the pan juices before serving to enhance the flavor.
The oven temperature is crucial as well. Starting with a hot oven helps to sear the skin and lock in moisture, followed by roasting at a lower temperature for a slow cook. Covering the pan with foil once the skin is nicely browned will help prevent dark spots or burning. When checking the temperature, use an instant-read thermometer inserted into the thickest part of the thigh. Remove the turkey from the oven as soon as it reaches 170°F. Allow the turkey to rest for a sufficient amount of time before carving.
What is the best way to carve and serve roasted turkey?
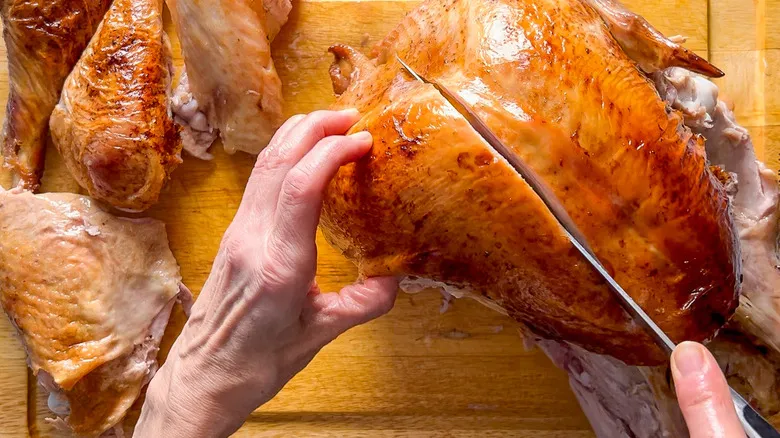
After roasting your turkey, let it rest for 20-30 minutes before carving to allow the juices to redistribute throughout the meat. Set the turkey on a large, sturdy cutting board, keep a kitchen towel nearby for any spills, and use a sharp carving knife that can easily cut through the meat and connective tissue.
Begin by removing the legs: bend a drumstick back to reveal the joint with the thigh, then cut through the joint to detach the drumstick.
Next, separate the thigh from the body by gently bending it back and cutting through the connecting joint. Remove the wings at the joint to serve them separately. For the breast, find the center of the breastbone and slice down along the edge, following the curve of the bone to remove one side of the meat. Slice the breast and thigh for serving. Repeat this process on the other side of the turkey. Use the carcass to make turkey stock by breaking it into smaller pieces that will fit into a pot.
Recommended
Basic Stovetop Steamed White Rice Recipe
Easy Classic Vanilla Pudding Recipe
Herbed Potato Salad Recipe

Definitive Eggnog Recipe
Next up