
Step 1: Get an oyster shucking knife
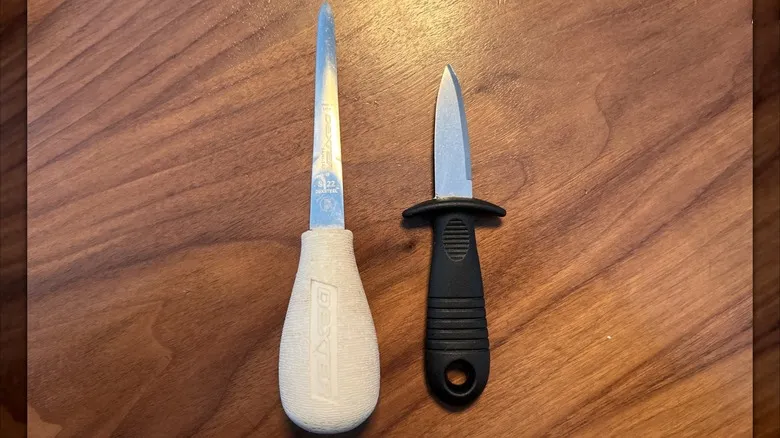
To begin with, you'll need to acquire an oyster shucking knife. There are various types available, but it's crucial to select one that is sturdy enough to pry open an oyster shell without causing it to break. Standard kitchen knives are too sharp for this purpose and can be hazardous to use, while butter knives lack the necessary sharpness for the task.
Chef Crisp suggests the R. Murphy Duxbury oyster knife, which he believes works well for both West Coast and East Coast oysters. While West Coast oysters are generally larger, their shells tend to be more delicate. As a novice, it's advisable to start with East Coast oysters.
Step 2: Protect your hand with a kitchen towel and position the oyster
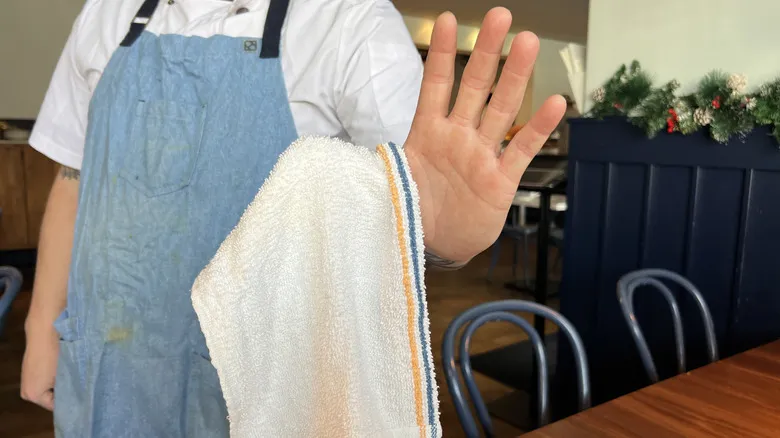
As a novice, it's essential to utilize a kitchen towel to safeguard your hand. Chef Crisp suggests folding a kitchen towel in half lengthwise and then draping it over the thumb of your non-dominant hand, as you'll be using your dominant hand to grip the knife and shuck.
Next, shield your hand with the folded towel and position the oyster at the base of your fingers, ensuring the hinge is facing you. Use your thumb, covered by the towel, to securely hold the oyster in place. You are now prepared to shuck.
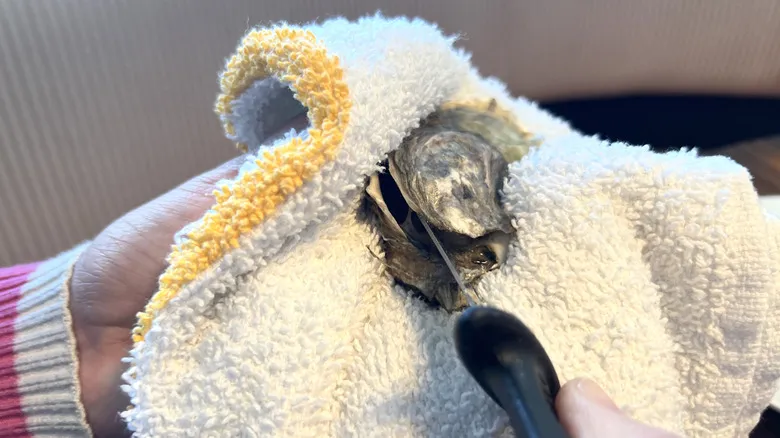
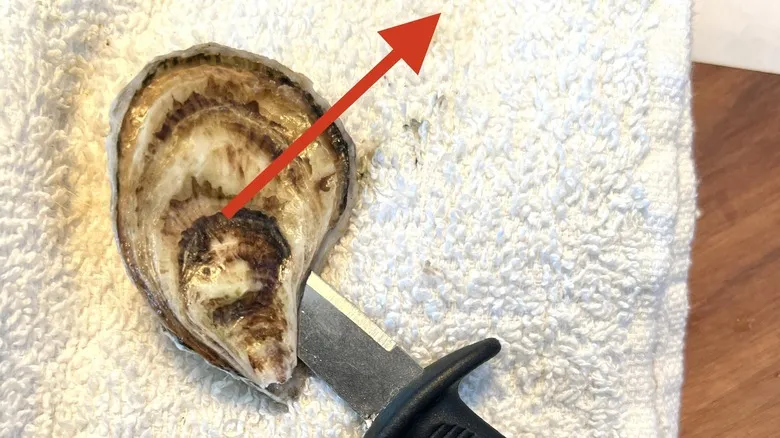
Step 3: Find the hinge and slowly wiggle the knife in

Locate the hinge at the base of the oyster. With the knife tip, carefully maneuver the blade into the hinge. Subtle movements will yield greater results in this step. Chef Crisp suggests that gripping the blade closer to the tip of your oyster knife can enhance both ease and safety during insertion.
Gently work the blade in until it is securely lodged in the oyster. You'll recognize it's properly wedged when you can hold the knife by the handle and the oyster remains still.
Step 4: Twist the knife to the right to pop open the shell
Once the knife is securely positioned in the oyster—so that you can lift it by the handle like a lollipop without the oyster moving, according to Chef Crisp—it's time to open the shell.
To achieve this, gradually twist the knife to the right. This twisting motion applies gentle pressure to release the hinge. You'll either feel or hear a pop when the hinge separates. Hold off on removing the top shell for now.
Step 5: Slice the inductor muscle of the top shell
The shell is now open, but the oyster's flesh remains attached to the shell by its adductor muscles. Rotate the knife back to its original position, ensuring it is flat against the top shell, and start slicing toward the upper right corner. Cutting against the top shell will sever the adductor muscle.
After you've cut the muscle, you can lift off the top shell. If you attempt to remove it and discover that the adductor muscle is not fully cut, don’t worry: Just use the knife to slice through the remaining muscle before taking off the top shell.
Step 6: Cut the inductor muscle at the bottom
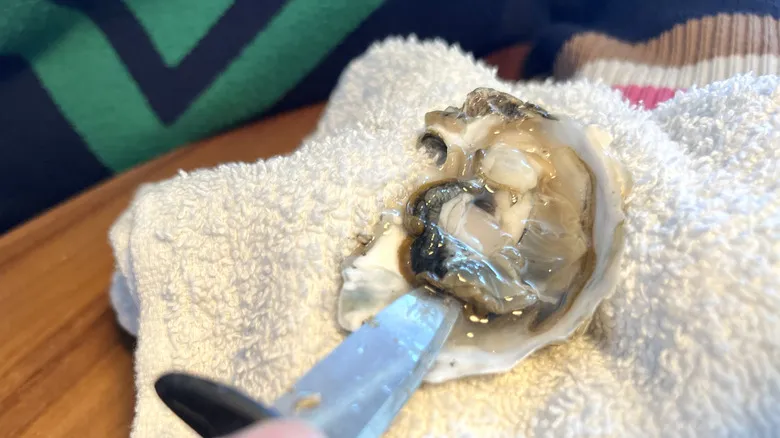
There is an additional inductor muscle that attaches the oyster to the lower section of the shell, which also needs to be detached before consumption. Starting from the front of the shell, carefully insert your knife beneath the oyster flesh and cut through the inductor muscle at the base. You'll know it's cut when the oyster can be easily moved within its shell.
After it's released, make sure to clear away any fragments of shell or other small particles from the oyster to ensure it's clean and prepared for eating.
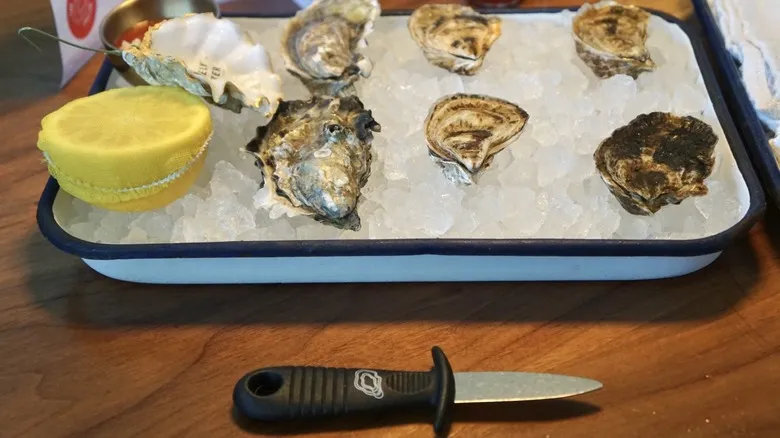
Step 7: Dress the oyster and slurp!
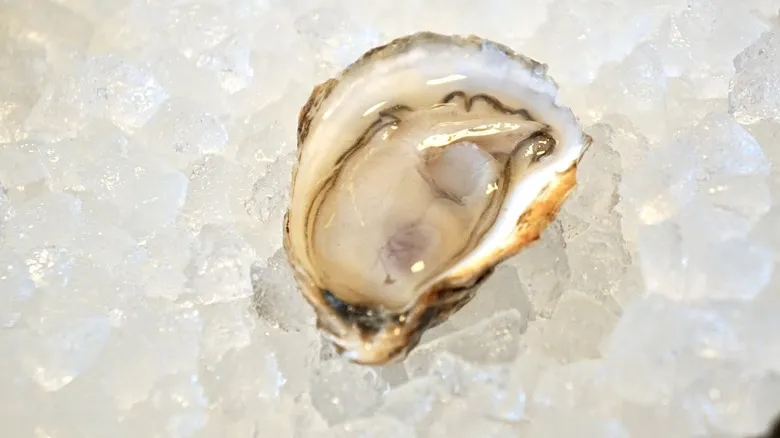
With the inductor muscles removed, the oyster is nearly ready to enjoy—just one more step. The final touch is to prepare the oyster to your taste. You can enhance it with a tangy mignonette, a simple homemade cocktail sauce, or just a splash of lemon, which is a classic accompaniment for oysters. High-quality hot sauce is also a great option.
The Lonely Oyster offers its oysters with a choice of five different sauces, providing the kind of variety we appreciate. No matter how you prefer your oyster, just dress it up and savor every bite. You might even think about pairing it with a dirty martini, but save that for after you've finished using the knives for the evening.
Recommended
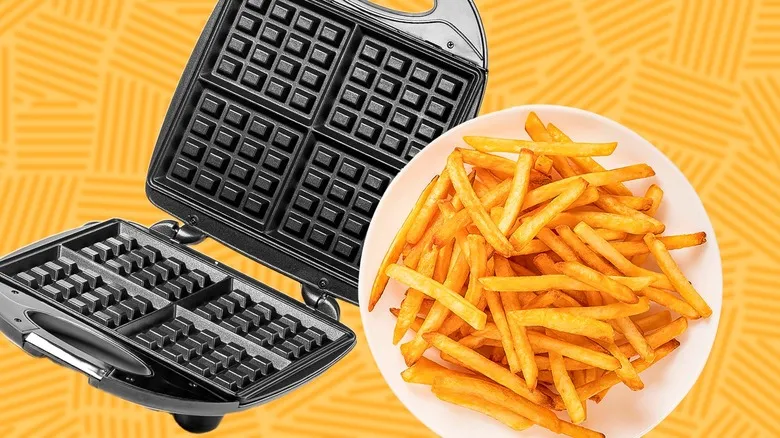
French Fry Waffles Are The Tastiest Way To Repurpose Leftovers
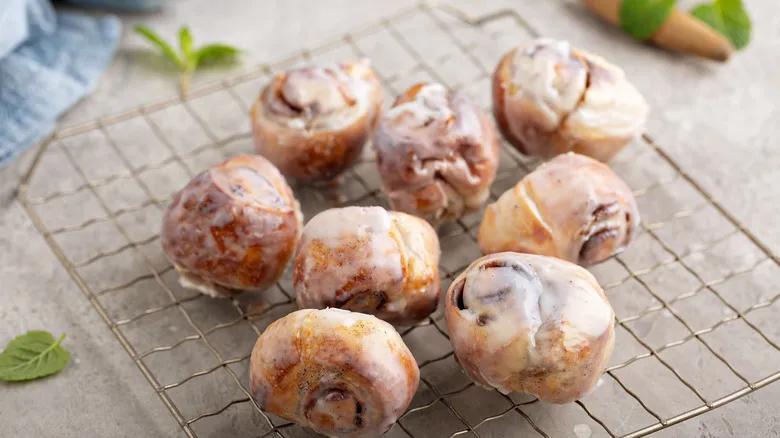
Pop Canned Cinnamon Rolls In The Air Fryer For The Quickest Sweet Snack
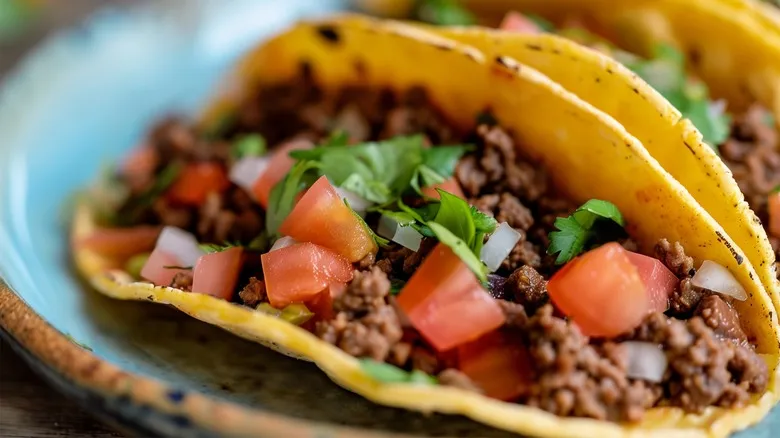
Is It Really A Good Idea To Make Hard Shell Tacos In Your Toaster?
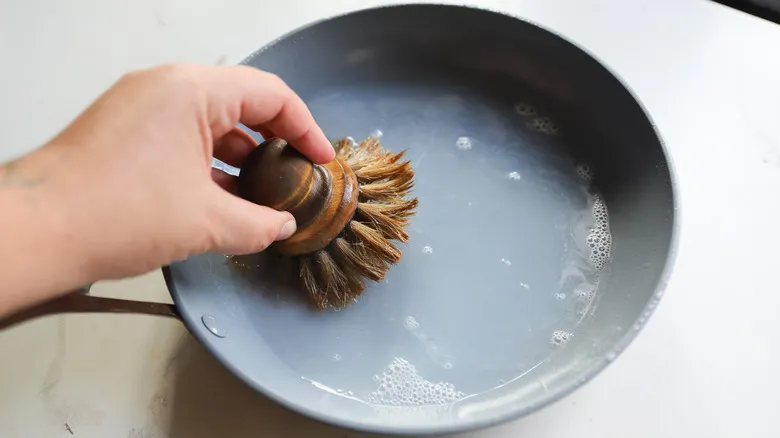
How To Clean And Care For Ceramic Non-Stick Pans
Next up